


Recently, I was working on a Makeover Monday where there were many different GPUs for a few different brands. Seeing that there were not a massive amount of GPUs, I made the decision to individually grab the images, and insert them into my Tableau workbook.
How Do We Add Custom Shapes?
The first thing to do is to locate your Tableau Repository Folder.
This can usually be found within your Documents Folder. From there, navigate towards the shapes folder, and create a new folder. This will store the images you choose for your shapes.

Within this new folder you have created, upload your images in .png or .jpg/.jpeg format, preferably with the background set to transparent.
How To Use The Custom Shapes In Tableau
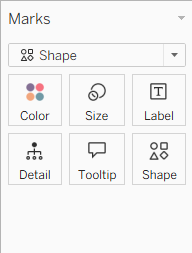
Now, in Tableau Desktop, create a new worksheet, and set the chart type to shape in the Marks pane.
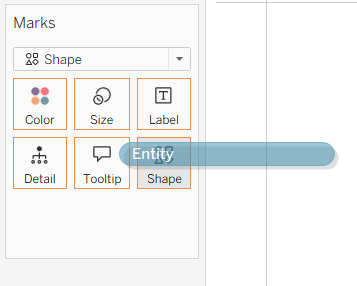
Now, drag your field over to the shape mark.
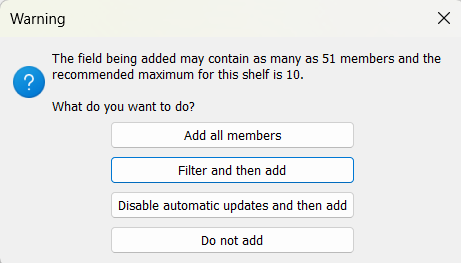
You might get a warning depending on how many rows of data you have, but if the total number of members is quite low, just go ahead and add all members.
From here, you can click on the Shapes mark which will bring up a window like the one shown:
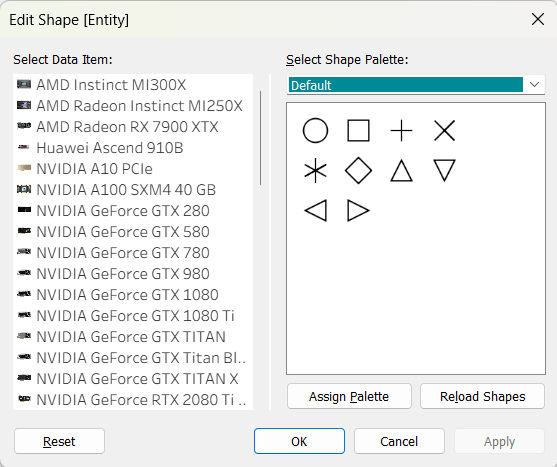
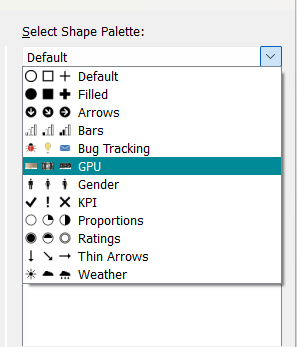
As we see, we are currently selected onto the Default shape palette. To bring in the images we added earlier, press the Reload Shapes button.
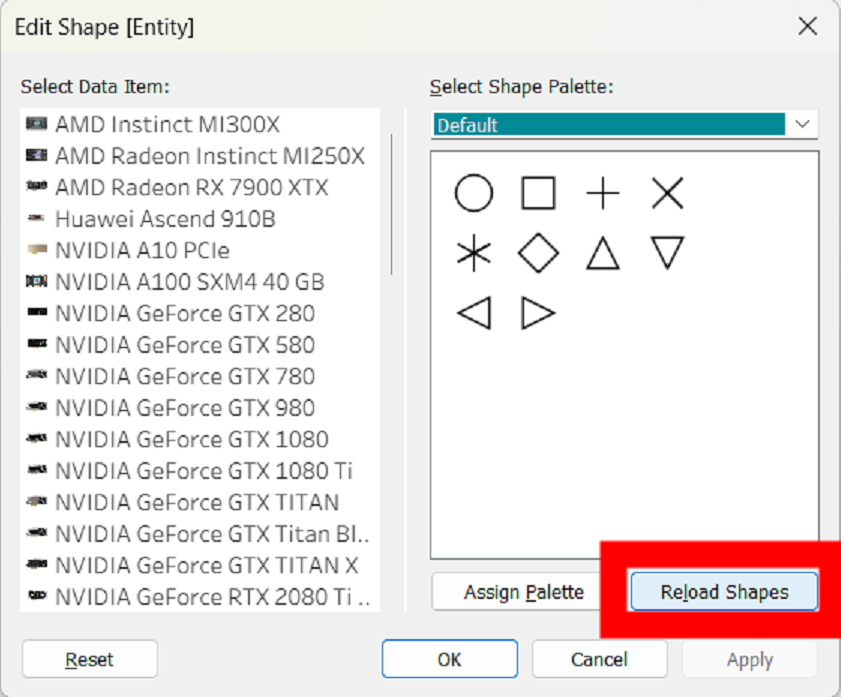
Now you can go find your custom Shape Palette, (Mine is called GPU) and assign them to each of your data items!
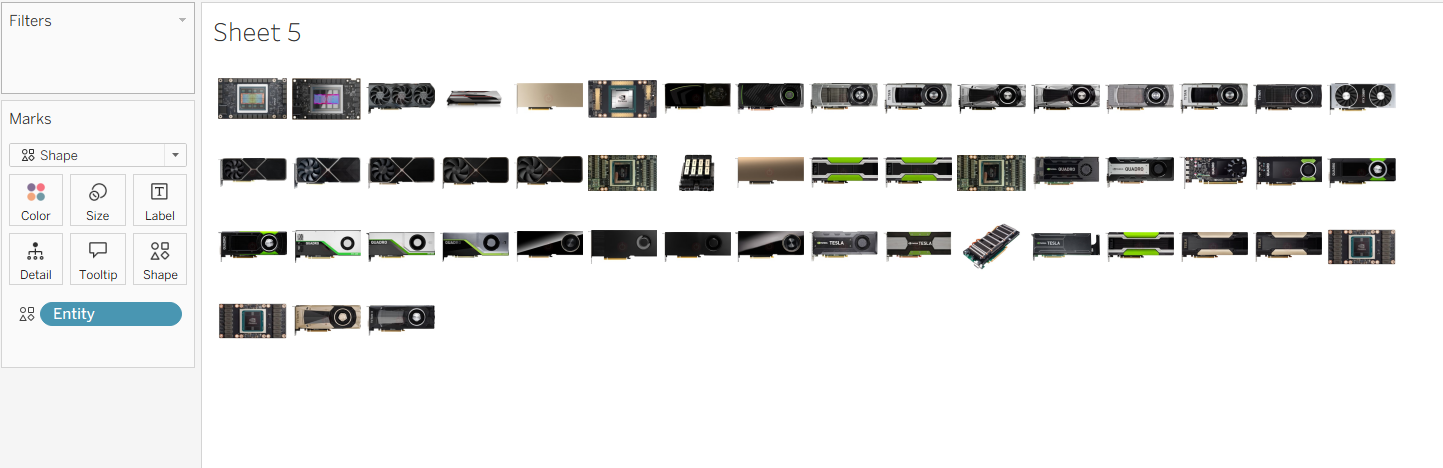
After assigning and pressing ok, you should now be able to see little images for each of your data points! (if they are too small, increase the size in the same marks pane!)
Hope that helps!