


Why use GitHub? GitHub serves as a centralised, cloud-based hub for version control, collaboration, and project management. It allows multiple people to work on the same codebase simultaneously—tracking every modification and preventing developers from accidentally overwriting each other's work.
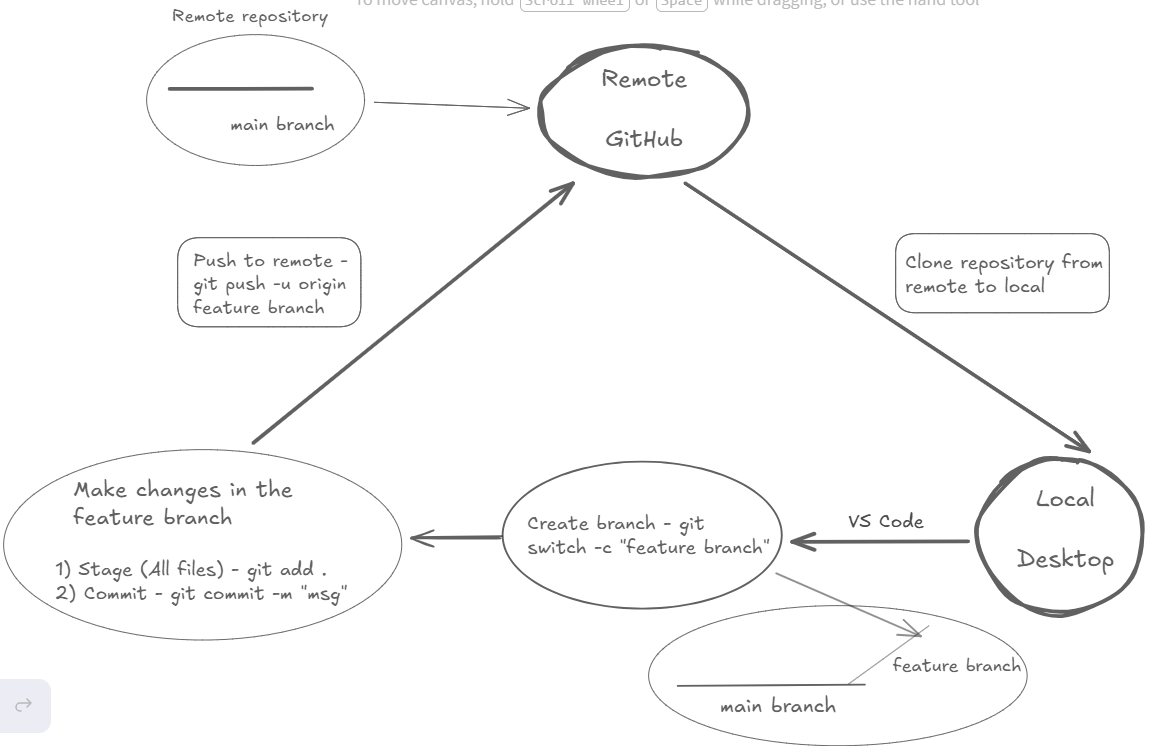
What this guide covers: a walk-through of the standard workflow to use GitHub efficiently:
- Create: Setting up a new repository on GitHub.
- Clone: pulling the repository to your local machine using GitHub Desktop.
- Branch: Creating a "feature branch" to isolate your changes.
- Push: Committing your work and uploading the new branch to GitHub.
- Merge: Integrating your changes back into the main branch.
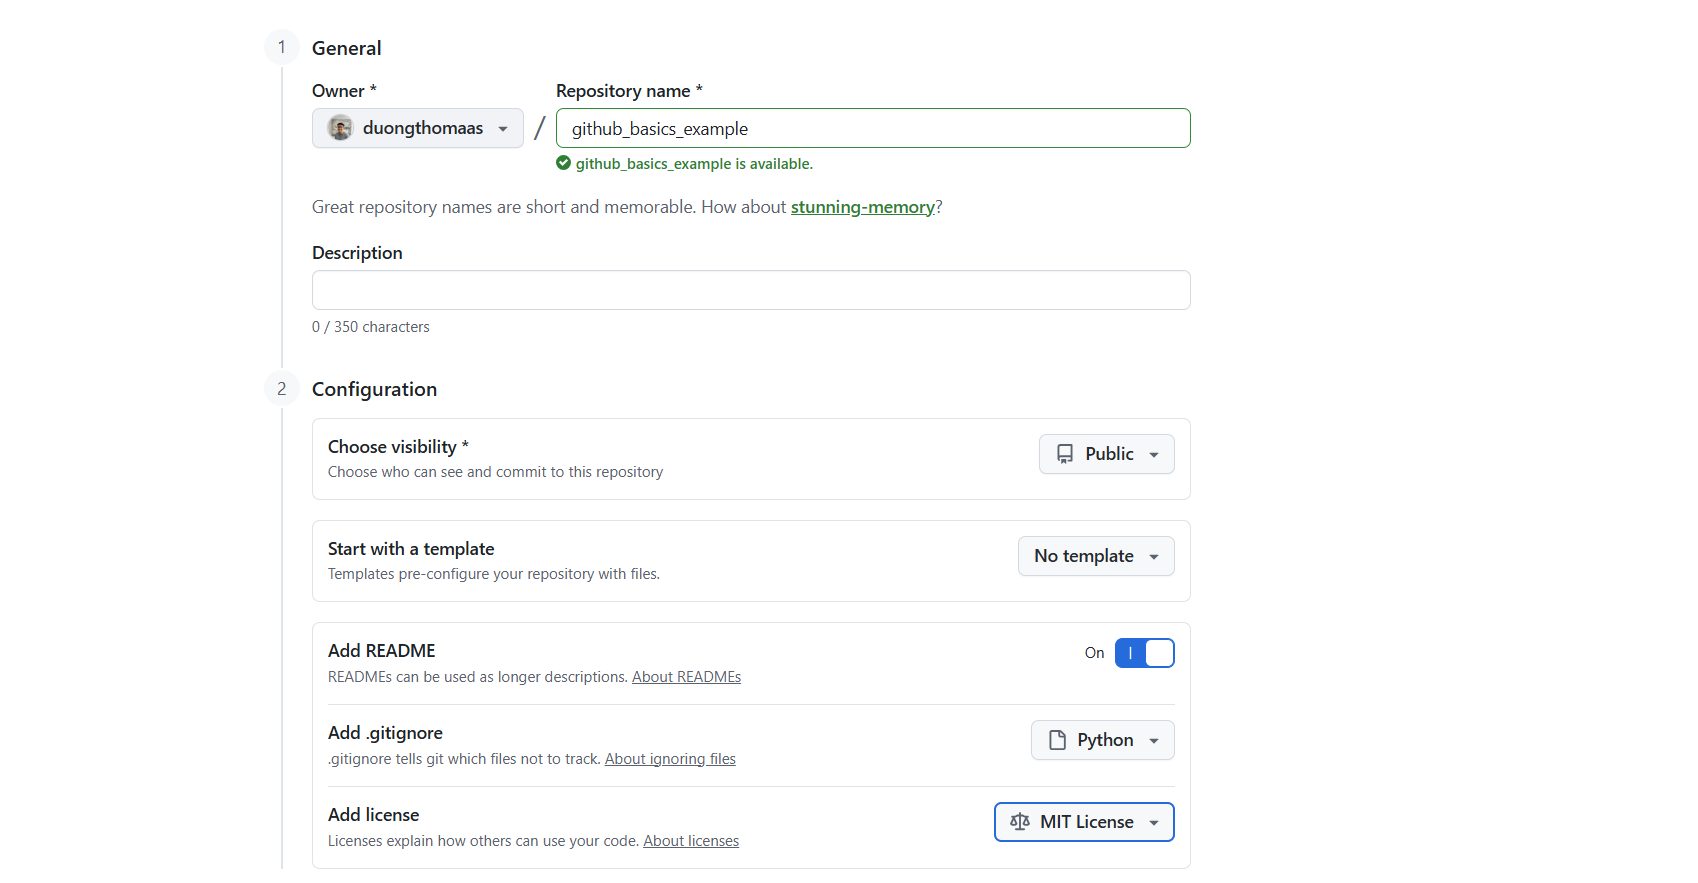
1) Create a new repository on GitHub. I'd suggest to include the readme file (it's like a cover page for your repo), .gitignore (will hide files not meant for sharing), and add license.
2) Open with GitHub Desktop.
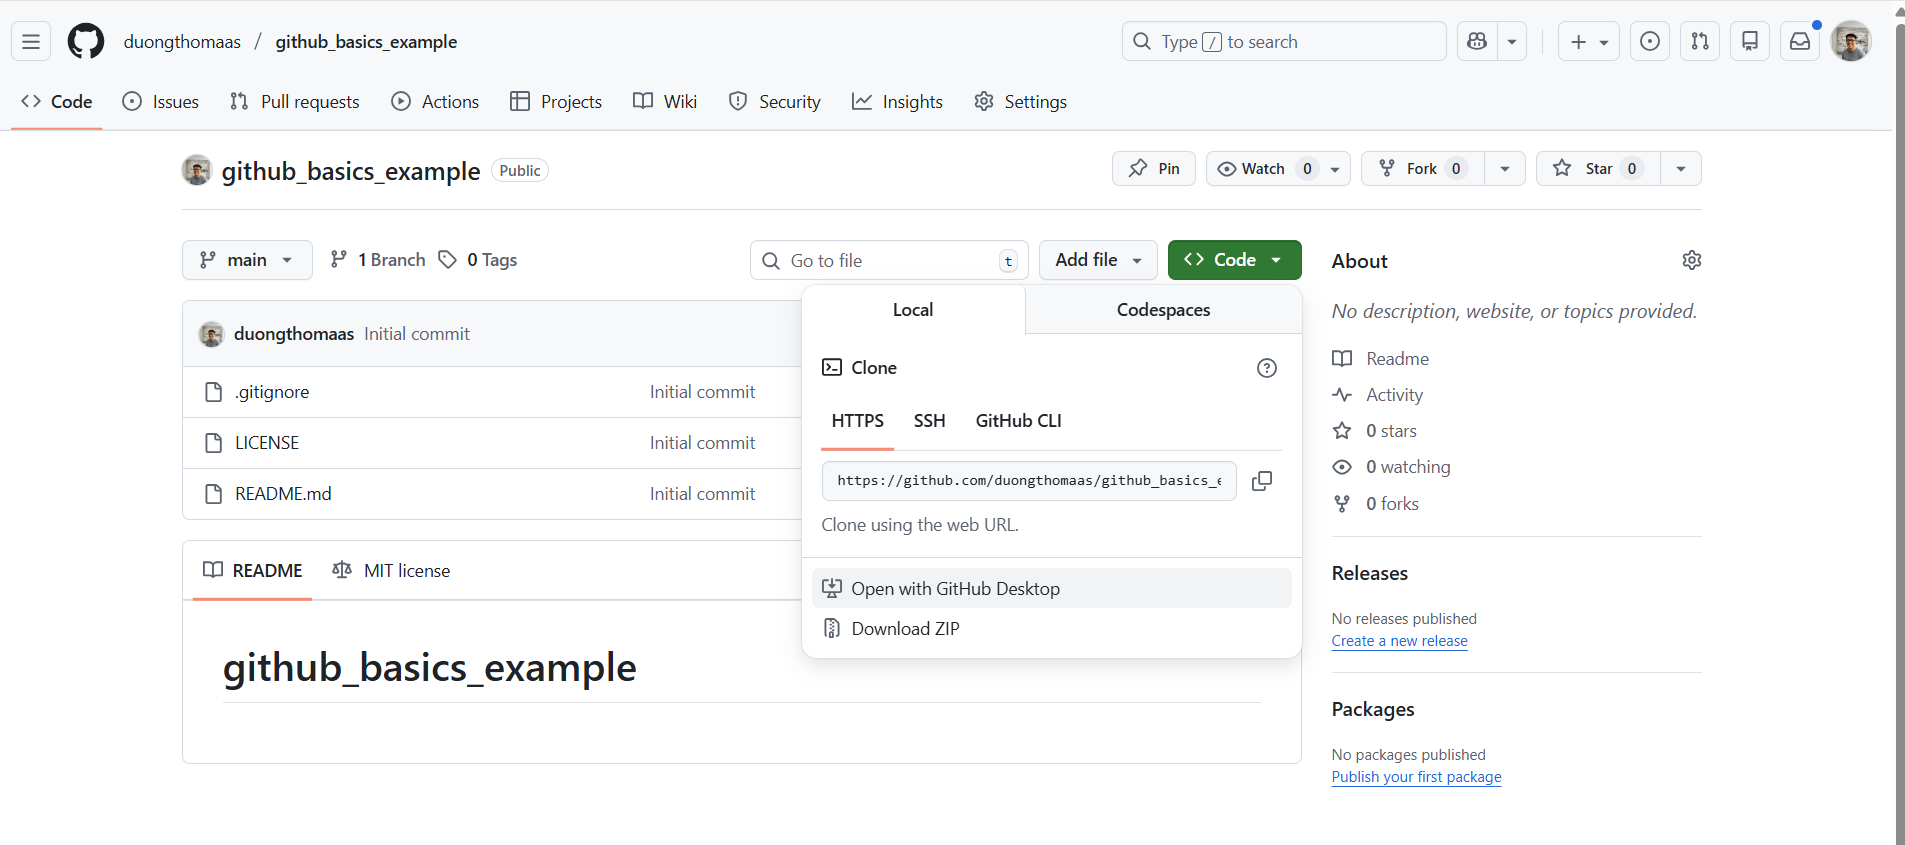
3) Clone the repository.

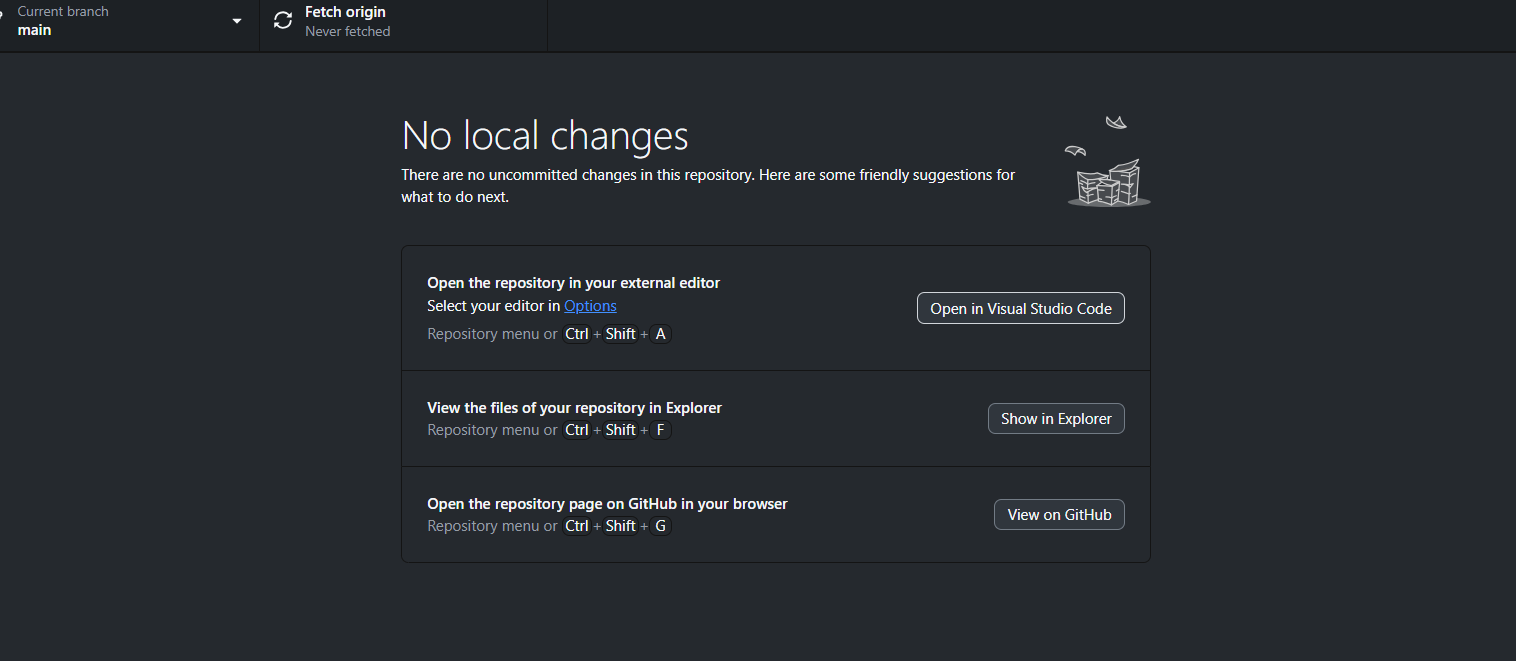
4) Open in Visual Studio Code.
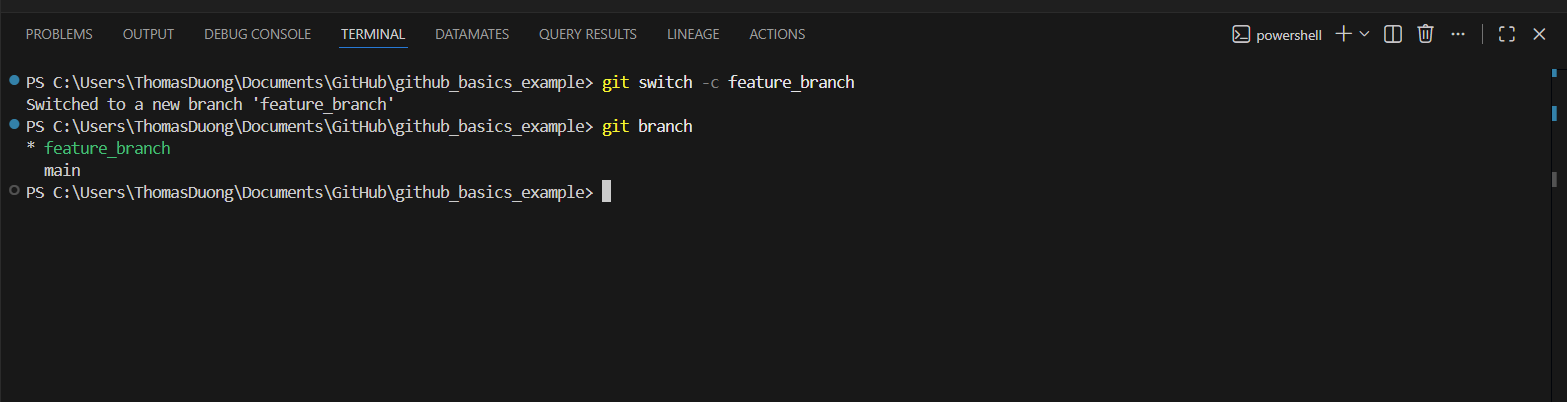
5) In Visual Studio Code - in terminal, create a new branch on which you'll be working on.
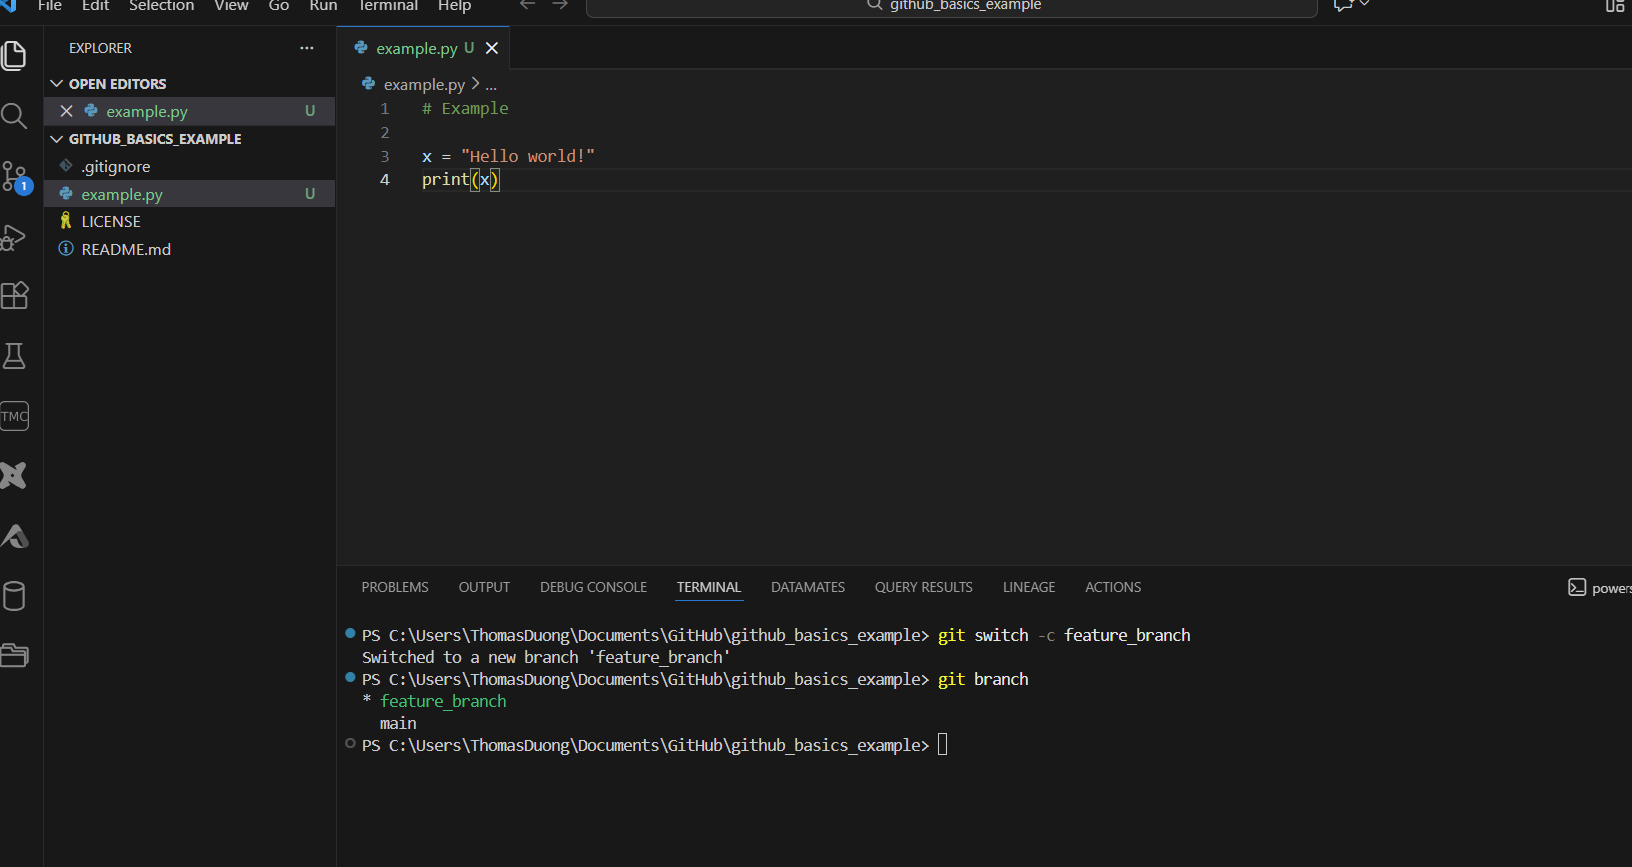
6) In this example, I created a python script.
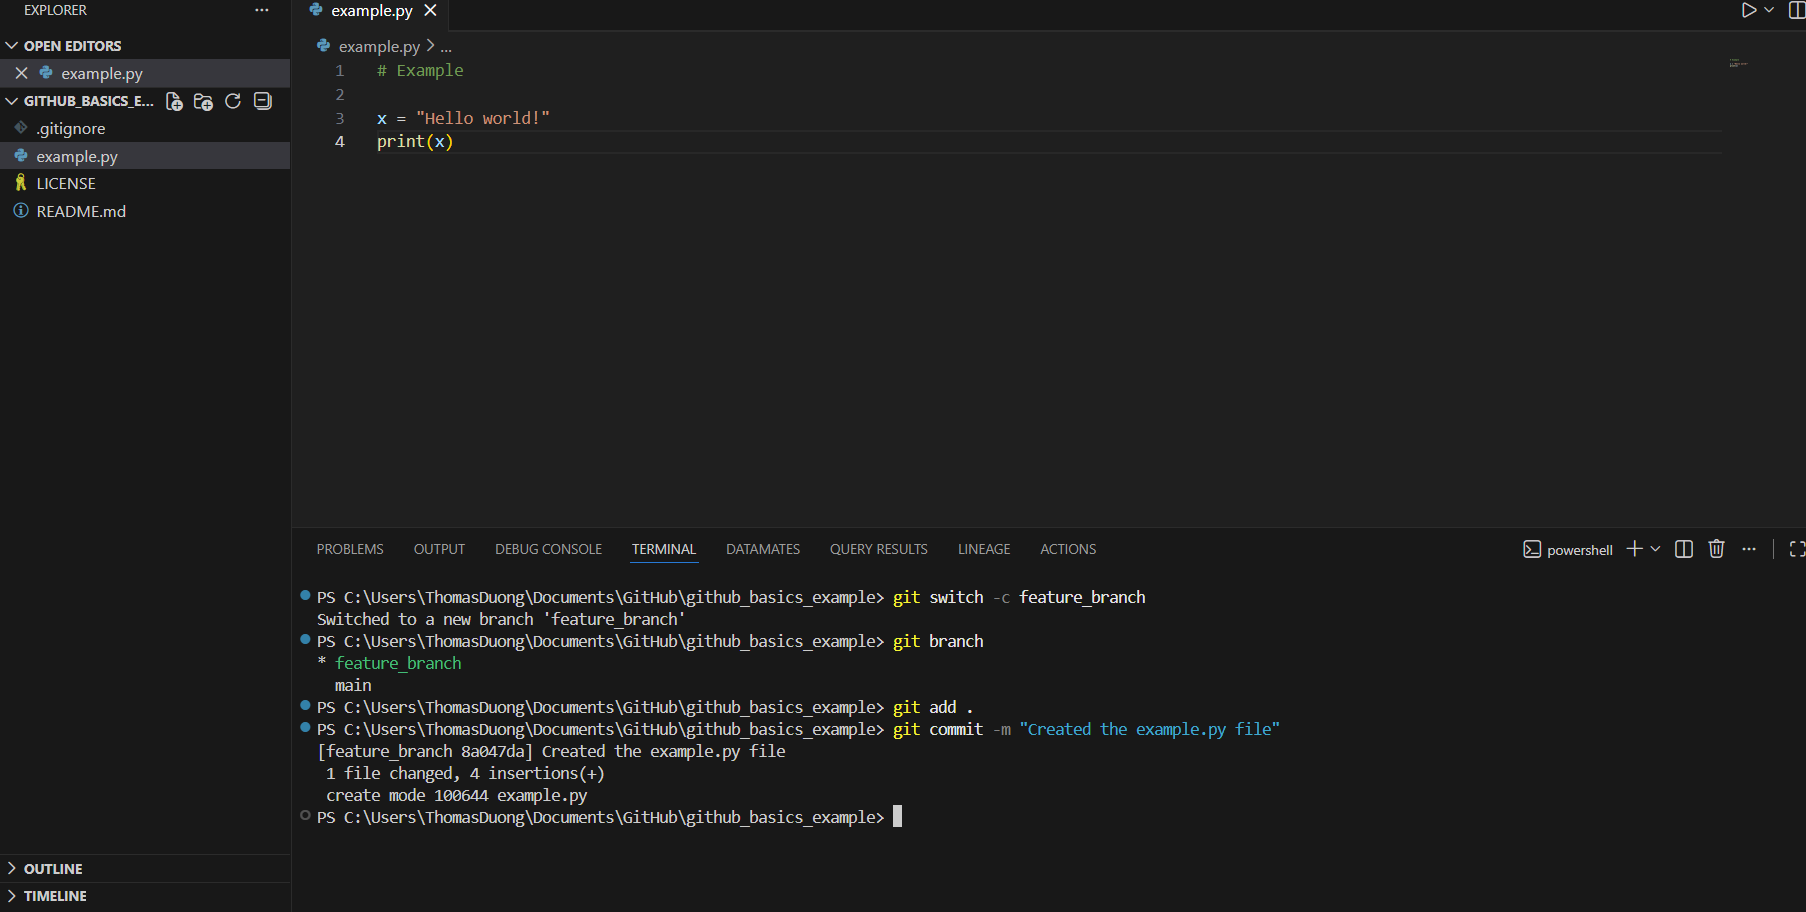
7) Once you've finished your work, stage and commit the changes (it's like ctrl+s). I'd recommend doing this regularly every time you finish a piece of work.
8) Once the work is finished, make sure to stage and commit the latest changes. Then, push the repo to the remote one on GitHub.
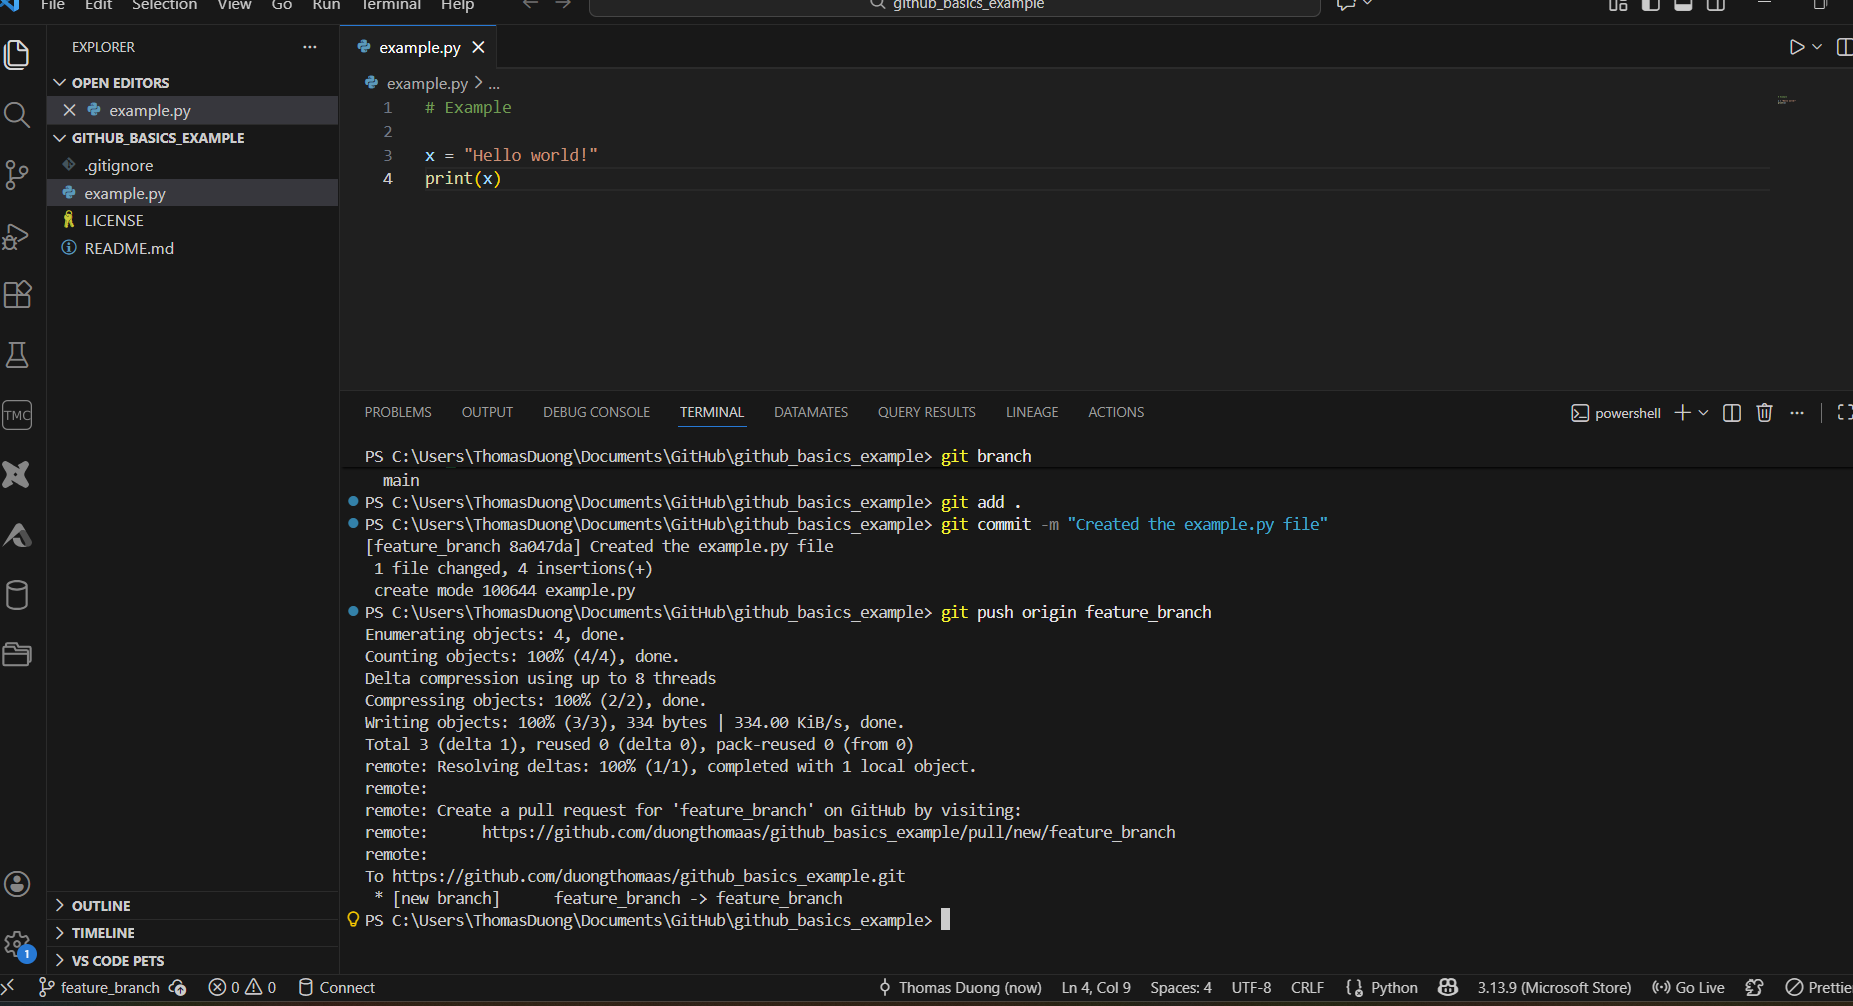
9) On GitHub, you'll see a new pop-up: Compare & pull request.
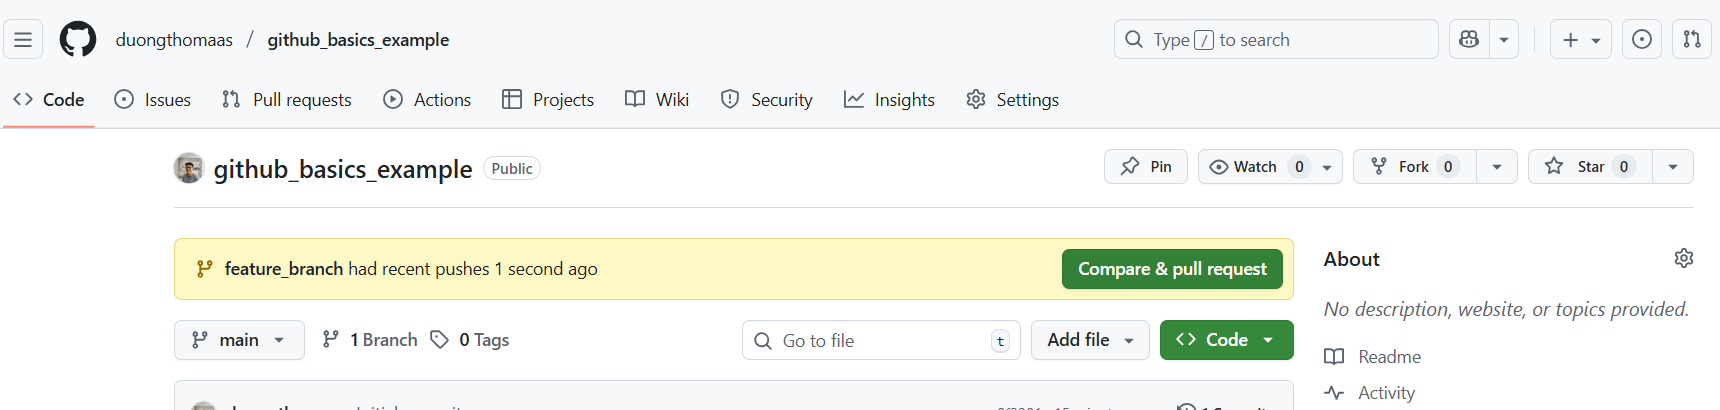
Then,
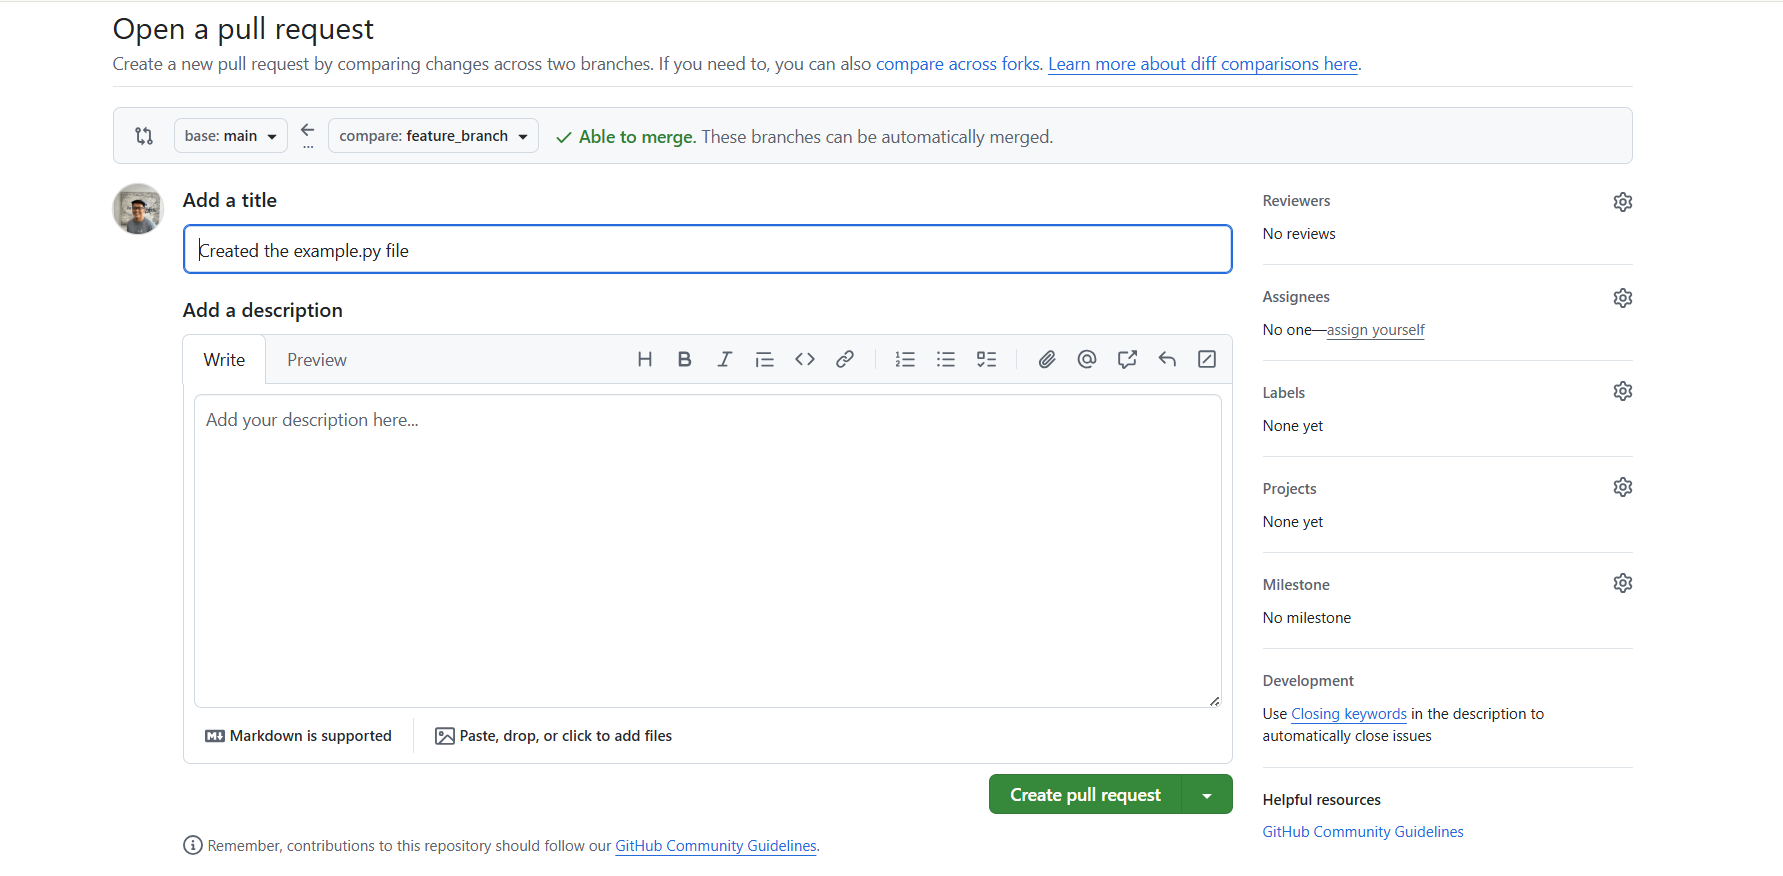
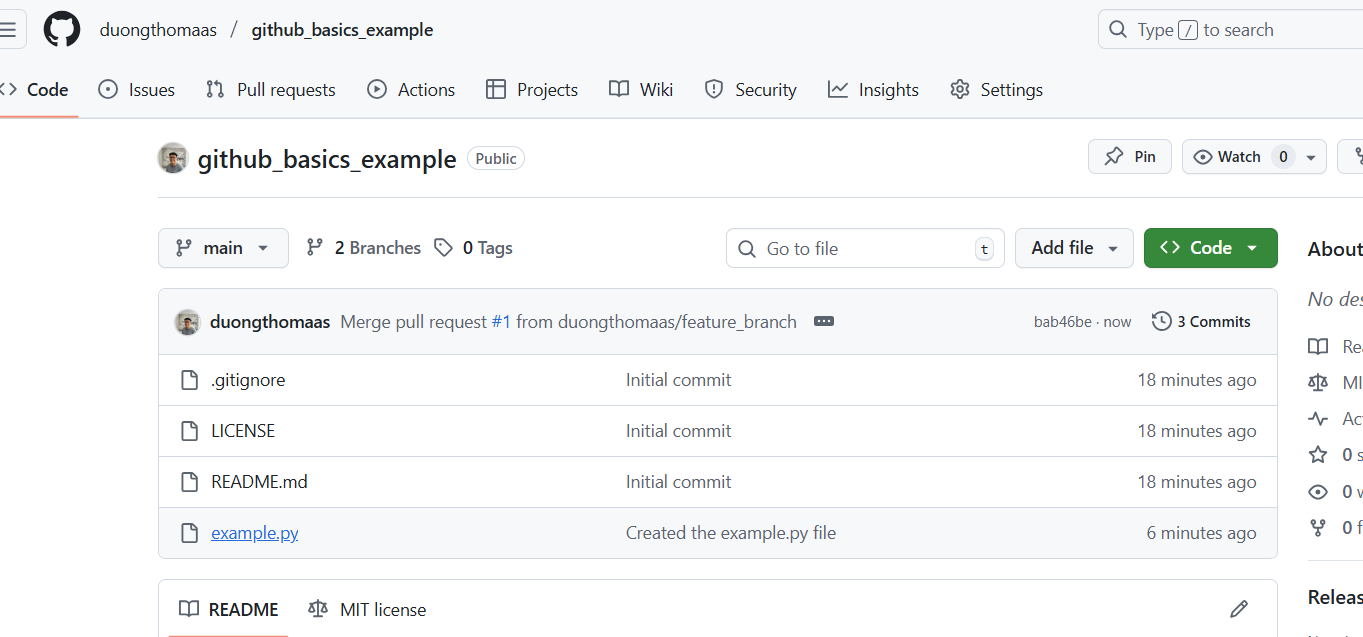
10) Merge pull request.

The example.py file is now on your GitHub! :)
For more on git commands, check out this cheat sheet - https://duongthomaas.github.io/git_commands_cheat_sheet/