


If you've checked out my blog post on the Join Tool in Alteryx, you'll be pleased to find out that the Union Tool combines data in the same way as most other applications with a few more options.
What is a union?

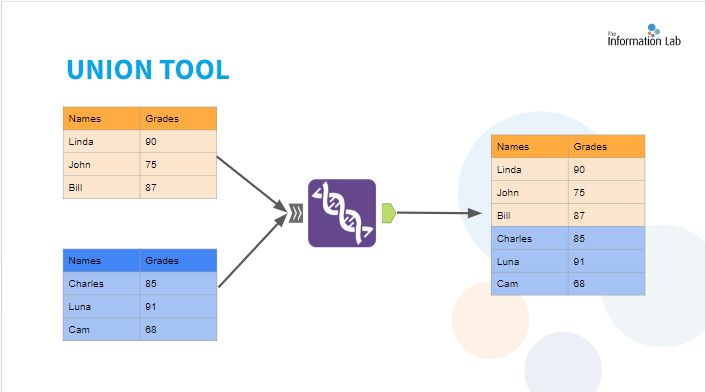
- The Union Tool can be used to combine two or more datasets with similar fields.
- Each table is then "vertically stacked" onto one another. This means that when you union your data it will get longer rather than wider in most situations.
- The Union Tool has a grey input anchor (shown on the left) with two '>>' this means that you can attach as many datasets as you'd like. This is different from the Join Tool which only allows two inputs, one in the left anchor and the other in the right anchor.
The different union types in Alteryx
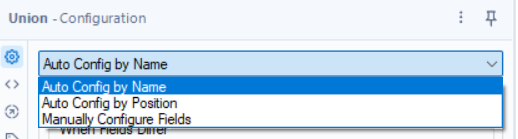
Auto Config by Name
- This configuration stacks the data by column names.
Example:

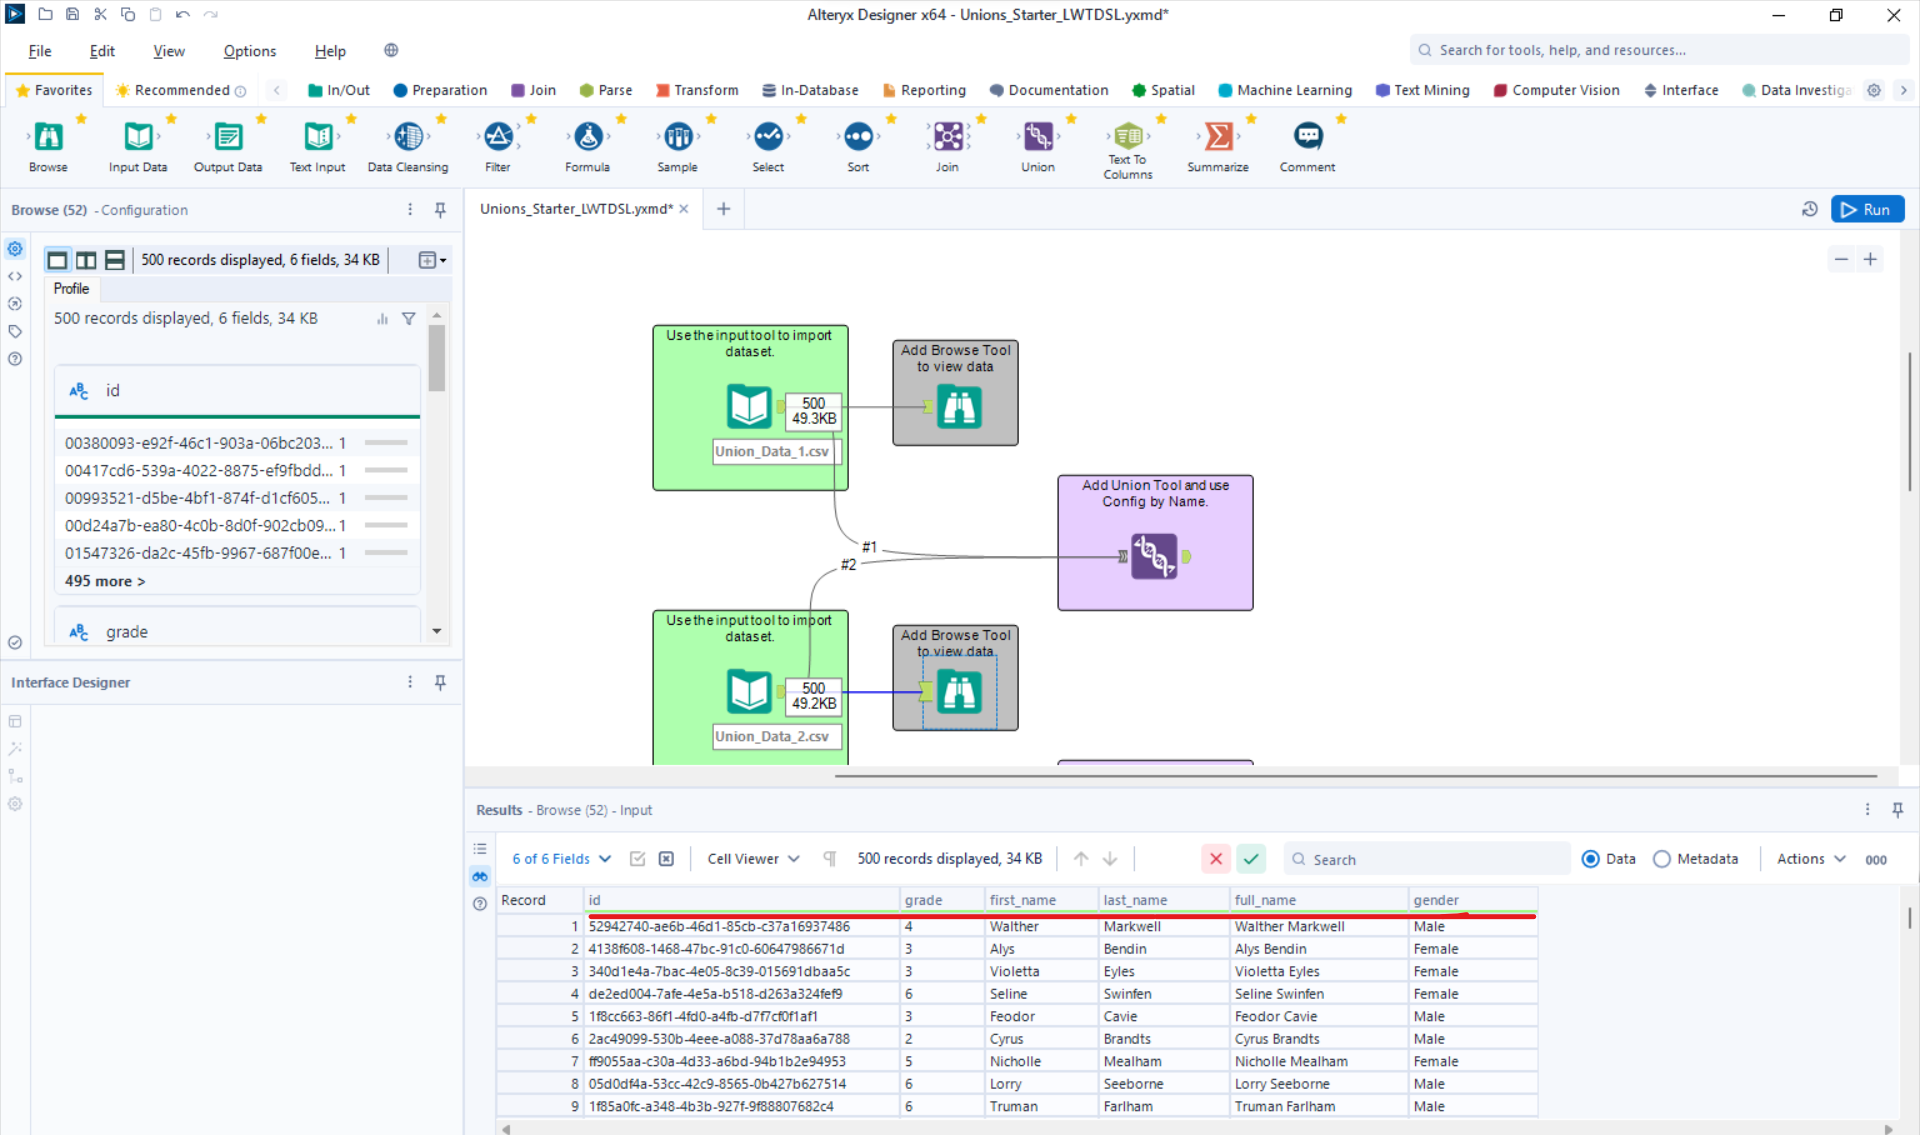
For the next part, I will union both tables using the union tool and configuring by Name.
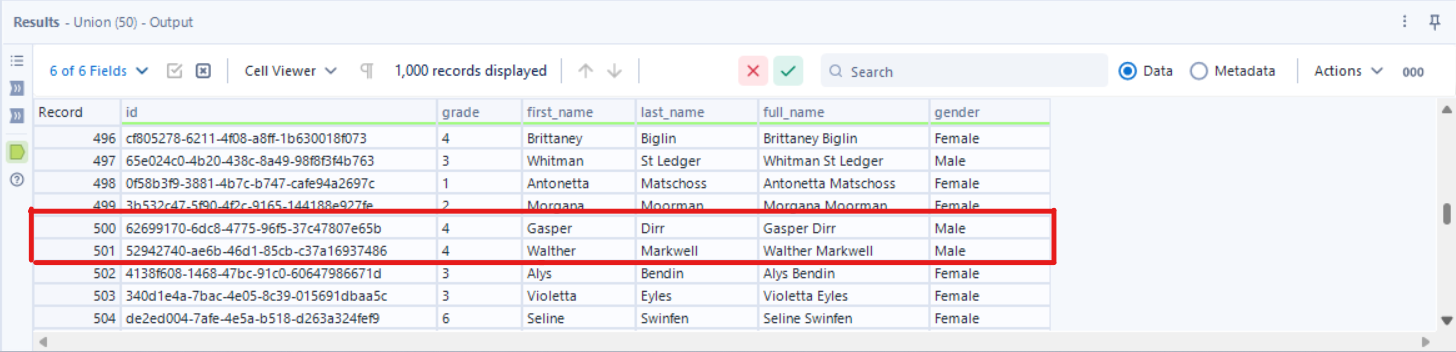
As a sanity check, I like to scroll down to the end of the first table (result 500 in this scenario) and check that result 501 is the start of the second table.
Important notes:
- It doesn't matter how the columns are positioned as long as the column names are the same Alteryx will stack them correctly.
- This will not be the case for misspelled columns and will not work even if the fields are the same between both tables. Once Alteryx sees a new column name it will create that as a new column regardless of what is contained in the column.
- Take the example above, if I switched gender in table 2 to genders, it would generate a result with 7 columns, and after record 500 will show [Null] from 501-1000 in the 6th column.
Auto Config by Position
- Stacks the data by column order even if the column names are different.
- This means that whichever data stream is #1 will generate the column names in the output.
Example:
Let's bring back Table 2 for this example.
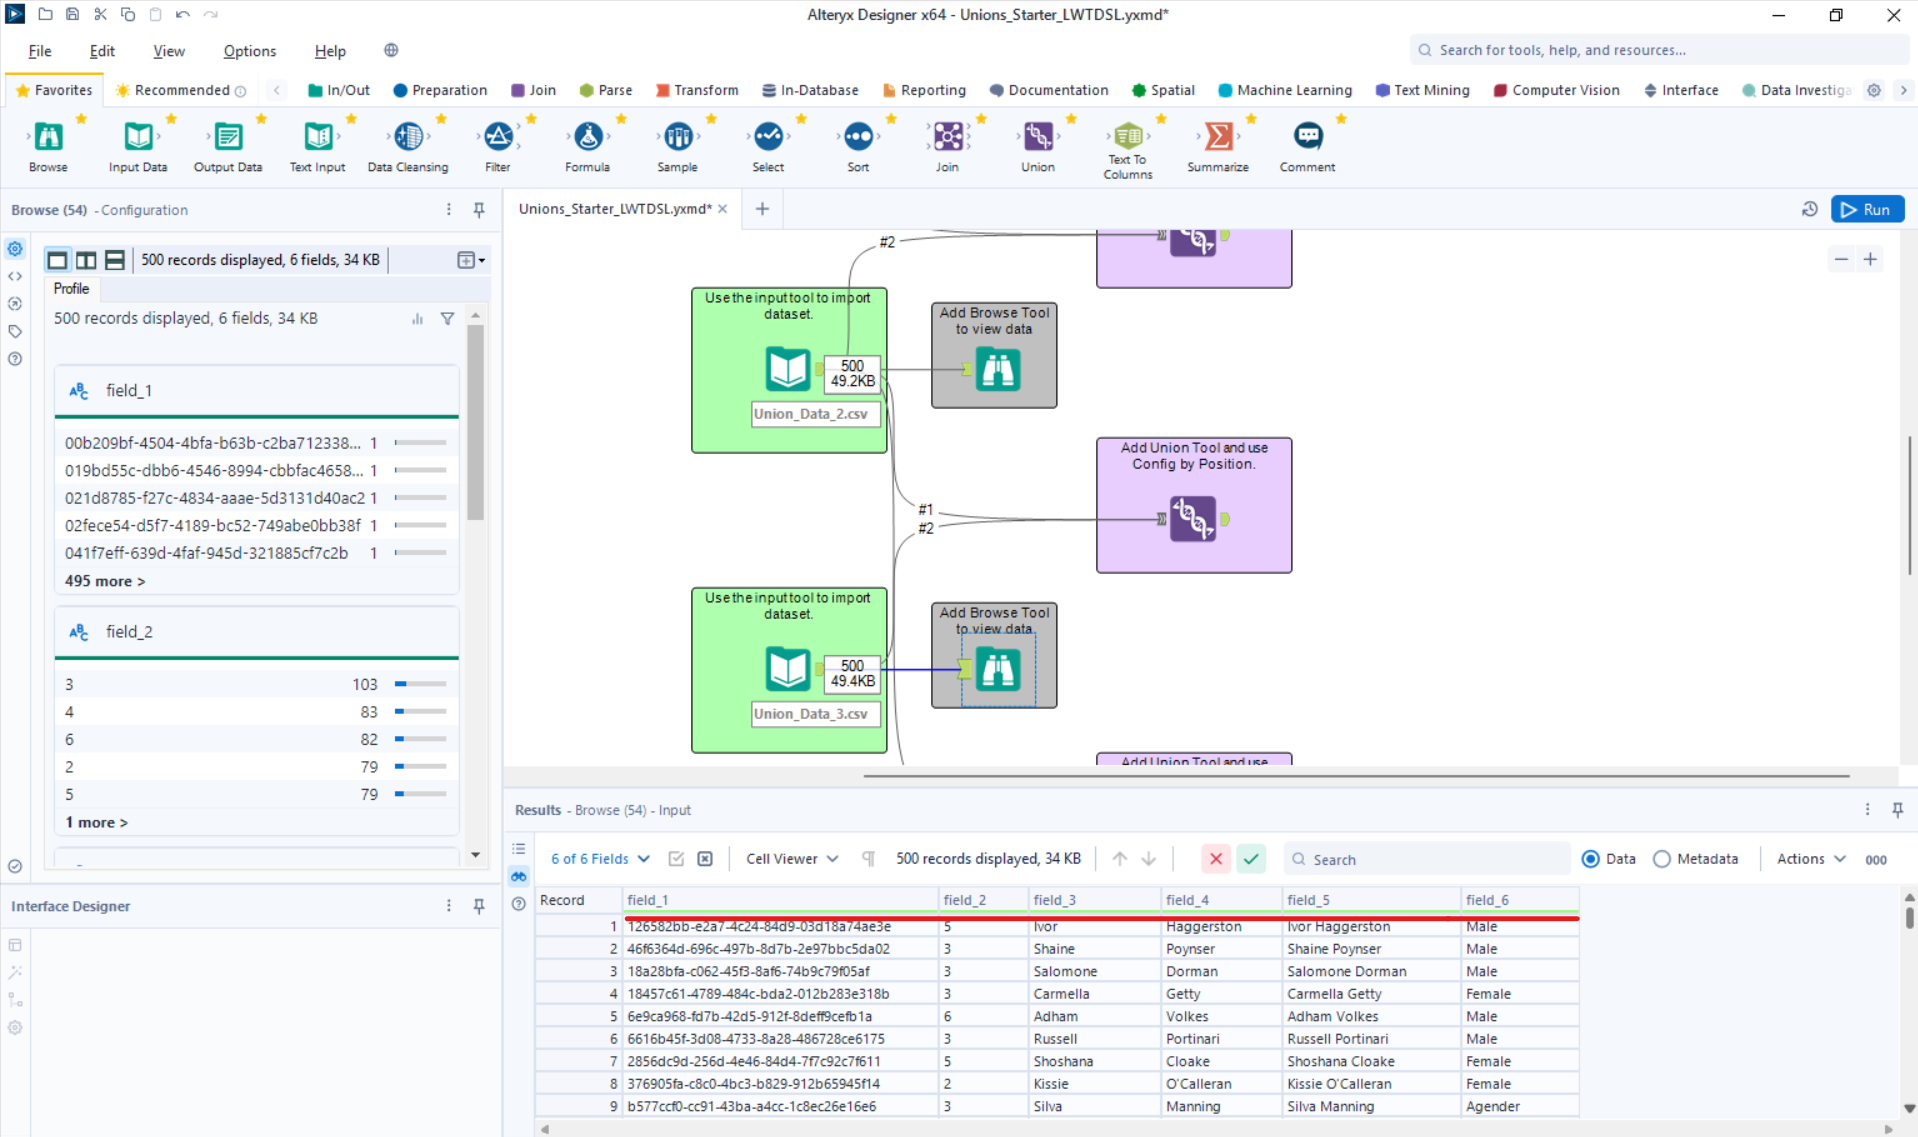
Now, let's union the data by Record Position.
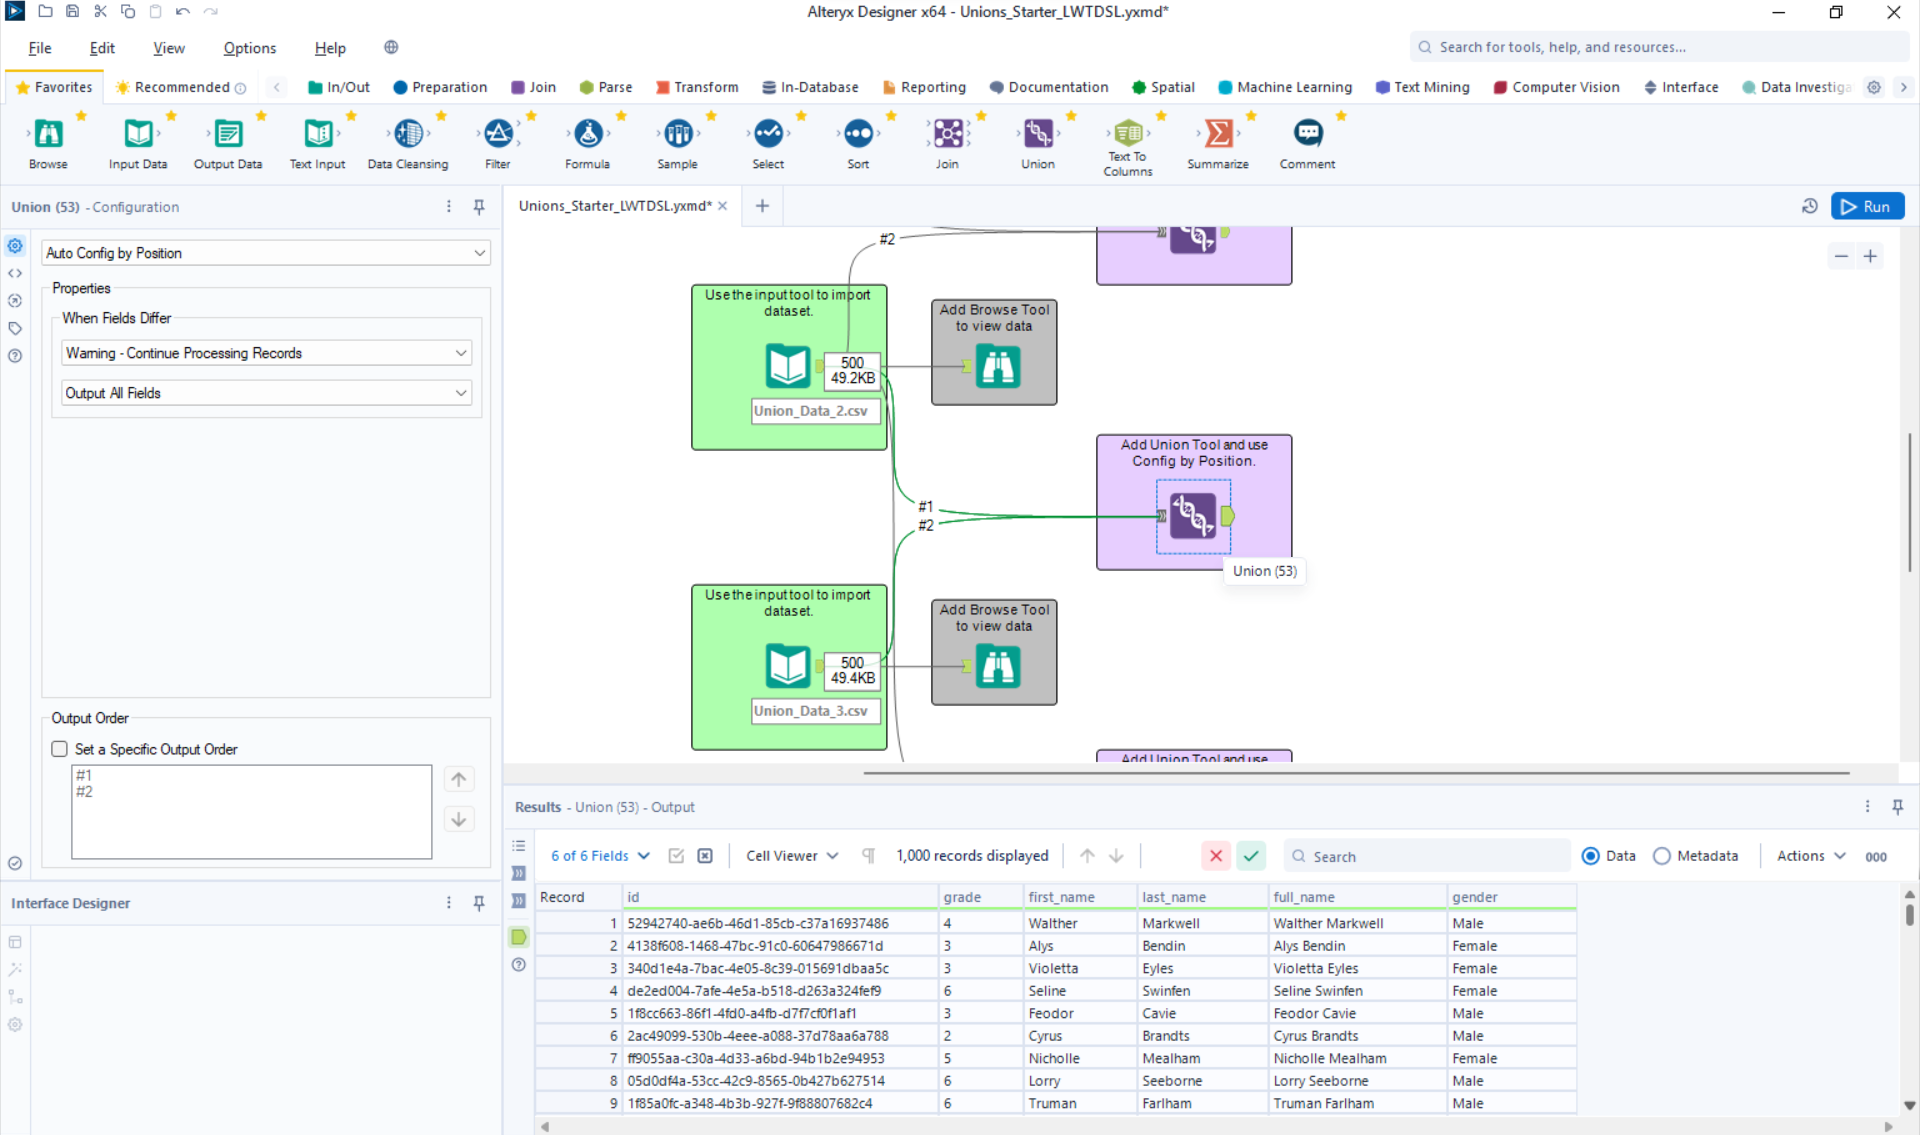
As, explained above we can see that the data was stacked on top of each other even though the column names were different. That is because Alteryx is stacking based on the field Position and not the Names. If we did this union by Name we would end up with 12 records of data because the names don't match, even though the data does.
Manually Configure Fields
- This can be used when column names and column orders are different.
- This can be done by looking under properties and moving the arrows to re-order your columns.
- Though rarely used it allows you to have a lot more flexibility with your union.
- The default view for this option is stacking by Name.
Example:
Additional Elements
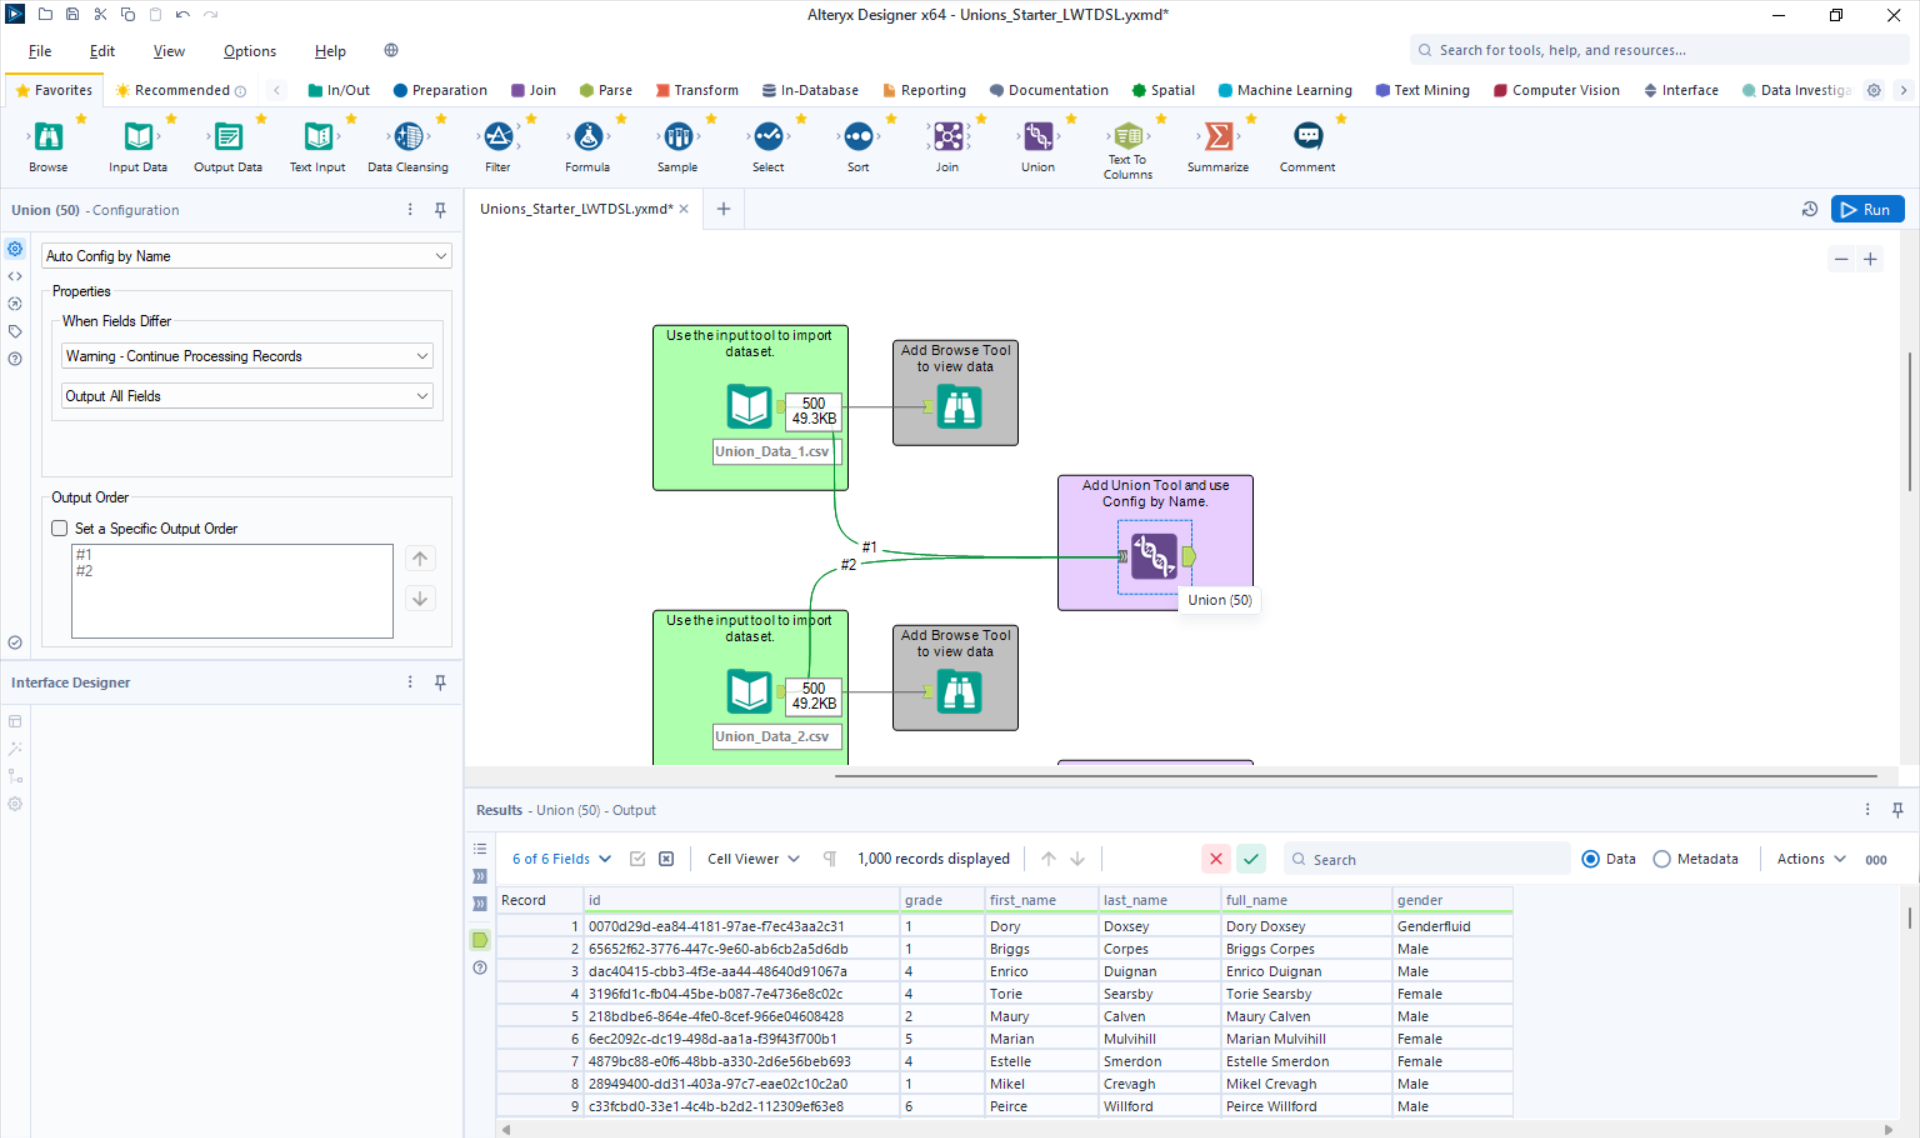
When you select by Name or by Position there will be property options that appear in the Configuration pane.
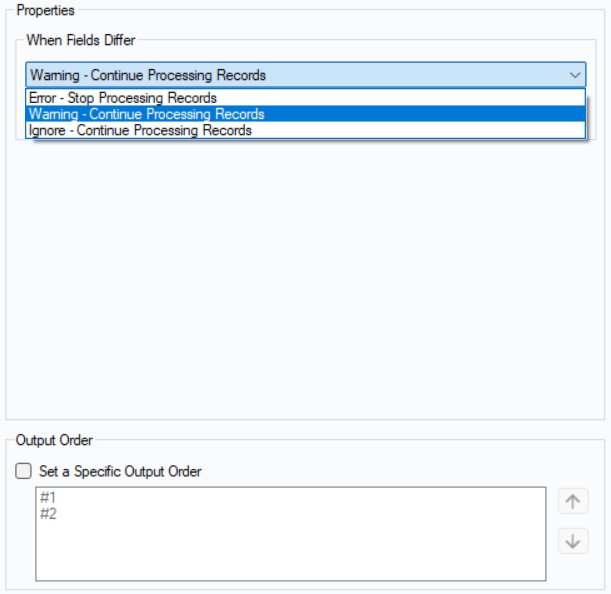
When Fields Differ
- Error - Stop Processing Records: This will generate an error when you try to run your workflow and will stop when an issue occurs.
- Warning - Continue Processing Records: This will generate a warning but will not stop your workflow.
- Ignore - Continue Processing Records: This will not generate any message even if there is an issue with the workflow.
Output Order
- This is where you are able to order how the tables are processed.
- All you have to do is check "Set a Specific Output Order" and then select which data stream you want to move and adjust with the arrows to the right.
- This means that whichever stream is placed on the top will be the first results shown in the union.