


Before breaking down the Join Tool within the context of Alteryx, it is important to recognize that the joins do not work in the same way as joins in SQL.
What is a Join?

- A tool that can be used to bring together two datasets to create one cohesive dataset.
- To do a join there must be at least one common field.
- The join tool is normally used to add information/ fill in information to existing records.
- Unlike unions, joins make your dataset wider.
- It is important to note that unlike the union tool you cannot add as many datasets into the input anchor. You MUST ALWAYS have one in the left anchor and one in the right anchor. (See image above.)
The two join types in Alteryx
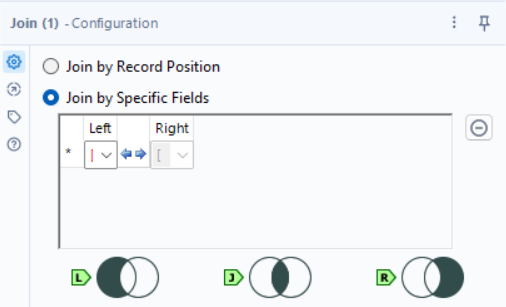
As you can see in the image above there are two ways to configure a join.
Join by Record Position
- The output contains the rows that matched based on the position of the data within the 2 tables.
- Use caution when using this method as any changes will affect the results of your joins.
Join by Specific Fields
- This will produce results based on the specific fields you decide to join on.
Understanding the Outputs
There are 3 different outputs that come out of the Join Tool. For the examples below I used two tables one consisting of 500 records and the other consisting of 1,000 records. I will be joining them by specific fields and matching them on customer_id.
Left Output
- Returns everything that doesn't match on the right will appear.
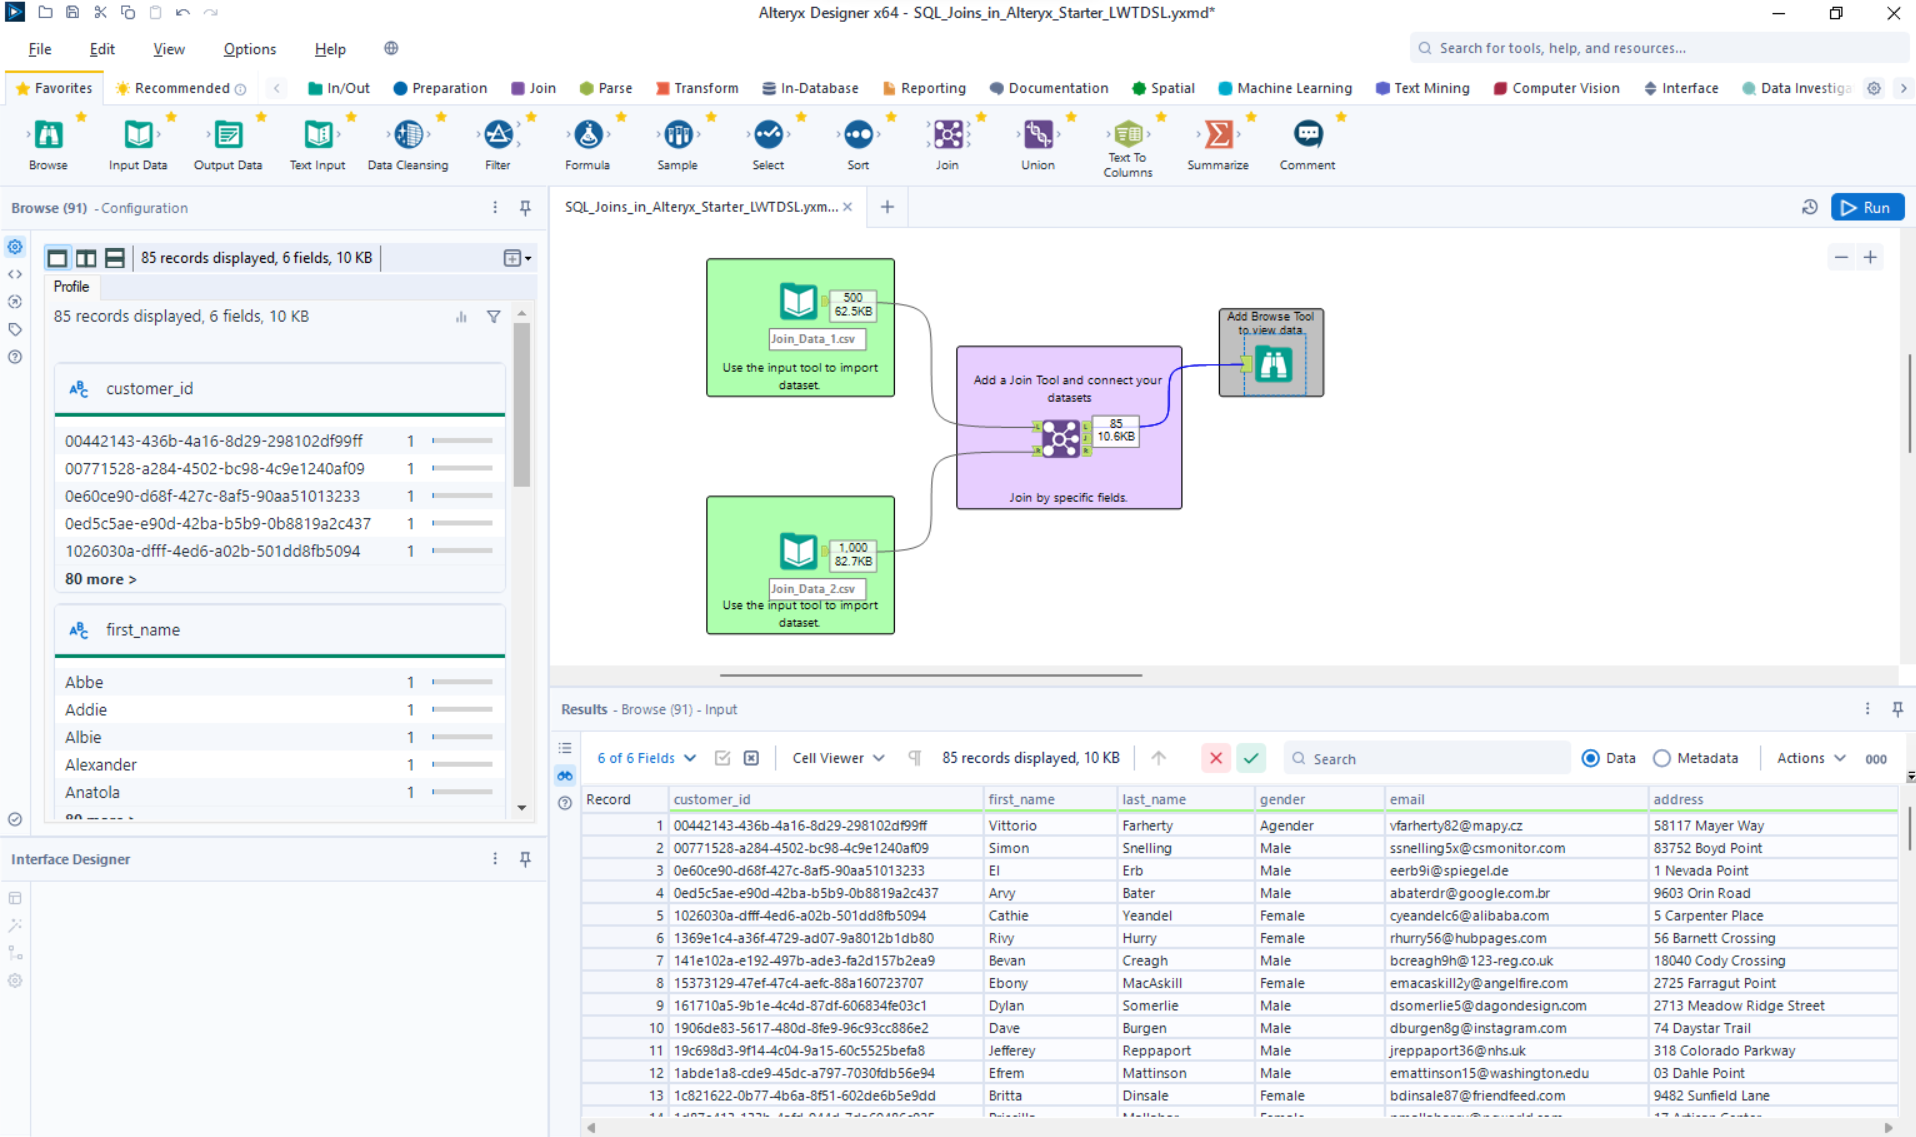
Join Output
- Returns everything that matches in both the left and right table will appear.
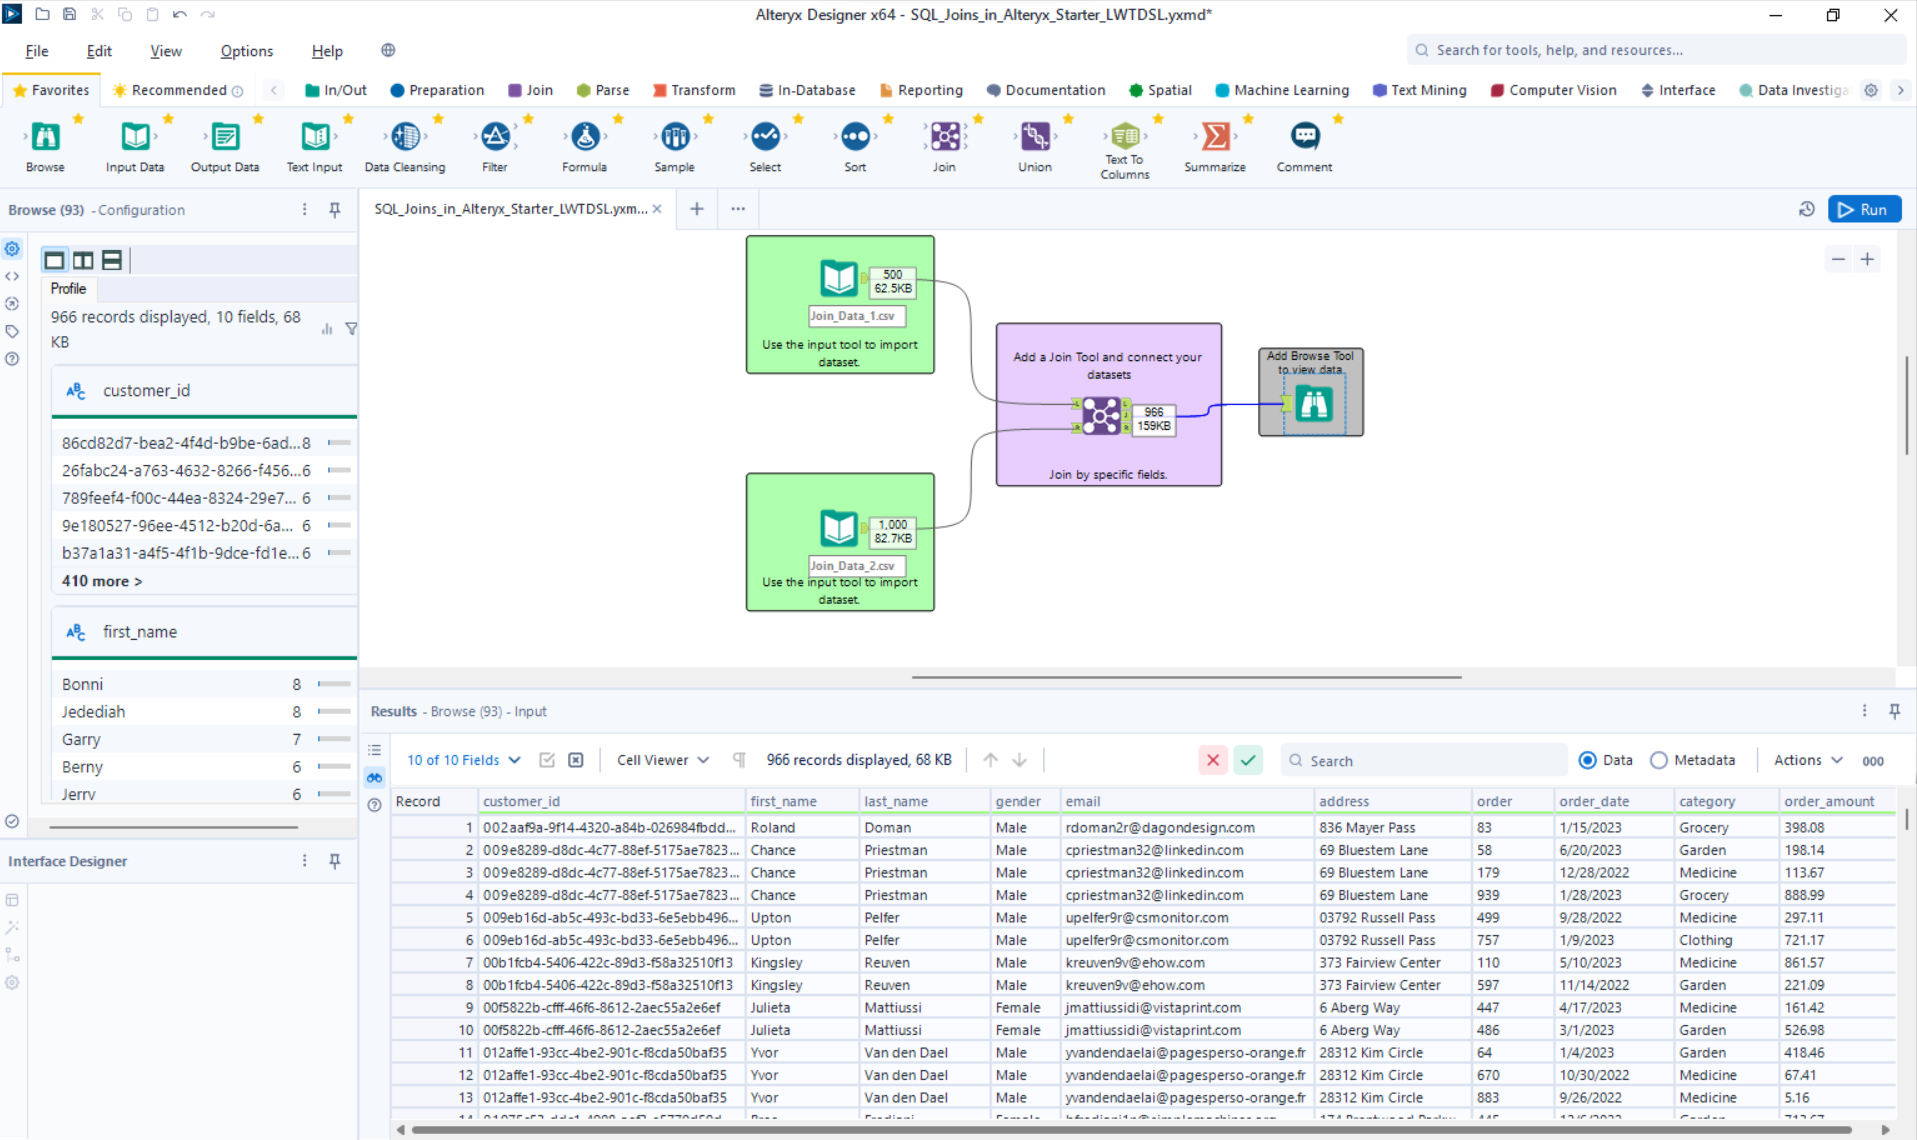
Right Output
- Everything that doesn't match on the left will appear.
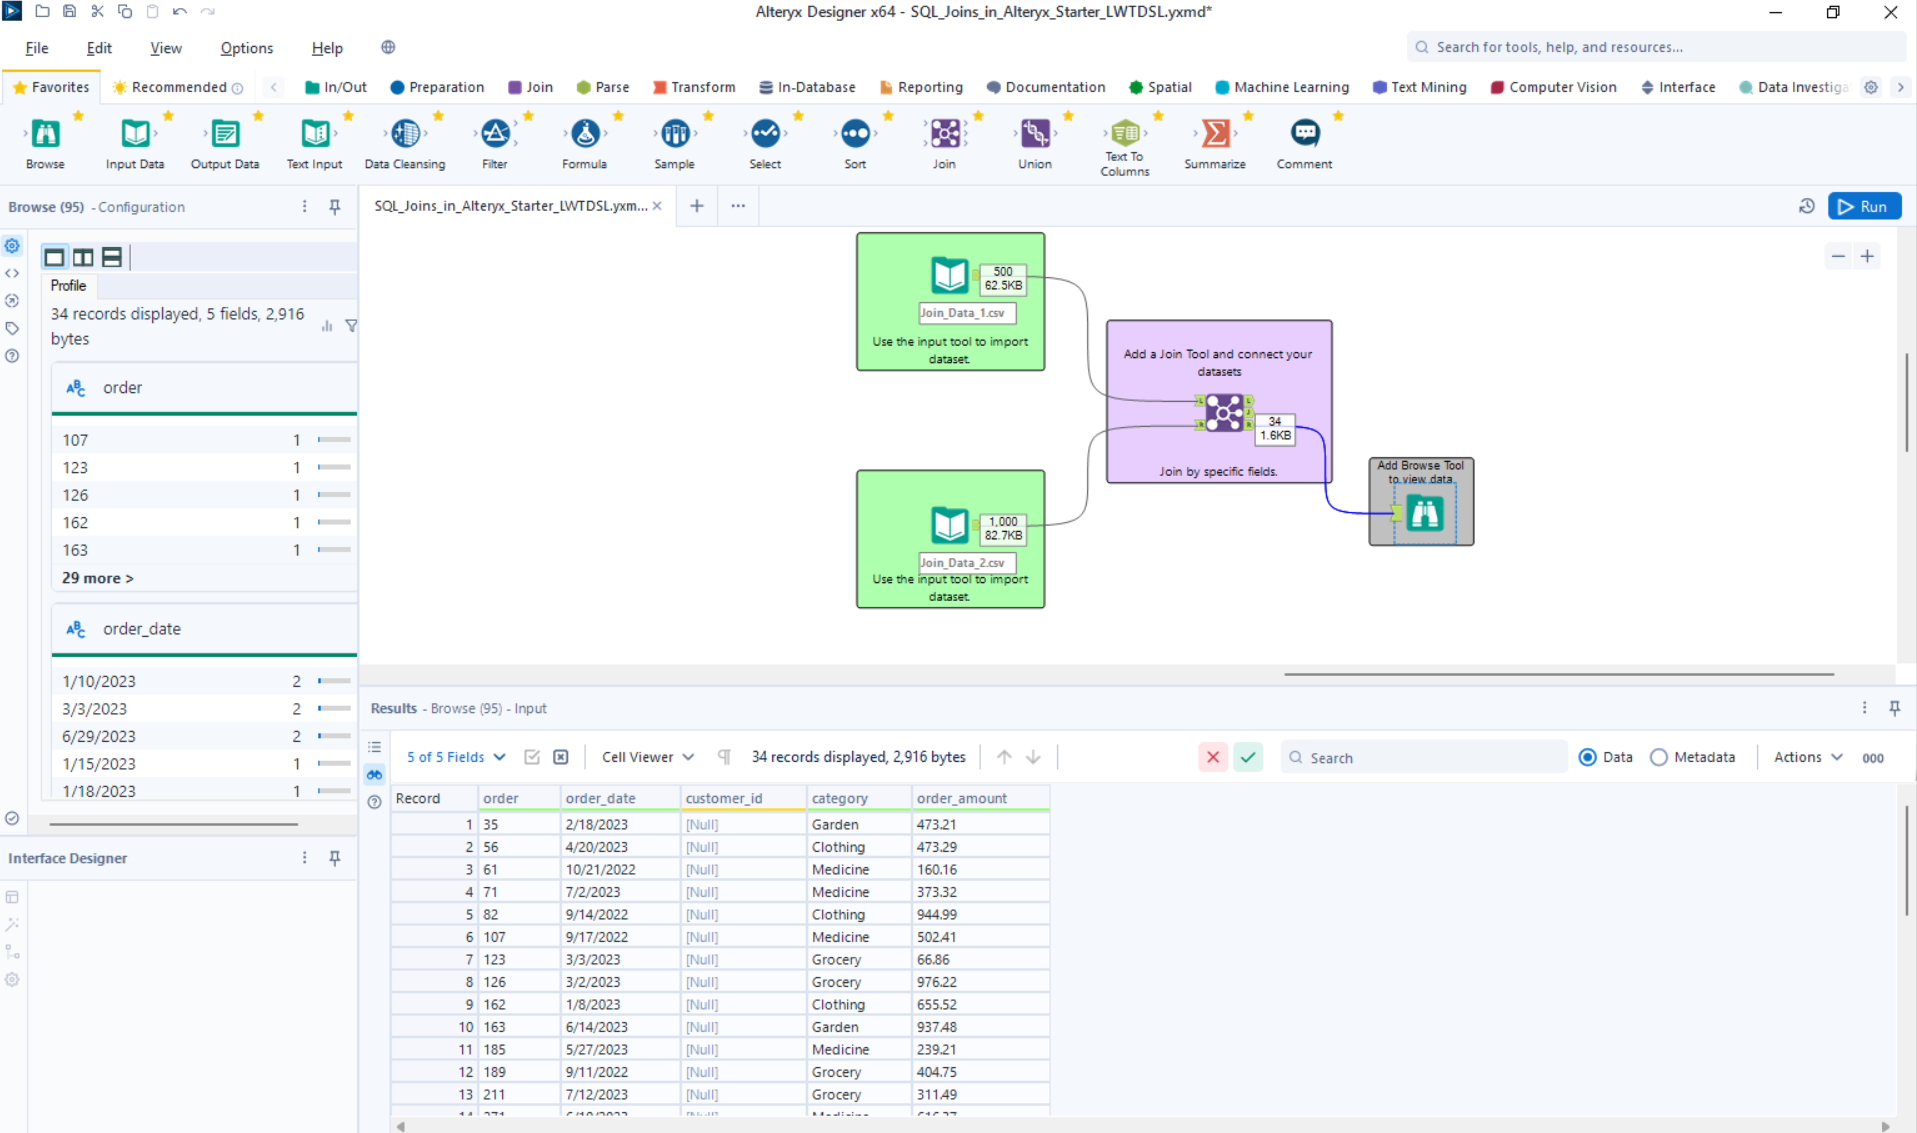
When you add together all the output results you will see that all 1,500 records have passed through in some capacity.
Additional Elements
Options in the Configuration pane.
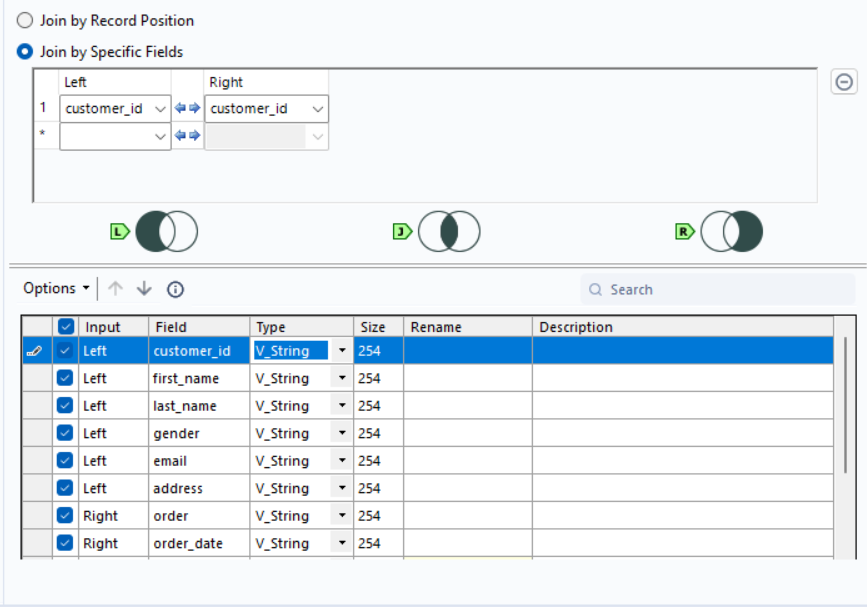
Once you begin a join this will be the configuration pane you will see. The lower half is what I use the most. Here's why:
- You can move fields up or down using the arrows to the left of 'Options'. In order to make that happen, you must have the field highlighted.
- There is the option to uncheck field you do not want to have transfered over in your results. In this example I joined on customer_id which appears in both the left and right table. To unclutter my results I unchecked the duplicate input, since the information would still exist.
- There is also the option to change the data type, but I highly suggest using other tools to configure this portion for easier handoff on projects. Also, by changing the Type you will also change the size allowed in that field.
- You can also rename your columns should you want by typing in the new name next to the field under 'Rename'.
- Lastly, you can add descriptions to each field here under 'Description'.