


Adding custom shapes to your charts in Tableau Desktop can open you up a world of creativity. You're no longer limited to just the pre-existing shapes that come with Tableau :)
This is a beginner-friendly guide on how to find and add custom shapes into Tableau Desktop.
Here's how...
Step 1: Find your custom shape
Your custom shape should ideally have a transparent background to it. This way the shape won't interfere with other chart elements in Tableau, and you'll be able to produce a more impactful data visualisation.
For this reason, PNG and SVG image formats are preferred for your custom shape.
Great places to find custom shape images include:
If you can't access FlatIcon or Noun Project within your organisation, you can also use Google to find PNG icons, however some of these images may be copyrighted.
To do this, add the words "icon png" at the end of your search query in Google.
Step 2: Locate "My Tableau Repository" on your computer
To add a custom shape into Tableau Desktop, we need to save the image in a very particular location on our computer.
If you open up File Explorer and navigate to "Documents", you'll notice there is a folder called "My Tableau Repository".
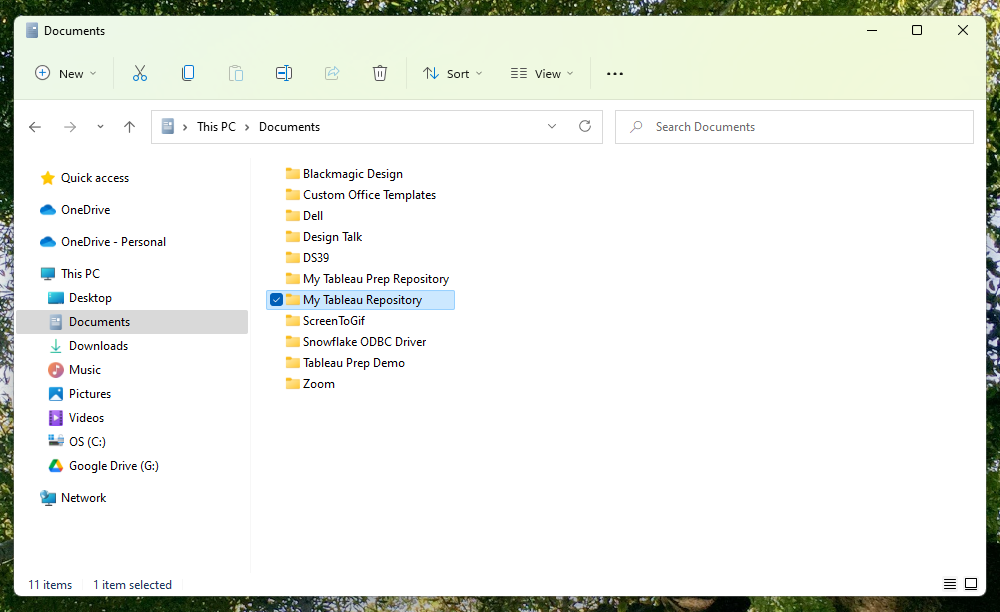
If we look inside this "My Tableau Repository" folder, there is a folder specifically for "Shapes".
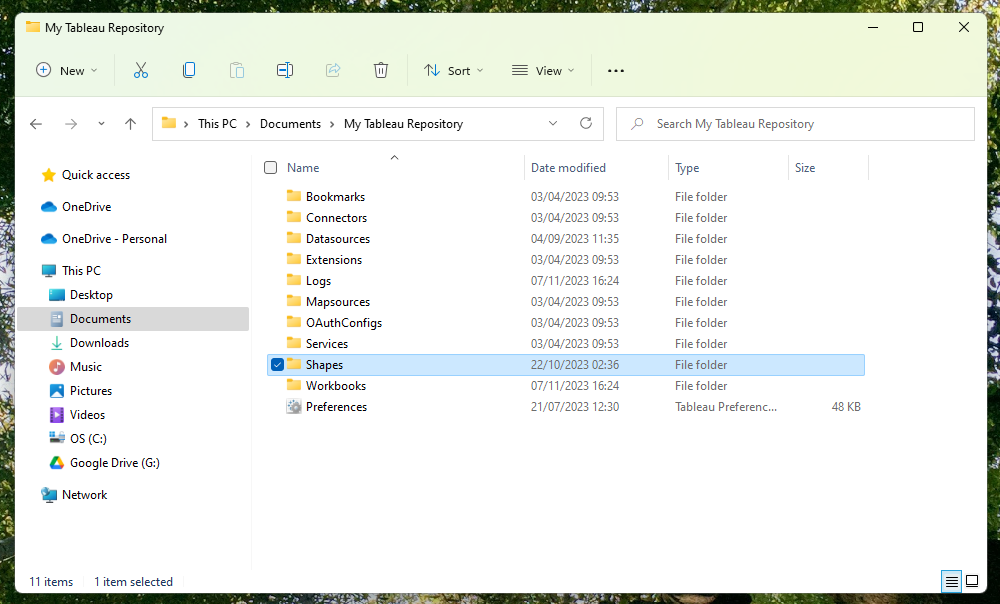
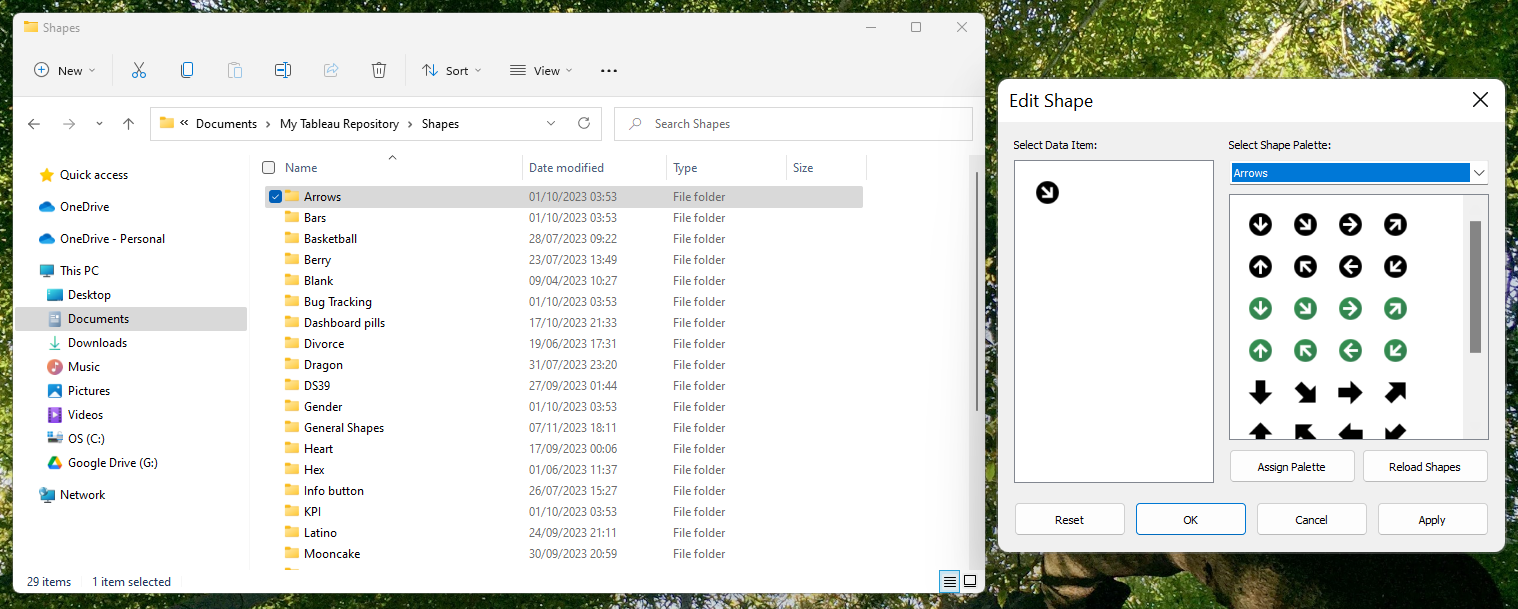
Inside the "Shapes" folder, we can find a variety of folders containing pre-existing icons that can be accessed via Tableau Desktop.
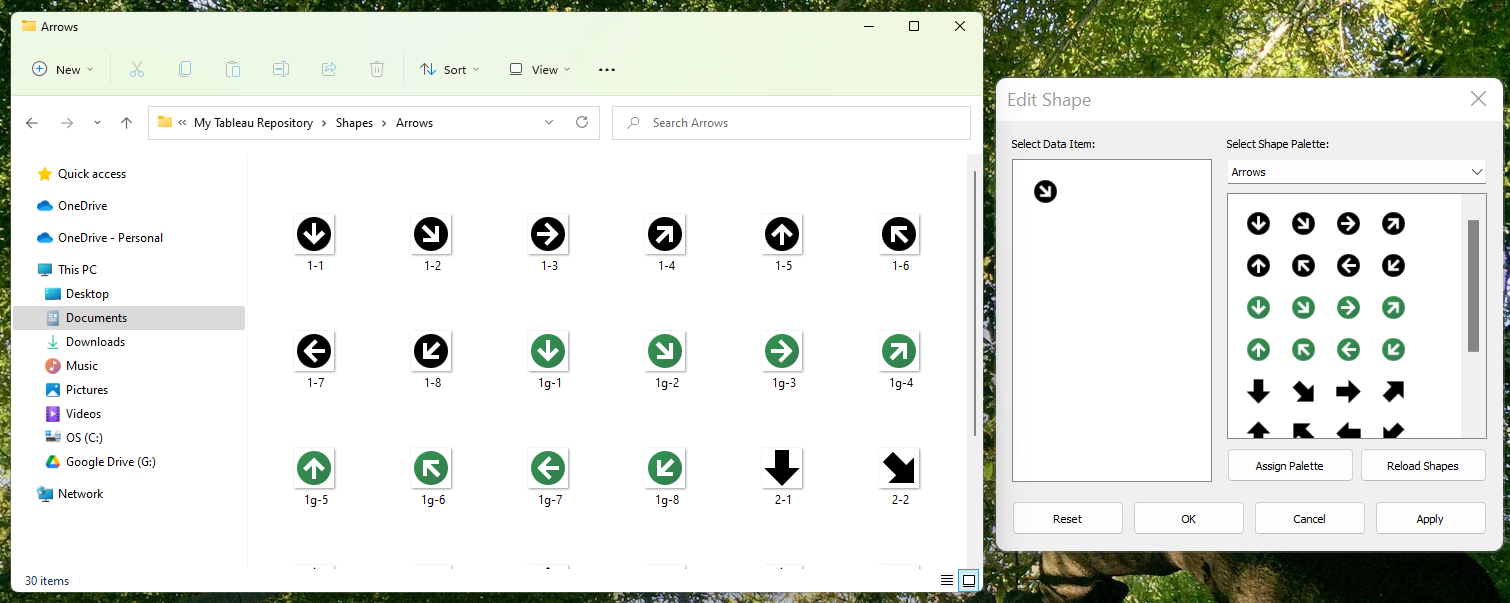
For example, if we look more closely at the "Arrows" folder, we can see all the arrow icons saved inside the folder.
So to add our own custom shapes into Tableau Desktop, all we have to do is create a new folder within "Shapes" and save our custom icons inside.
You can make as many new folders as you'd like for different icon sets!
Step 3: Save your shape(s) in "My Tableau Repository" > "Shapes"
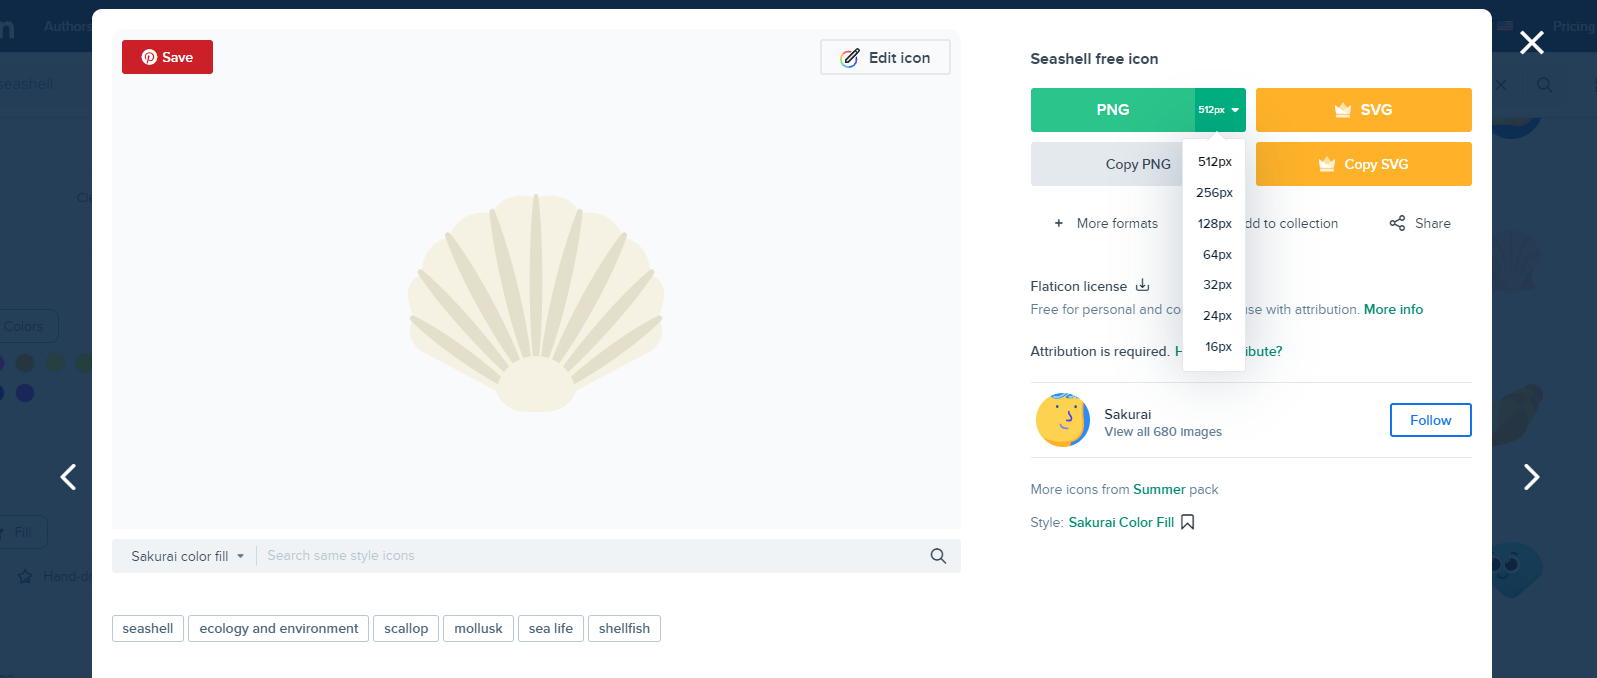
I found a pretty Seashell icon via FlatIcon (by Sakurai) to use as an example.
Start by downloading the icon as a PNG (512 px is best quality)
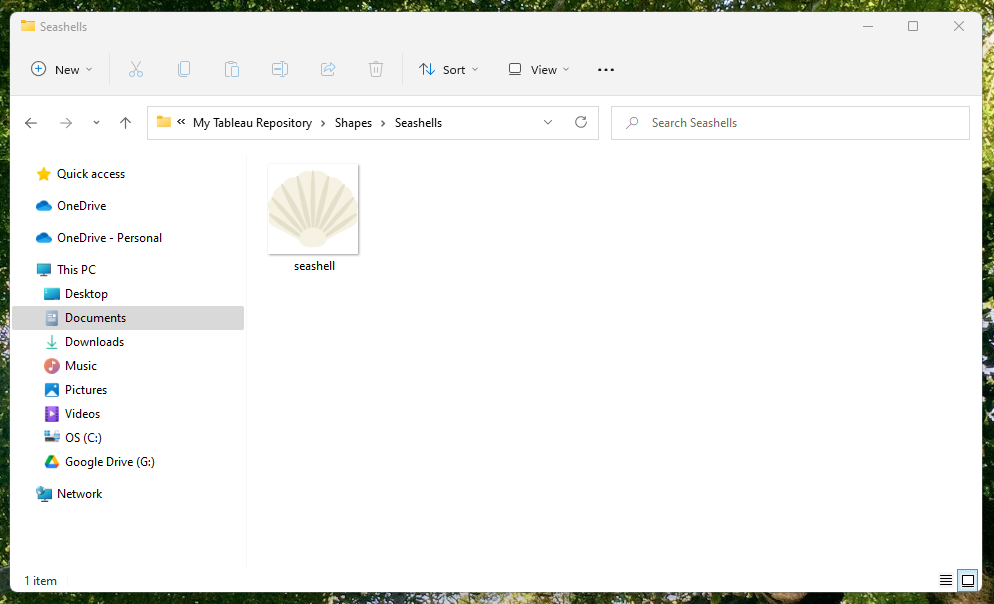
Navigate to "Documents" > "My Tableau Repository" > "Shapes" and create a new folder.
I've named mine "Seashells".
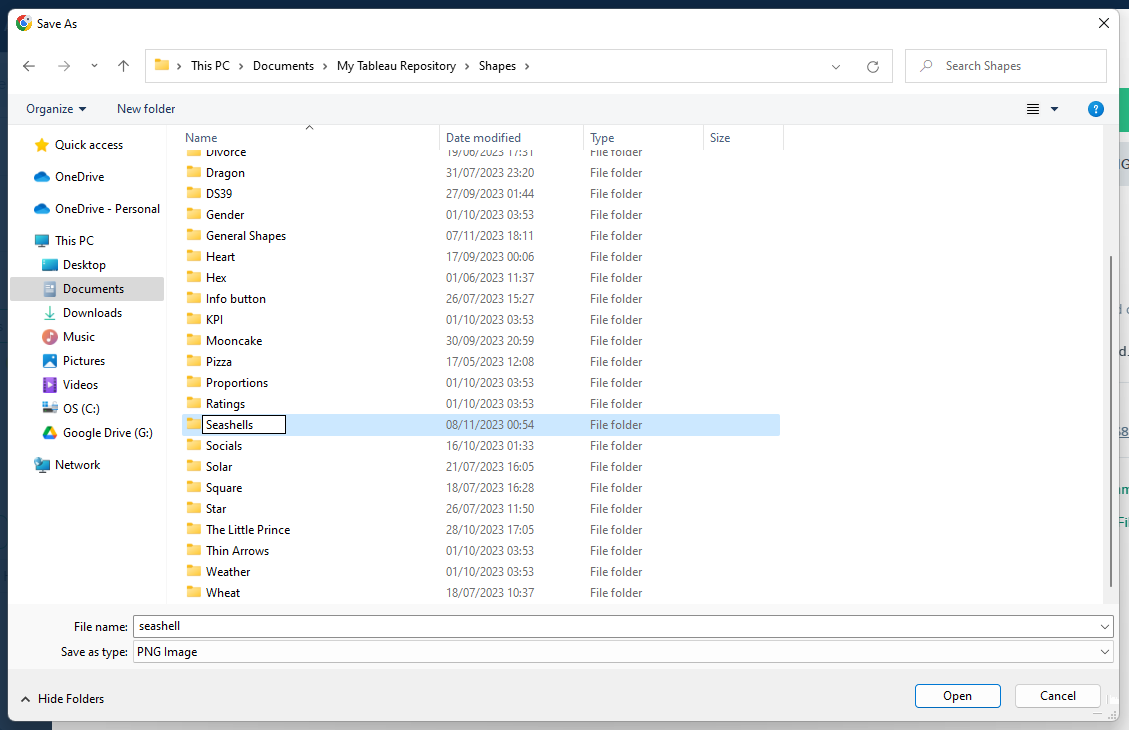
Save your image inside this new folder you've created.
Step 4: Use your Custom shape in Tableau Desktop!
Now that we've saved our custom shape in the right place, we can now use it in Tableau!
For example, if any of my charts uses a Shape Mark type, I can now customise my shape to my desired icon. To do this, click on the Shape card in the Marks card and select "More Shapes..."

On the Edit Shape window that opens up, first click "Reload Shapes" - this will ensure that your newly added custom shapes show up.

Now under "Select Shape Palette", find the folder name you created for your custom shapes. I called mine Seashells.
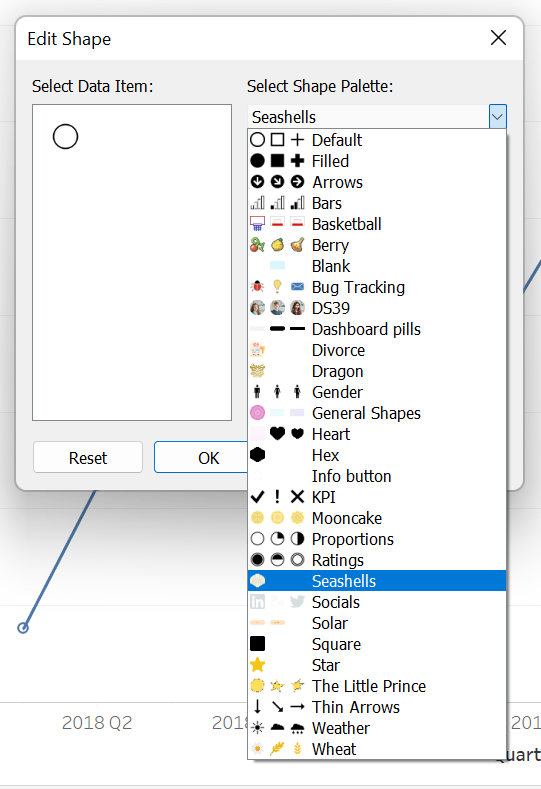
From here, you can either select "Assign Palette" to randomly assign icons within that folder to data points.
Otherwise you can manually select a Data Item and click on the icon you would like it to be.
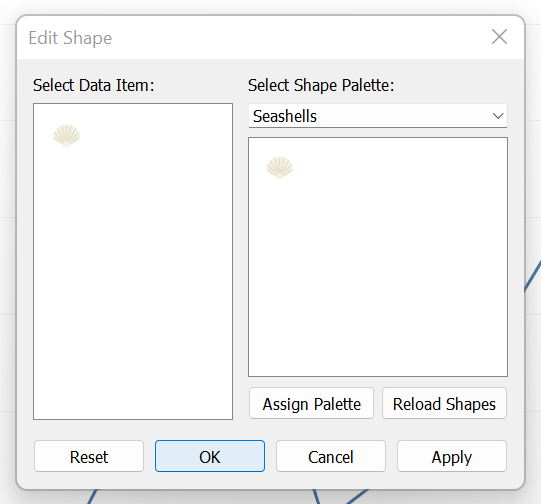
Once you're all happy, hit OK. You've now added a custom icon to your chart! :)

Step 5: Customise your chart further!
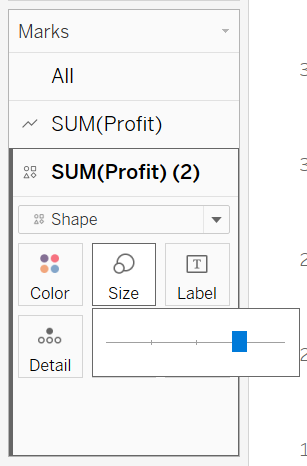
Size
If you're shape icon is too small or too big, you can adjust the size of your shape by clicking on the Size card on the Marks card and adjusting the slider.
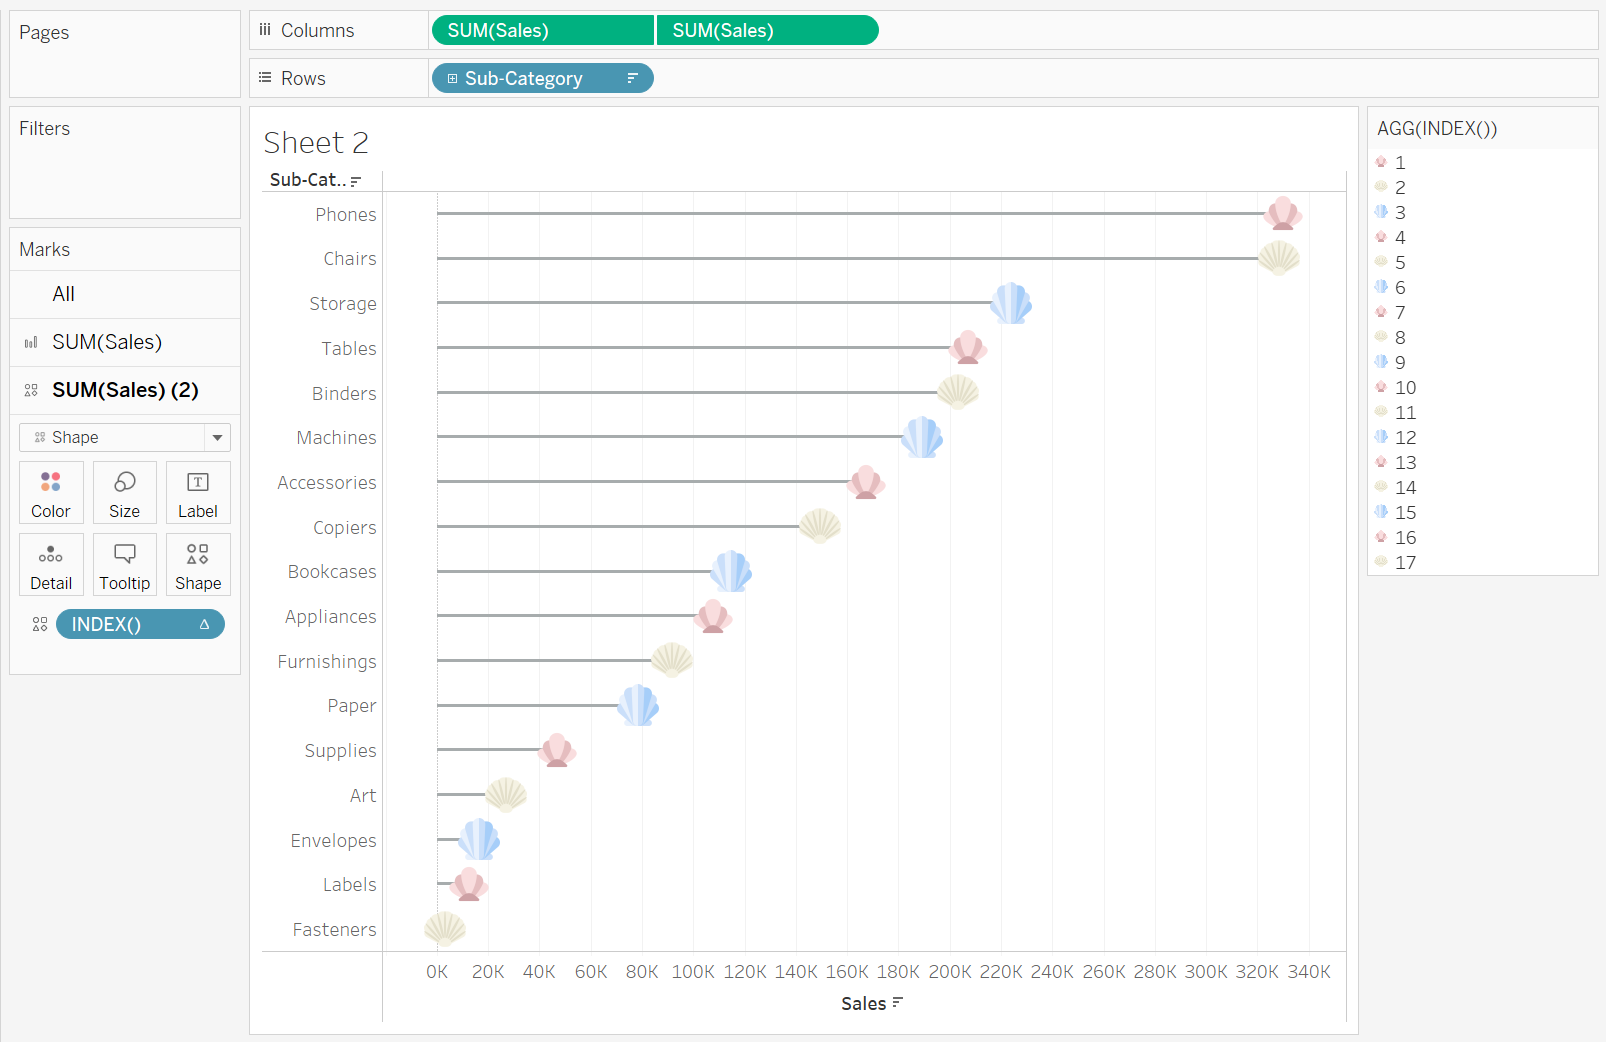
Assortment of shapes
You can also add more than one custom shape to your charts! To add shapes completely randomly, you can use the INDEX() calculation and drag it onto the Shape mark.
How to create a Lollipop chart in Tableau
I hope this comes in useful! Have fun playing around with custom shapes :)
Feel free to connect with me on Tableau Public, LinkedIn or Twitter.