Macros; what are they and why should we use them?
A macro is a workflow that you can create within Alteryx to then drop into another Alteryx workflow. These also exist in similar veins within other products or even from other items within the PC space, they essentially click Items that can be processed together and then used on a single click. This is almost like Alteryx itself, a set of instructions to be carried out when run; though the difference on Alteryx is that you are creating are these to run Alteryx workflows within another workflow, and this can become macroception.
These would be used in many situations; but are often used to replace copy and paste within Alteryx, allowing for easier changes when, for example, you are loading multiple similar worksheets into a workflow.
There are 4 types of Macro’s available on Alteryx;
- Standard Macros
- Batch Macros
- Iterative Macros
- Location Optimizer Macro
We will briefly touch upon these here but expect to see more in-depth macro explanations follow over the coming weeks.
How do I set up a macro?
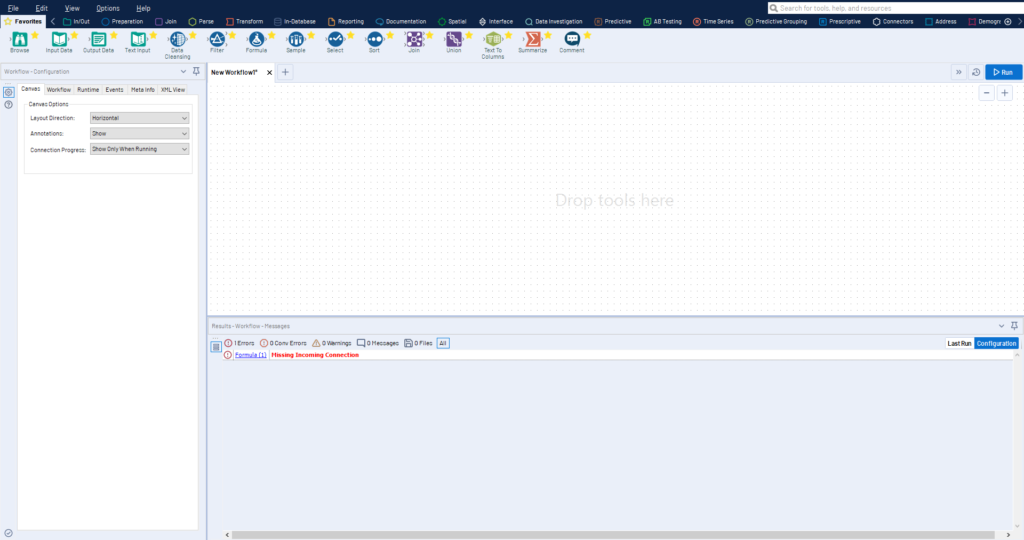
When you start a new workflow within Alteryx its default is to change to a standard workflow, this however, can be changed quite easily all you need to do is find your side bar (Left Hand Side) and make sure you are clicking on a blank area within the right hand window and you will see this window:
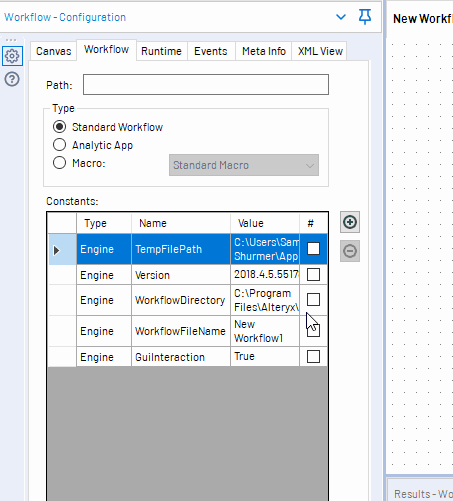
To change this, you need to find the workflow button in the top corner, and then click the workflow button. This will lead the sidebar to change and display the options for assigning the workflow to a new classification; standard workflows, analytics app, and macro. This will default on standard workflow. We will not discuss analytical apps here, by they are essentially macros for tableau gallery allowing the user to upload workflows for use by others within the workgroup that don’t have designer themselves.
Then you can choose the type of macro that you want by picking from the drop-down menu:
For the Macro to be complete you will be required to create a macro input, nearly all macro tools can be found in the interface tab at the top of Alteryx, the macro input is depicted by:

There are 2 choices of possible input, either text or file, these depend on the type of input required generally files will be used for more local commands while text will be used for small instructional inputs or API (URL) inputs. It is also possible to take a shortcut here and insert an ordinary input data tool and then right click convert to macro.
Your macro will also need a macro output, this also be taken from the interactions command bar, these can just be drag and dropped like any ordinary command. There can also be multiple macro output, so you can insert more than one input to a workflow. This is similar to inbuilt tools, such as join, that output more than one result through the multiple anchors. This can get confusing however, fortunately Alteryx has thought about this and will allow you to add letters to the output tabs so you can define which is which; these can be found by clicking the macro output (within the macro) and changing the Anchor Abbreviation space, only a maximum of 1 letter can be assigned.
So what situation would I use each Macro?
The 4 types of macros all have different uses, but deciding which one to use is a fairly easy process as they each have a very different tool set:
- A standard macro is best used in situations where a workflow is repeating itself, so originally you would find yourself a copy and pasting various parts of the workflow together, allowing you to create the flow faster. Some users use them to create easier to read workflows, as they can be used to contain large swathes of changeable functions (actions can have actions attached allowing for changeable terms within the tool without changing its fundamental makeup).
- Batch macros are probably the most useful; they allow a user to create a macro that runs multiple times within the workflow and creating different outputs each time (that are often Unioned). This can be very useful in situations where many different, but similar, tables are bought in from excel or another source; saving the user from importing them all manually. This could also run multiple formulas across these inputs to create ongoing calculations.
- Iteration macros are used to run multiple times, often defined by the user from within the iteration engine or are created to run until conditions are met. So, this could be running until a certain number of rows are generated, or a certain amount of iterations. These often need 2 outputs, as an iteration must be defined back into the macro (the number of runs) so it is able to compute when it has run itself enough times. These, as well as other settings, are defined within the Interface designer (Ctrl + Alt + D).
- The location optimizer macro is a special form of iteration macro used to define optimal positioning and are often used within large networks. This is often the least used macro type due to its speciality and is generally deployed in spatial fields.
Over the coming weeks we will bring you a deeper understanding of these macros through some more in-depth blogs on how these macros can be created and some key things to watch out for when working with them. There are some incredible macros available on the Alteryx Gallery if you wish to check them out. I will also update links to the other blogs on Macros when they become available.