


Introduction
In this blog, you'll learn how to build a production-ready, serverless data pipeline on Google Cloud Platform that automatically ingests data from an external API and loads it into BigQuery for analysis.
This is part 1 / 2 of the blog.
What you'll build:
- An automated pipeline that runs every hour
- Serverless API ingestion using Cloud Functions
- Raw data storage in Cloud Storage
- Structured data warehouse in BigQuery
What you'll learn:
- Setting up GCP services for data engineering
- Writing and deploying Cloud Functions
- Scheduling jobs with Cloud Scheduler
- Loading data into BigQuery
- Handling duplicates and data quality
Prerequisites:
- A GCP account (free tier works!)
- Basic Python knowledge (can use AI to write basic API call)
- Familiarity with REST APIs
- ~30-45 minutes
Architecture Overview:
Cloud Scheduler → Cloud Functions → Cloud Storage → BigQuery
     (Hourly)     (Python API Call)   (JSON Files)    (Analytics)
Step 1: Set Up Your GCP Project
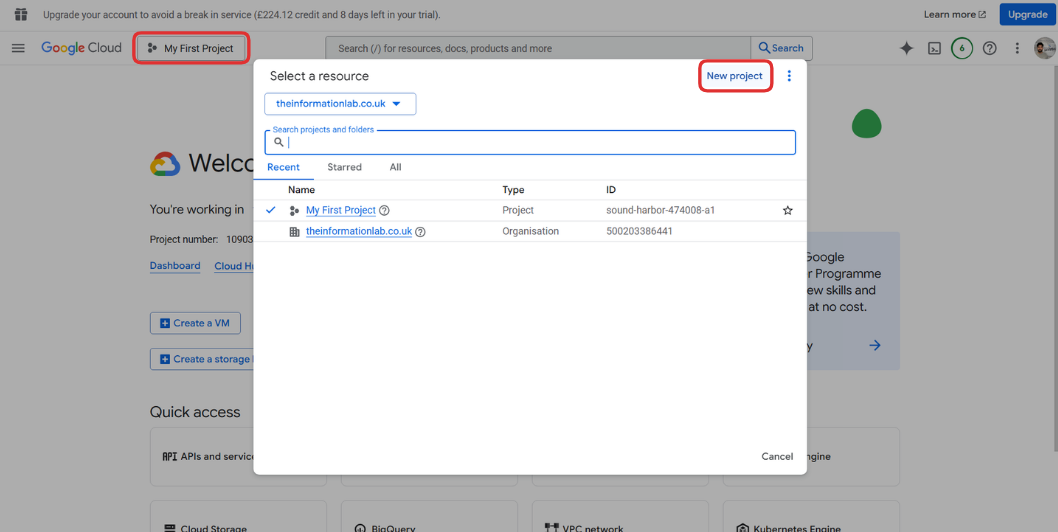
1.1 Create a New Project
- Go to the GCP Console
- Click on the project dropdown at the top
- Click "New Project"
- Name your project (e.g., `serverless-api-pipeline')
- Click "Create"
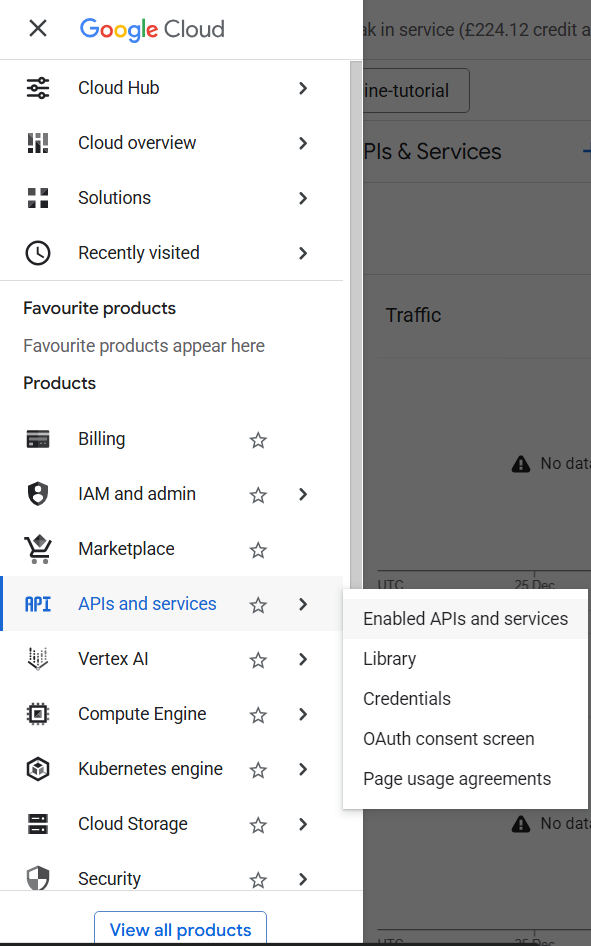
1.2 Enable Required APIs
Navigate to APIs & Services → Library and enable:
- Cloud Functions API
- Cloud Scheduler API
- Cloud Storage API
- BigQuery API
1.3 Set Up Billing
Make sure billing is enabled for your project (required for Cloud Functions and Scheduler).
Step 2: Choose and Test Your API
2.1 Select an API
For this tutorial, we'll use a free exchange rates API. You can use:
- Frankfurter (free)
- Or any other public REST API that returns JSON
2.2 Test the API in Cloud Shell
- Search for and open Cloud Shell through the search console
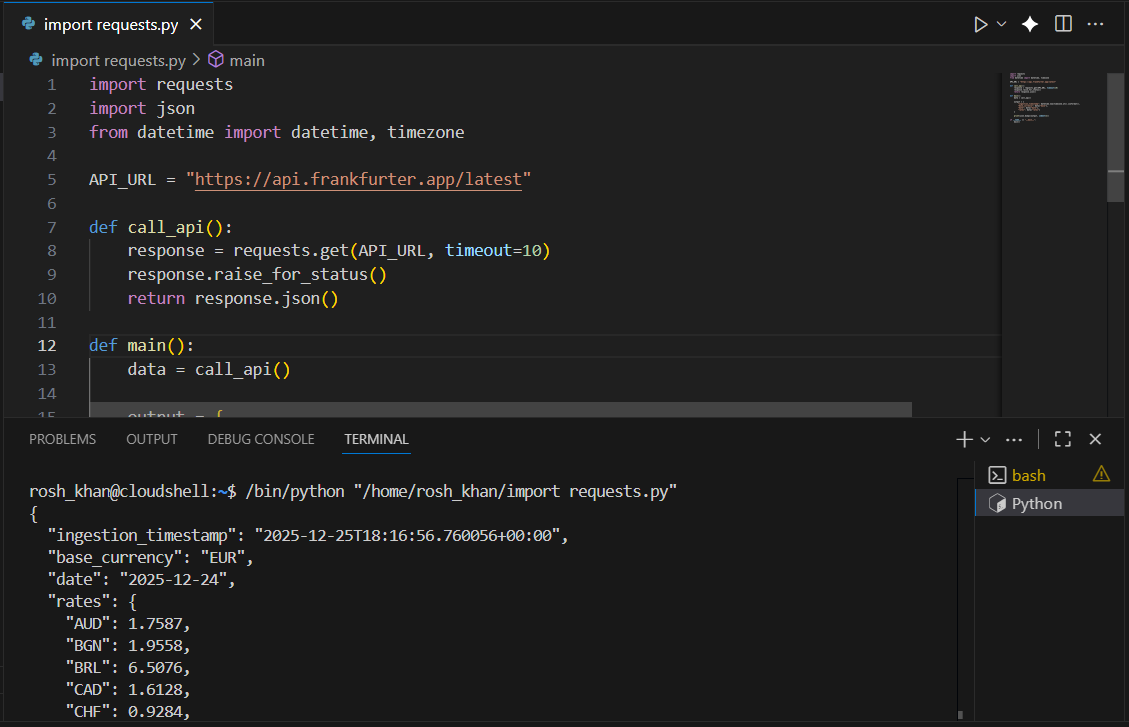
- Select Python as your language and test the API with this script:
import requests
import json
from datetime import datetime, timezone

API_URL = "https://api.frankfurter.app/latest"

def call_api():
    response = requests.get(API_URL, timeout=10)
    response.raise_for_status()
    return response.json()

def main():
    data = call_api()

    output = {
        "ingestion_timestamp": datetime.now(timezone.utc).isoformat(),
        "base_currency": data["base"],
        "date": data["date"],
        "rates": data["rates"]
    }

    print(json.dumps(output, indent=2))

if __name__ == "__main__":
    main()
You should see a JSON response like this:
{
  "base": "EUR",
  "date": "2025-12-25",
  "rates": {
    "AUD": 1.75,
    "GBP": 0.73,
    "JPY": 110.5
  }
}
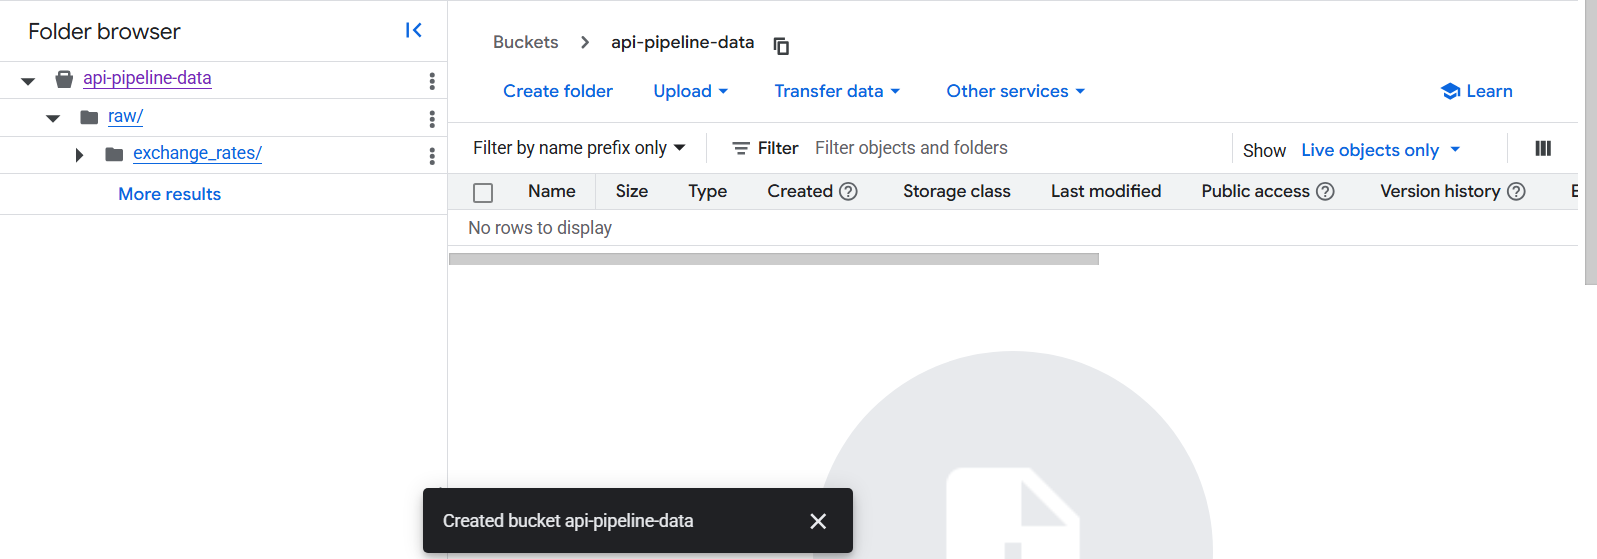
Step 3: Create a Cloud Storage Bucket

3.1 Create the Bucket
- Search for Cloud Storage
- Click "Create Bucket"
- Name your bucket (e.g., `api-pipeline-data')
- Choose a region close to you
- Select "Standard" storage class
- Click "Create"
3.2 Create Folder Structure
Inside your bucket, create a folder called raw/exchange_rates/:
Step 4: Build the Cloud Function

4.1 Create the Function
- Search for Cloud Functions
- Click "Create Function"

- Configure:
- Name:
api-ingestion-function - Region: Same as your bucket and Tier 1 pricing
- Name:
- Authentication: Require authentication
4.2 Write the Function Code
Click "Next" to go to the code editor.
Runtime: Python 3.11
Function entry point: main
main.py:
import json
import requests
from datetime import datetime, timezone
from google.cloud import storage

API_URL = "https://api.frankfurter.app/latest"
BUCKET_NAME = "api-pipeline-data"

def call_api():
    response = requests.get(API_URL, timeout=10)
    response.raise_for_status()
    return response.json()

def main(request):
    data = call_api()

    output = {
        "ingestion_timestamp": datetime.now(timezone.utc).isoformat(),
        "base_currency": data["base"],
        "date": data["date"],
        "rates": data["rates"]
    }

    timestamp = datetime.now(timezone.utc).strftime("%Y%m%d_%H%M%S")
    filename = f"raw/exchange_rates/{timestamp}.json"

    client = storage.Client()
    bucket = client.bucket(BUCKET_NAME)
    blob = bucket.blob(filename)
    blob.upload_from_string(
        json.dumps(output),
        content_type="application/json"
    )

    return {
        "status": "success",
        "file_written": filename
    }
requirements.txt:
functions-framework==3.*
google-cloud-storage==2.10.0
requests==2.31.0
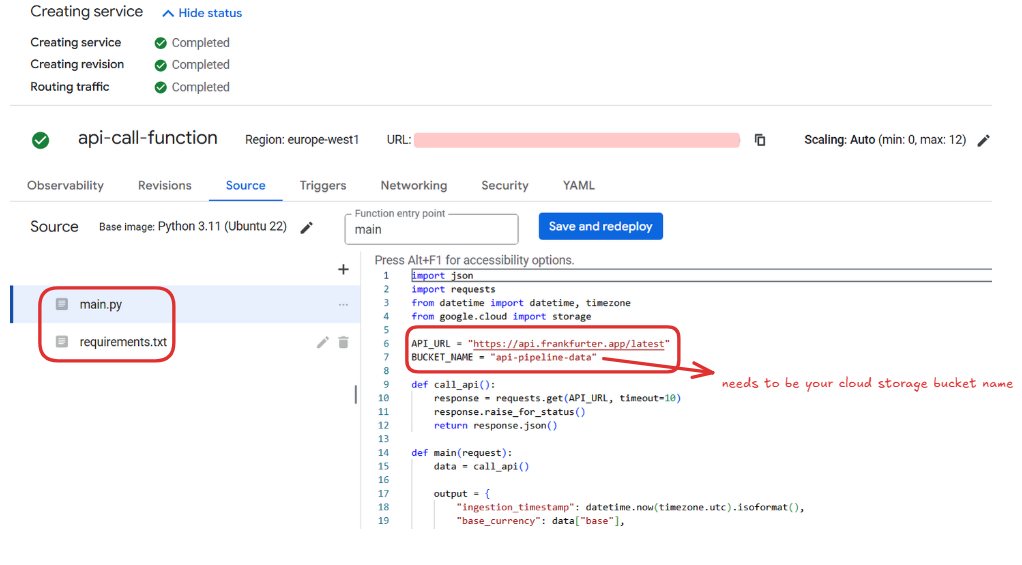
4.3 Deploy the Function
- Click "Deploy"
- Wait for deployment to complete (2-3 minutes)
- Note the Trigger URL once deployed
Step 5: Schedule the Function with Cloud Scheduler

5.1 Create a Scheduler Job
- Navigate to Cloud Scheduler
- Click "Create Job"
- Configure:
- Name:
hourly-api-ingestion - Region: Same as your function
- Frequency:
0 * * * *(every hour at minute 0) - Timezone: Your timezone
- Name:
5.2 Configure the Target
- Target type: HTTP
- URL: Your Cloud Function trigger URL
- HTTP method: GET
- Auth header: Add OIDC token
- Service account: Default compute service account
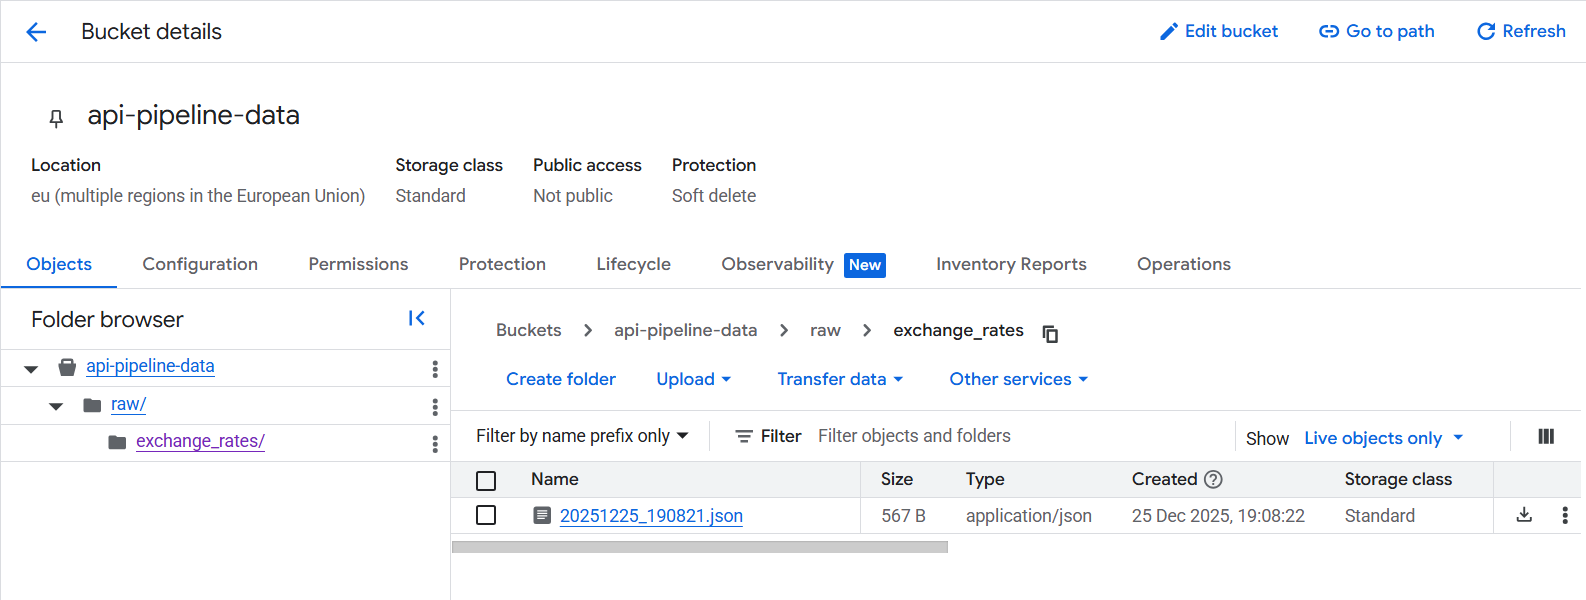
5.3 Test the Schedule
Click "Force Run" to test immediately.
Check your Cloud Storage bucket - you should see a new JSON file!
Please navigate to Part 2 of this blog to see the rest of the steps.