Data School 8, week 1, day 2 – Tableau Server with Jonathan MacDonald aka Jmac – 5 takeaway Tips & Tricks
After all the IT was sorted out on day 1, we hit off with an introduction to Tableau Server. A lot to soak up in one day, so I went ahead and compiled some of the points, which I think will come in hand on a day to day business for everyone who uses Tableau Server. ( Totally not just for myself so I can easily access these points when I need to :p )
1. Tableau Server version?
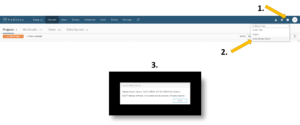
How can I check the server version again? When you are in on the server website, press the information button in the top right corner (1.) and select the About Tableau Server (2.) in the drop down menu that showed up, and voila a pop-up screen (3.) will show you the version!

2. Tableau Server and Account Structures
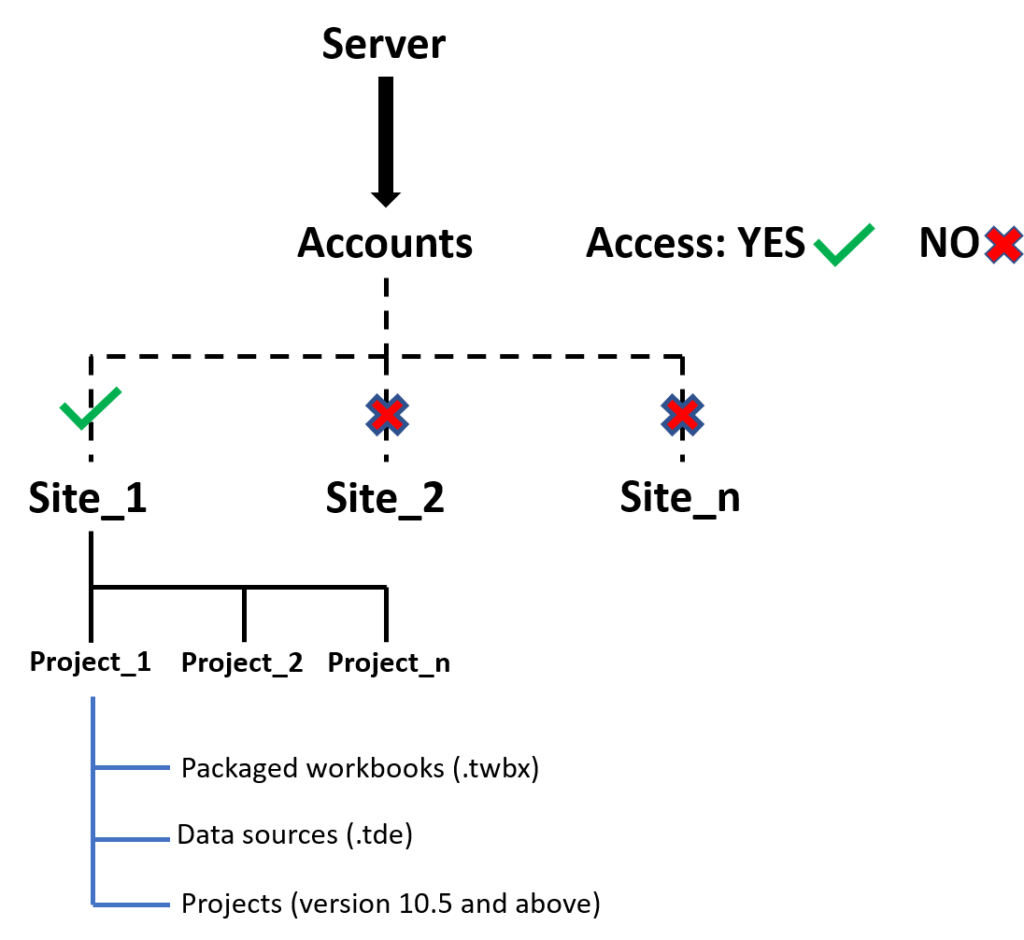
The layout of a Tableau Server is different depending on the type, version and setup, however a general structure always applies. Below I drew a quick chart of such a structure to reference back to.

3. Account Permission Structures
I cannot think of a better way to explain it than Jmac, so I do advice everyone to read the blog post by the man himself for an in depth but concise explanation. One of the take away messages I found very useful is the following:
Tableau Server first checks whether permission is denied prior to checking if it is allowed. This applies for both user account specific (checked first) and group (checked second) permissions. Thus, if it is denied somewhere down the decision tree it will overrule allowed.
4. Tableau Server – Pause
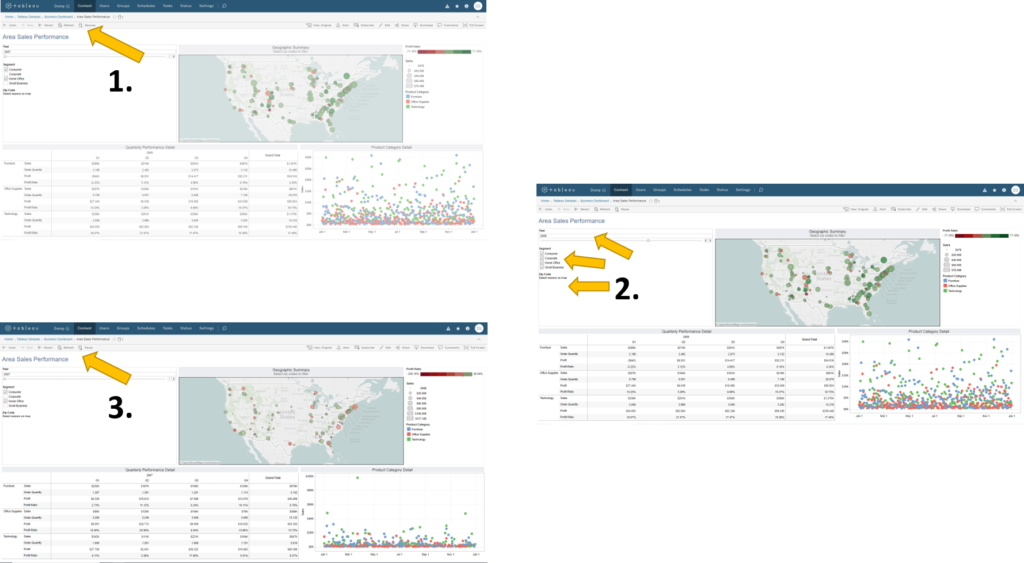
Applying or changing several filters at the same time in a dashboard can take time, especially when it is render heavy (such as maps). However, if you press the pause button (1.), change the filters (2.), and resume (3.), it applies all the filters at the same time. This means it only has to render once, instead of after every time you touch a filter!

5. Tableau Desktop and Server – Font Usage
We all have our own preferences for styles, colours, etc allowed within best practices.
However, recently I discovered, when looking at my Tableau Public Profile, that all the fonts in my vizzes changed from Gill Sans to Times New Roman?! How is this possible? I hate Times when it comes to Graphs!
My colleague Ollie quickly jumped in after seeing my distressed face to ask what operating system I use at home, to then explain that this is due to Gill Sans being a MacOS font (my laptop) and whilst it exist on Windows (Gill Sans MT) it is not recognised unless specified as such on a Windows operating system (work laptop). Tableau Public defaults the font back to Times New Roman when this happens.

This brings me to the obvious next point of noting that Tableau workbooks, on desktops or servers, do not embed font styles into the file.
Thus, if you want to use a certain font for aesthetics or branding, make sure that your server has the font of choice installed and in the case of Tableau Public, that your font style is accessible for every operating system. If you prefer to play safe (boring) you can stick to the default Tableau fonts which will always show no matter the platform.
The Avocado Tree Project – A Vernooij Special
Before I end this blog, I felt like sharing my small project of ”life”, the birth of an avocado tree.
Engineering, building, synthesising chemical products and mainly breaking my own setups while doing so, are things I often did throughout PhD research. Whilst I was writing up my thesis, I really missed building new equipment or taking care of the continuously multiplying cancer cells in the lab. When I opened up an avocado for lunch and removed the seed, I started thinking… Surely you can grow something out of this?
I placed the seed in some leftover soil from a mint plant (shrivelled up and dead) and hoped for the best…
Two weeks later and nothing happened…. So I dug it up and saw tiny roots sprout from the bottom (pale part of the seed). After some googling, people suggested placing it in a glass of water (bottom half covered) using toothpicks to balance it on the edge of the glass by sticking them in the seed.
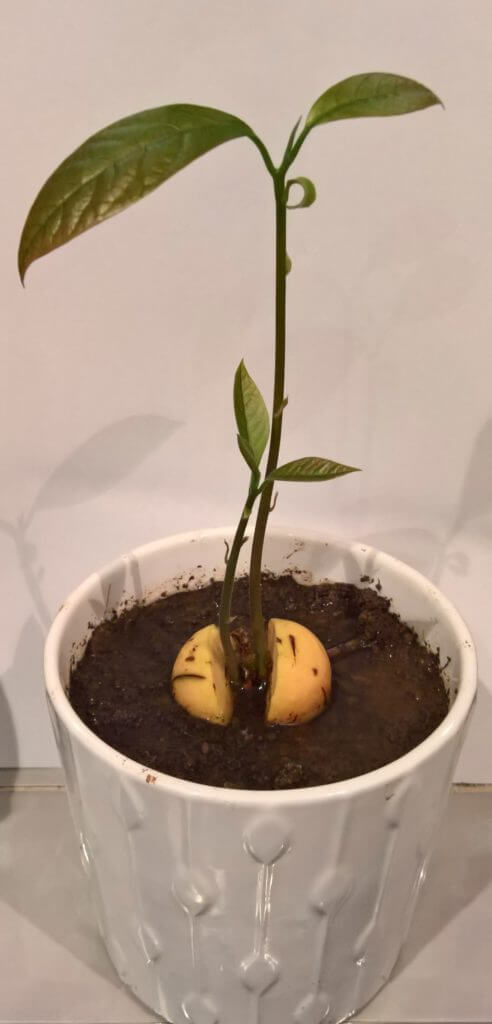
To my surprise, the roots grew bigger and a stem appeared! 4 Months later and I transferred it to some fresh soil, for the tree to continue growing.
And behold, a mini tree! If I’m lucky my first harvest of avocados will happen before I turn 90.


