Grouping different items within a dimension can be very useful if you need to colour certain items, sum groups of items together or follow different item groups. We will start with the Sample Superstore dataset (downloadable here: https://community.tableau.com/docs/DOC-1236) with the sum of profits being compared amongst the sub-categories:
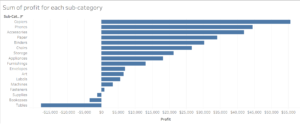
Suppose we want to group these sub-categories into three groups, the high earners, low earners and loss makers. To group the high earners we will lasso the bars in the top half of the profit makers,
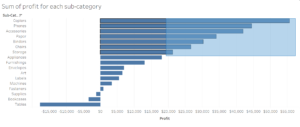
Next, hover over the highlighted bars and click the ‘Group members’ button, the one that looks like a paperclip!
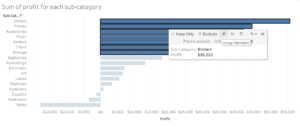
This then creates our first group, the one will go on to label the ‘High Earners’. After this step Tableau automatically uses the Sub-Category group as a colour filter. So clicking off the highlighted bars should show:
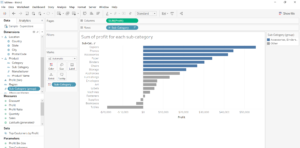
If we now repeat the same process to group the bottom half of the profit makers and the loss makers together we should have three colours dividing the page like so:
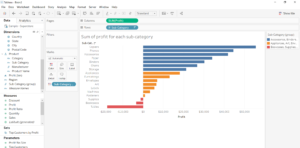
These are our correct groups but we want them to be the High Earners, Low Earners and Loss Makers instead of the list of sub-categories that make up the group. To change the name of these groups we can right-click on each group on the colour legend and click ‘Edit Alias’ and type in our new names.
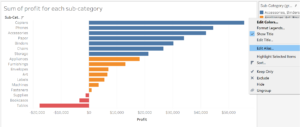
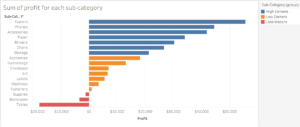
We now have our High Earners, Low Earners and Loss Maker groups! These groups are stored in the dimension Sub-Category (group), so can be renamed if wanted and used to colour-code other graphs. Say we want to see where our groups come on the graph of Sum Sales per sub-category.
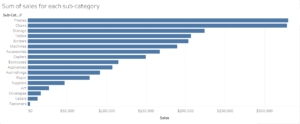
Drag Sub-Category (group) onto the colour mark.
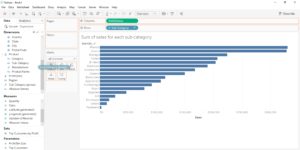
And now we can see where the different kinds of earners lie within the sum of sales for the sub-categories.
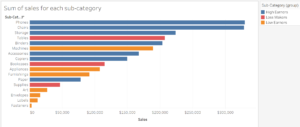
And we can see that surprisingly that one of our top sellers is actually a Loss Maker, suggesting that something needs to be done to change this into a profit maker as it is in such demand! The uses for groups can clearly be seen even in such a simple example. There are also a few other ways to create groups but those are for a different blog!
