A whistle-stop tour of the Interface Designer.
The Interface Designer is used to customise your macros. It can be accessed from the View tab and selecting it opens up a pop-up window. By selecting the triple buttons in the top-right hand corner of the window, you can change the view of the designer.
There are four separate tabs within the Designer: The Layout View, Test View, Tree View and Properties.
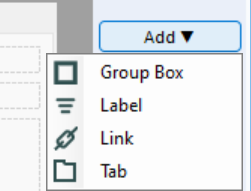
Layout View: Here you can add or delete various interface elements. These elements are shown when you select the completed macro in your workflow. For example, adding a 'label' allows you to write lines of text - this is great for simply explaining to a user what your macro does.
Test View: Here is where you can test the interface elements you configured in the layout view.
Tree View: This view presents hierarchical relationships between any questions and answers you may have written within the macro.
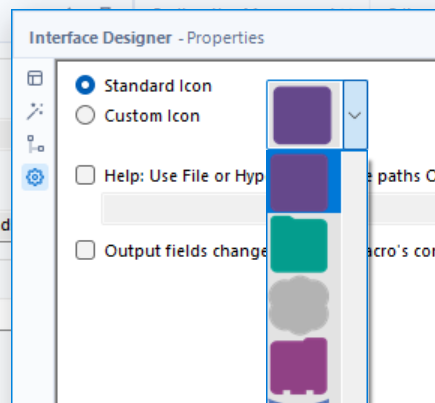
Properties: In this tab, you can customise the macro itself. For example, you can edit or import a custom icon for the macro.