A succinct how-to guide on creating a personalized or custom categorical colour palette in Tableau.
Colour is an important tool in any data visualist's toolkit, for user-friendly data visualization and dashboard design. Often, a client will require that a dashboard follows an internal style guide, utilising colours that Tableau is not used to combining by default. They will often provide a series of HEX numbers or RGB colour values for use within Tableau, you can read more about these colour models and colour theory as a whole HERE. This guide will lay out how to make a custom categorical colour palette in Tableau.
Types of Colour Palettes
A categorical colour palette contains several distinct colours that can be assigned to discrete dimensions. For example, when you put a discrete dimension such as region or genre on the colour card in Tableau, the categorical colour legend is used.
Other colour types include sequential - a single colour, varying in intensity. This type of colour palette is used for continuous fields, typically for measures - and diverging palettes- generally showing two ranges of values using colour intensity (shades) to show the magnitude of the number and the colour itself to show which range the number is from. Diverging palettes are most commonly used to show the difference between positive and negative numbers. This guide will explore the creation of a categorical colour palette.
Preparing Your Colour Palette
First, you will have to decide on the colours that you will use within your colour palette. You can use Microsoft PowerToys to install an onscreen colour picker, which will provide a HEX code for any colour on your screen. This will give you a starting point in which to generate your colour palette. From here, you can continue to choose colours to build your personalised palette, or you could use an AI programme such as Chat GPT or a specific colour palette generator such as coolors.co. You will need to save the HEX codes for use later on.
There is no limit to the number of personalised colour palettes you can add to Tableau, however, the Edit Colours dialogue is limited to 20 colours. If you are assigning more than 20 colours individually to a dataset, you may be required to create more than one palette and divide the colours between them.
Adding Your Colour Palette to Tableau Desktop
To add your colour palette to Tableau Desktop, first, you will have to navigate to your "preferences" .tps file, located within the desktop filing system. You can find the preferences file within the "My Tableau Repository" file, usually found within your User "My Documents" file.
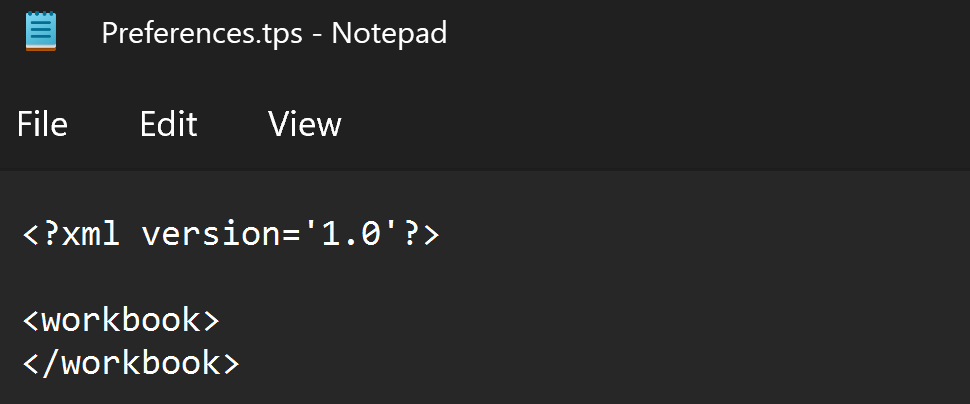
Open the preferences.tps file with a text reader such as the windows default, 'Notepad'. An unedited preferences file should look like this:
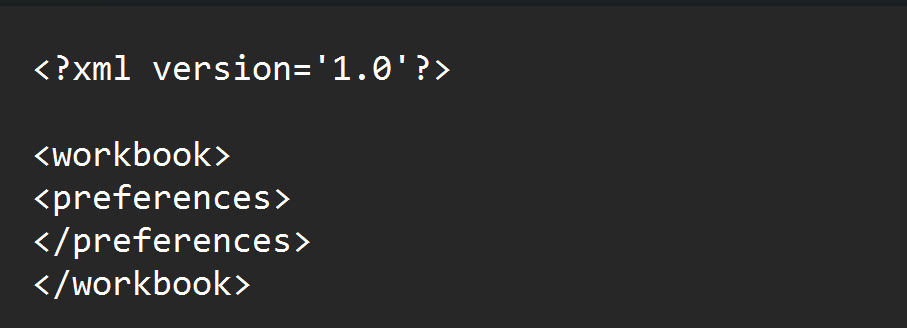
To edit your preferences file, and create a colour palette, edit the preferences file and in-between the "<workbook>" and "</workbook>" tags, insert an opening and closing "preferences" tag, resulting in the following layout:
Once here, you can create your custom categorical colour palette.
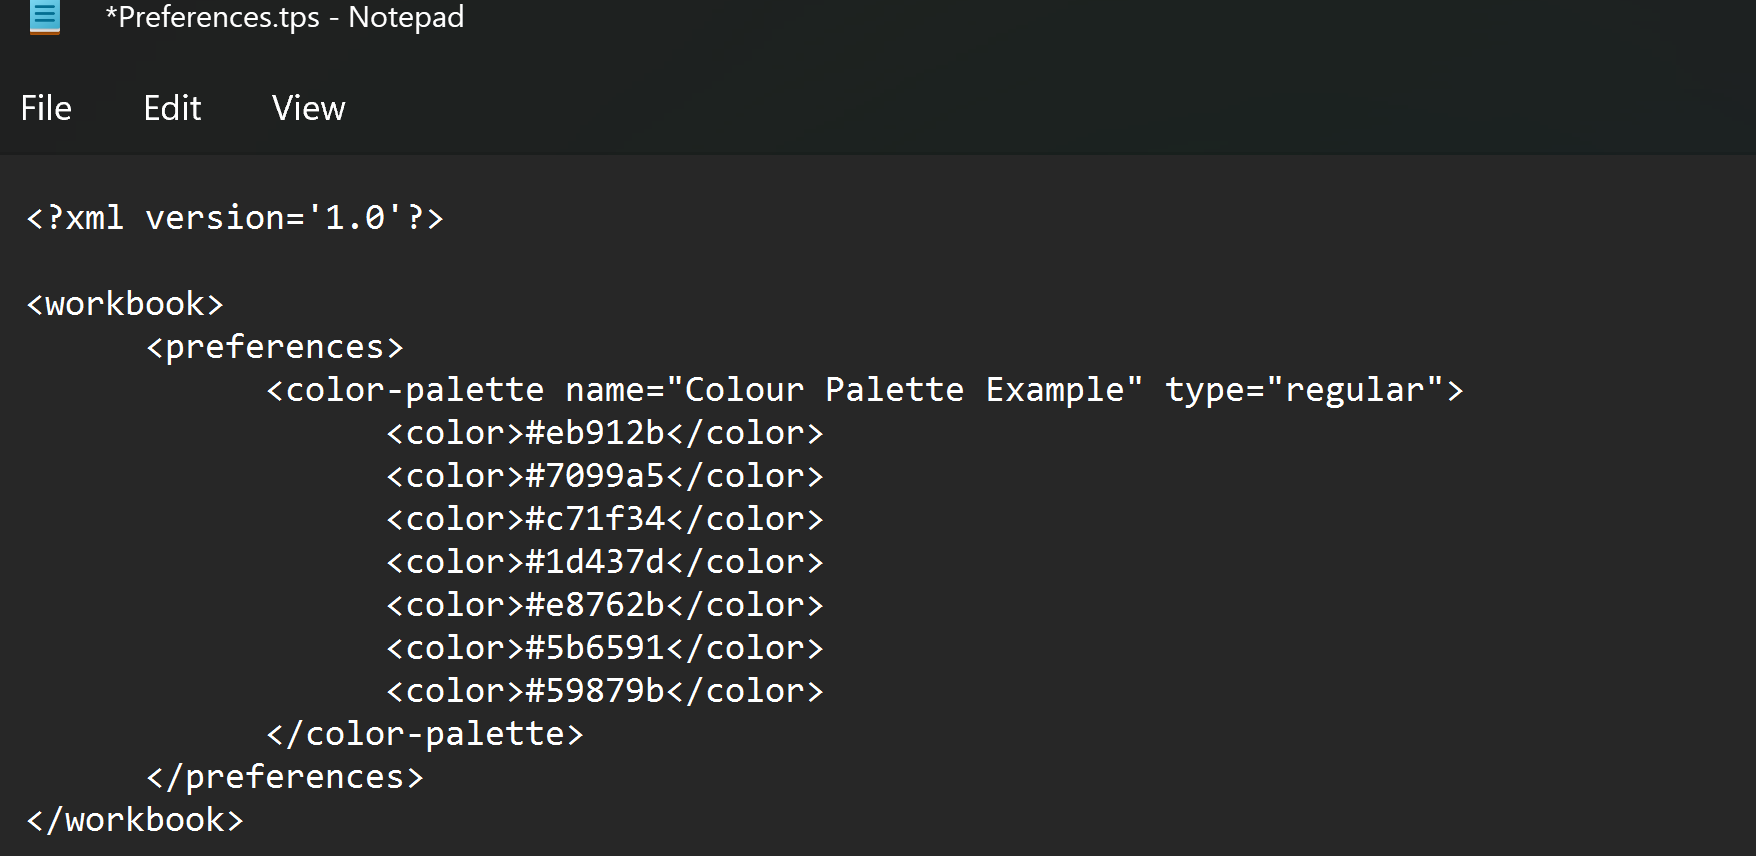
Inbetween the preferences tag, create a new "color-palette" tag set as follows:<color-palette name="Colour Palette Example" type="regular"> with the closing tag </color-palette>. Replacing "Colour Palette Example" with the desired name of your colour palette. Additionally, note the "regular" type. This denotes the creation of a categorical colour palette.
Inbetween the newly created "color-palette" tags, we can now form the colour palette. For each colour in your palette, create an open and closed "color" tag, with a HEX code inbetween. For Example, a fully formed colour palette could look like this:
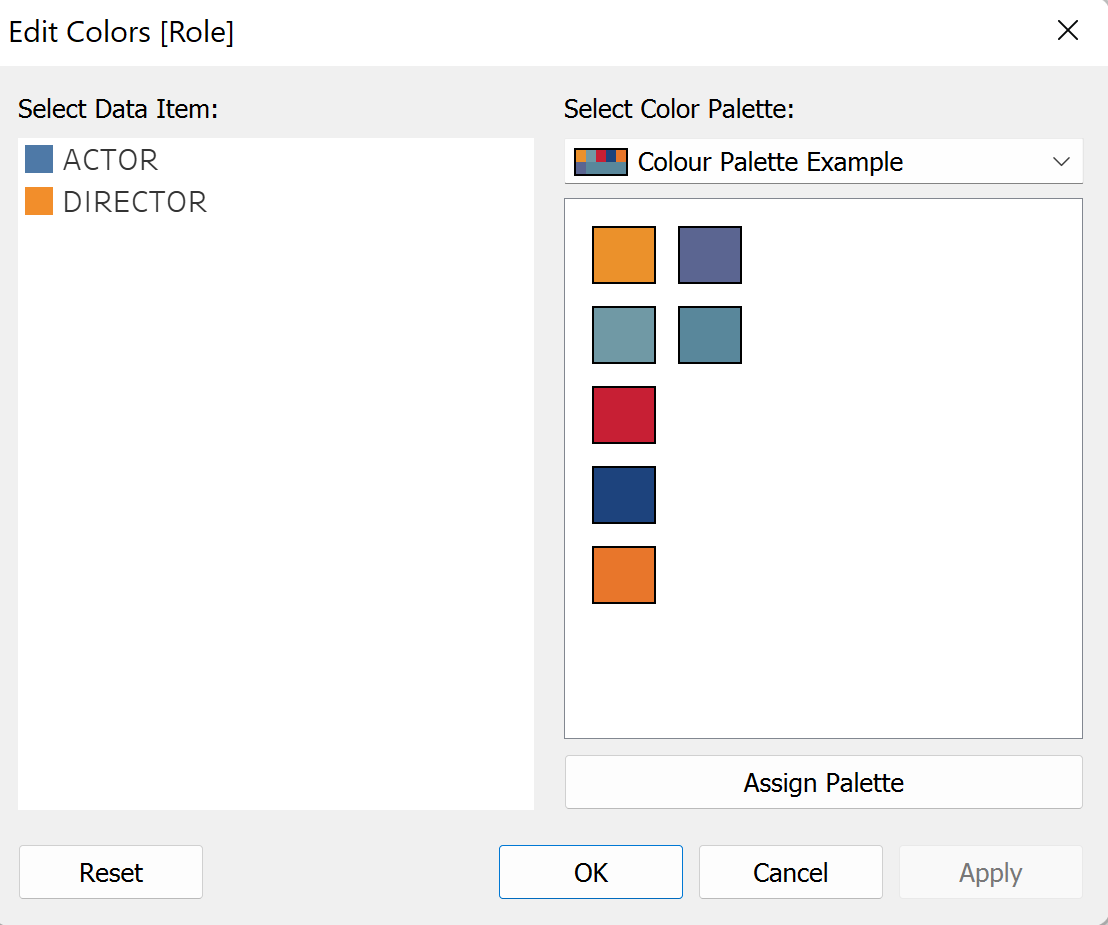
Once you are happy with your colour palette, save your preferences notepad, restart Tableau, and you will be able to find your new palette within the colour menu: