


When I first started using GitHub I found it very technical and intimidating and I still do. These days I find it a little easier to navigate and publish projects on the platform so I thought it would be cool to create a guide to creating a portfolio on GitHub.
The Basics
Before getting into creating a profile and projects, let’s look at the aspects of GitHub you will interact with the most:
Markdown Language
The creator of Markdown, John Gruber defines it as follows:
“Markdown is a text-to-HTML conversion tool for web writers. Markdown allows you to write using an easy-to-read, easy-to-write plain text format, then convert it to structurally valid XHTML (or HTML).”
On GitHub, Markdown is used to allow users to format their project descriptions and code using the simple syntax of the Markdown language
Repository (repo)
This is simply a folder. Creating a repository is similar to creating folders on a PC/MAC. Multiple repositories can be created for different projects.
README.md
This is the default text summary which is included in each repo. It is kind of a default homepage for your repo. You can use it to provide an overview of your project, or anything else you like.
Fork
This simply means copy + paste. If you wanted to make a copy of someone’s project on GitHub, while retaining the ability to edit it, you could Fork it. The changes you make to the copy does not affect the original project.
Where to use GitHub
GitHub has a Desktop application but honestly, downloading it is not necessary. You can easily use GitHub in your browser to achieve everything you want to on the platform.
Creating a GitHub Profile
GitHub’s generic profile is honestly a little boring, however, creating a stylish profile in Markdown is also a task. Luckily people in the GitHub community are creative and have developed a few readme generators to make this process easy. I have linked my favorite below, if you use it and you are able to, support the creator by buying them a coffee.
https://rahuldkjain.github.io/gh-profile-readme-generator/
However, if you want to take a swing at creating your own here are the steps:

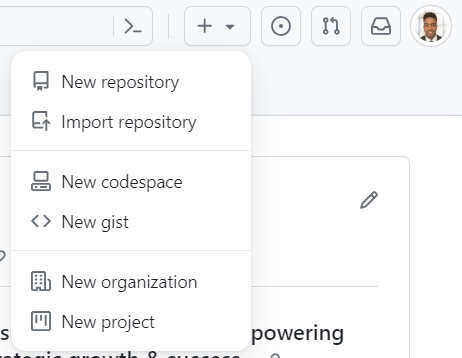
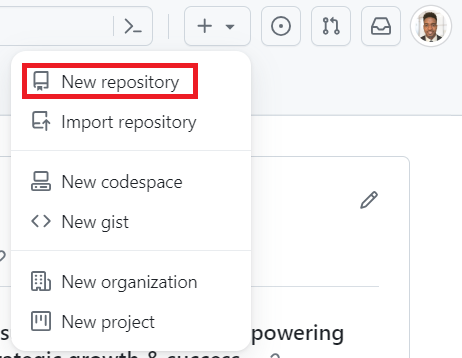
1. Click on + sign and select New Repository at the top right corner of the page next to your profile
2. Create a new repository with the exact same name as your username.
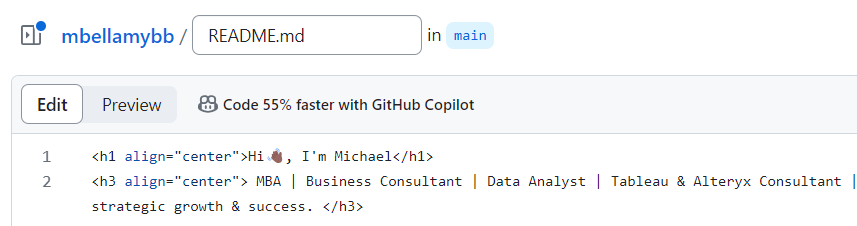
For example, my GitHub username is "mbellamybb", and I created a new repository with the same name "mbellamybb" and it will contain the Markdown write-up for my profile.

The file format for the profile is Markdown (.md). By default, the name of the file is README.md, which you can change if you desire.

3. To edit the Markdown file for your profile, make sure the edit button is selected and click on the text window to start writing.
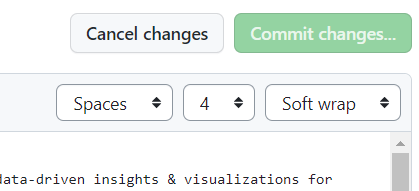
Click on Commit Changes once you are done and your profile will be published.
4. What to write on your profile?
There are numerous ways to set up your profile, below I have outlined a basic format to get you started.
- A brief introduction.
- Use custom badges to show your skills, such as data analysis, SQL, Python, Tableau, Alteryx, etc.
- Highlight projects you are working on
- Include ways users can connect with you, such as LinkedIn
You can also add advanced features like visitor counts and clickable icons, etc., but this will require some research on how to implement them.
Here is a link that shows you how to add a stats card:
https://github.com/anuraghazra/github-readme-stats#github-stats-card
This link shows you how to add a profile view counter:
https://github.com/antonkomarev/github-profile-views-counter
You can check out GitHub's guide on managing your profile README for more information on creating your profile.
5. How to give your profile some character
You can use GitHub's Markdown guides are comprehensive and easily understandable. Here are some resources to help you customize your Markdown files:
- GitHub's basic writing and formatting syntax guide - (Basic writing and formatting syntax)
- GitHub's guide to using tables in Markdown (Organizing information in tables)
- GitHub's guide to creating and highlighting code blocks e.g. SQL, Python, R (Creating & highlighting code blocks)
- Adding a table of contents to Markdown
To add a table of contents to your Markdown file, you can use the following code block:
## Table of Contents
- [About Me](#learn-about-me)
- [My Skills](#my-skills)
- [Projects I am Working On](#my-projects)
- [Connect with Me](#my-socials)
The () contains a portion of the link that allows the user to navigate to the items, the links in the table of contents won’t work in Preview, so you will need to Commit changes to check if the links work.
The get the correct part of the link for the (), click on the chain logo next to the section title, right-click, and open in new tab. Then, navigate to the website link, scroll to the end, and copy the section of the link that starts with a #. See image below:


- Adding emojis to Markdown
A simple way to make your mark (sorry had to do it lol) is to add emojis 🗽👌📍 to your profile, whether on Windows or Mac:
- Windows: Windows logo key + . (period)
- Mac: Control + Command + Spacebar
- Adding images to Markdown
In order to add an image to a Markdown file you need to:
1. Take an image from your computer and copy and paste it in the Markdown file. It will take a few seconds to load the image
2. When it has been uploaded it will appear as in the image below

To improve the appearance of the image you can add a framed box around it using the <kbd> tag. It will look like this:

You can then use the preview button to view your uploaded image before publishing the changes to your Markdown file.
- Adding color-coded code blocks to Markdown
You can use color codes to highlight your code syntax. This feature can make your code look much more professional and add much-needed color to highlight keywords in the syntax.
For SQL, the code block requires 4 backticks followed by the word sql ( ````sql ), and the code block ends with 4 more backticks ( ```` ). See below:
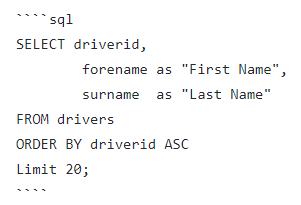
The end result will look like this:

Using the 4 backticks followed by the language to be highlighted should work for html, javascript, etc. Just remember to close the code block with the 4 backticks.
6. Features you will need to create your projects
- Creating a new repository in GitHub
Creating a new repo is as easy as creating your profile.
1. Click on New Repository at the top right of the page.
2. Add a description for your repository
3. Select whether you want the repository to be a private or public repository
4. Tick add a README.md
5. Click Create Repository

- Adding subfolders to your repositories in GitHub
1. Within a repository, navigate to the right side of the page, click Add File, and then create a new file.

2. Name your file followed by the extension .md to create a Markdown file, or use another format if you wish, and add a / after the file name.
3. Click Commit Changes
- Uploading your projects to your repository
If you use third-party applications to write your code such Visual Studio, Sublime Text, or Atom, you may want to save and upload the files containing that code to GitHub.
In order to upload those files to your repository on GitHub, you can do the following:
- Navigate to the right side of the page. Click Add File and Upload File.

2. Choose your file, allow a few seconds for the file to load
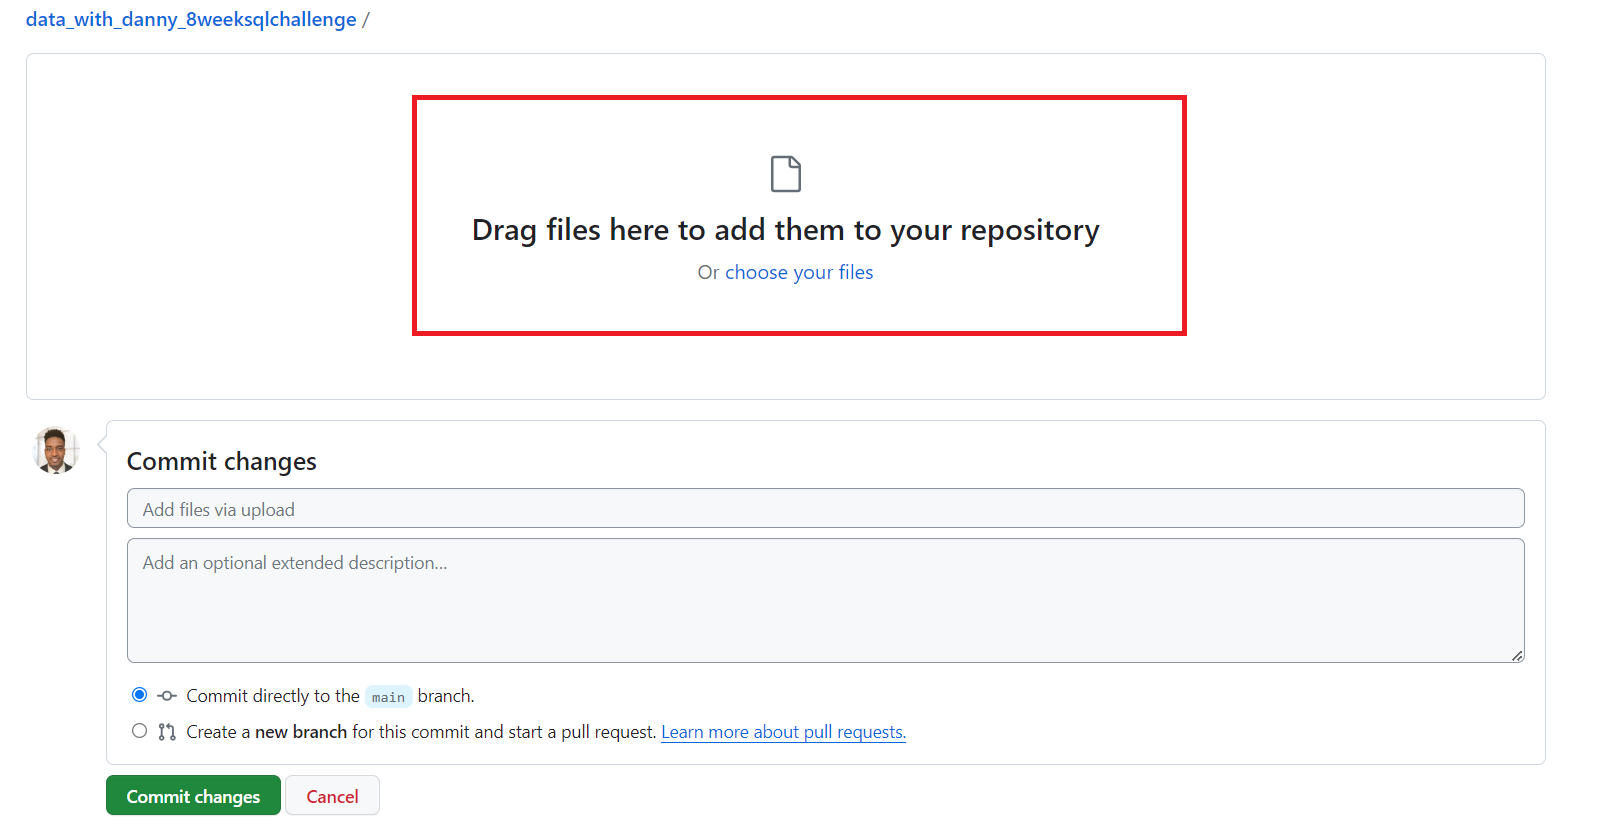
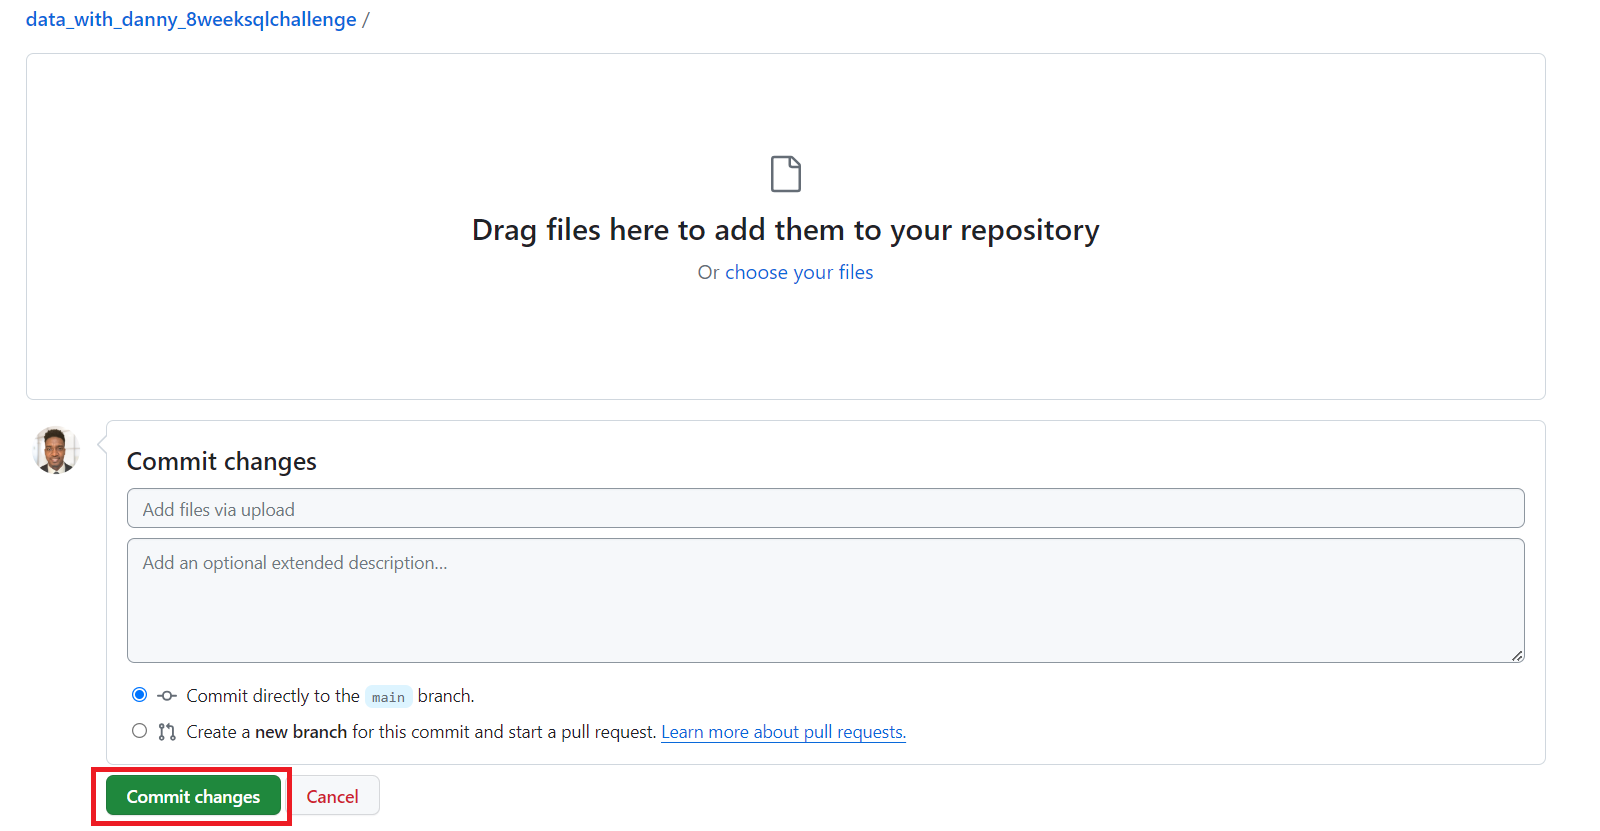
3. Click Commit changes
- Forking a repository
1. Click on the following fork icon at the top right of the page

2. GitHub has forked and copied the repository and added it as one of your repositories. You can now edit the file as much as you want to.
I hope this guide has been helpful and I hope you have fun creating your Github profile and projects.
Connect with me on LinkedIn for more data related content: https://www.linkedin.com/in/mbellamybb/