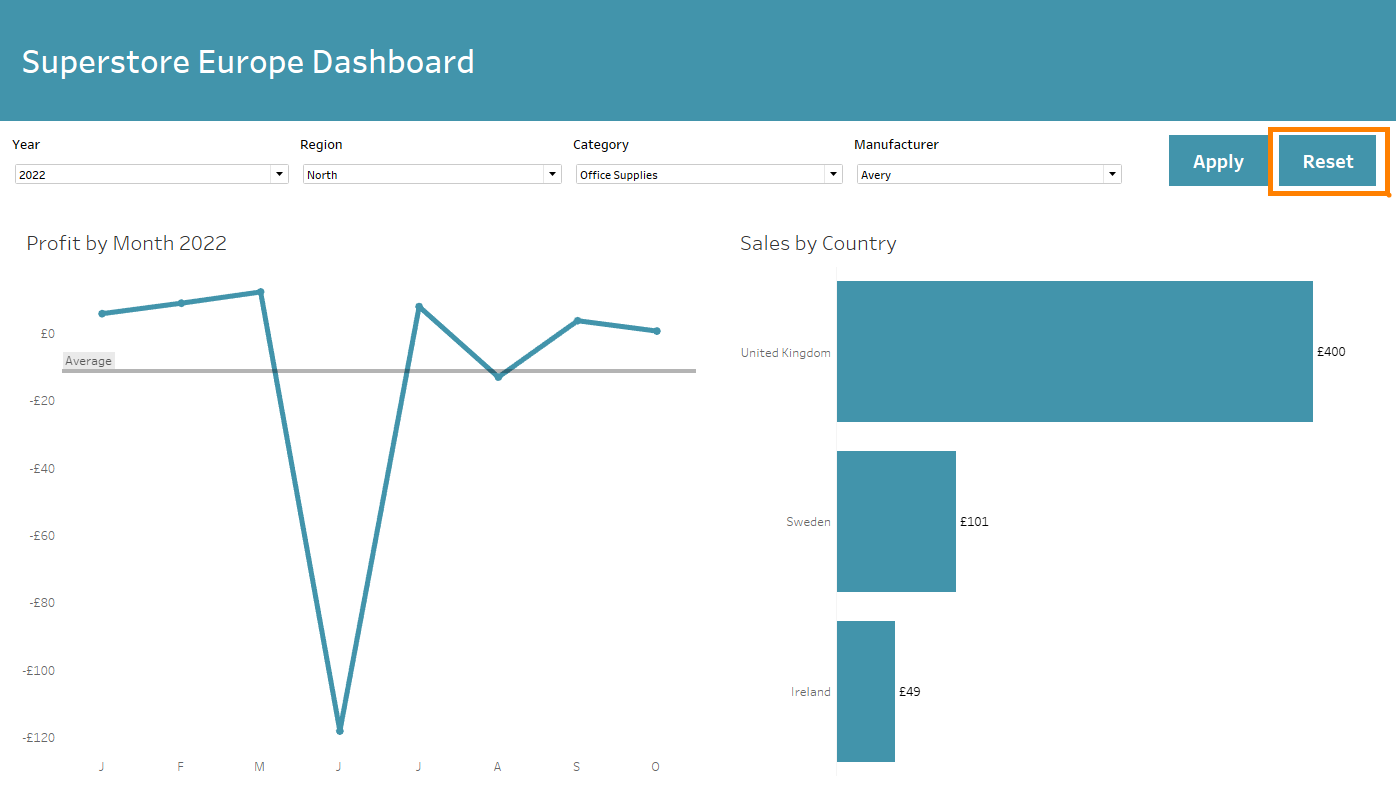
Welcome back! As I announced in my last blog post on the topic Apply Button & Tableau I would like to explain in this post how you can create the corresponding Reset Button.
Step 1: Duplicate the Apply Button worksheet
If you have already followed the steps for the Apply Button in the last post you can simply duplicate the Apply Button worksheet and work with the duplicate.
Step 2: Create a calculated field
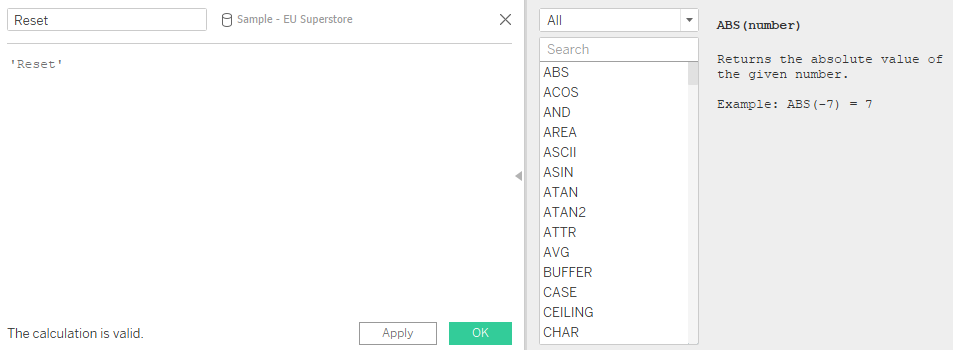
In the next step you simply create a calculated field. Name the field Reset and write the word ‘Reset’ in single inverted commas.
This should look as followed:

Drag the new calculated Reset field in the row shelf to replace the apply field and format the button as you like.
Step 3: Add the Reset Button to the dashboard
Then go back to the dashboard and drag the new reset worksheet into the floating container next to the apply button. Afterwards we create a new filter action.

Step 4: Add Filter Action
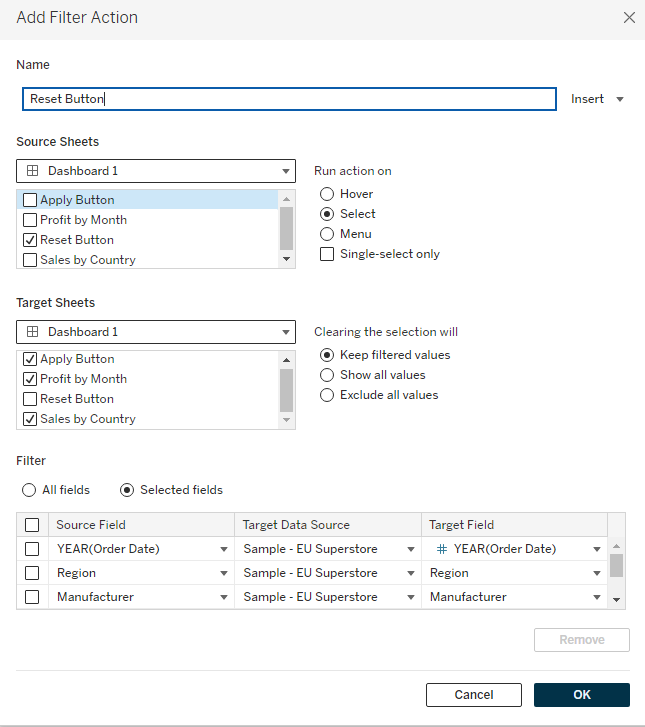
To create the filter action click on dashboard in the Tableau menu bar. A new menu field will open up and you can click on “Add action” and choose “Filter”. You can name the new action Reset Filter Button.
In the filter action menu you have to choose the reset worksheet as the source worksheet while selecting all the other charts as the target worksheets. In addition you have to fill in the needed data fields in the select fields area.

After checking your settings you can click on ok and the reset button should work as followed:

