My previous two blog posts looked at creating an iterative macro in Alteryx and an Analytic App to call the iterative macro. This post will look at another type of Alteryx macro: the Batch Macro.
The batch macro will loop through its workflow once for every record it receives into the Control Parameter, which is at the very start of the macro.
First an overview of the project. Today we were building an Alteryx App to call the UK Police API to retrieve crime data for a user provided postcode and range of dates. As there was user interaction an Analytic App needed to be created with Interface controls. A further input was the choice for the user to select a type of crime (e.g. Burglary, Bike Theft etc.) so to start, I made an initial API call to obtain the categories of crime that would then be used to populate a drop-down selection for the user to pick from:

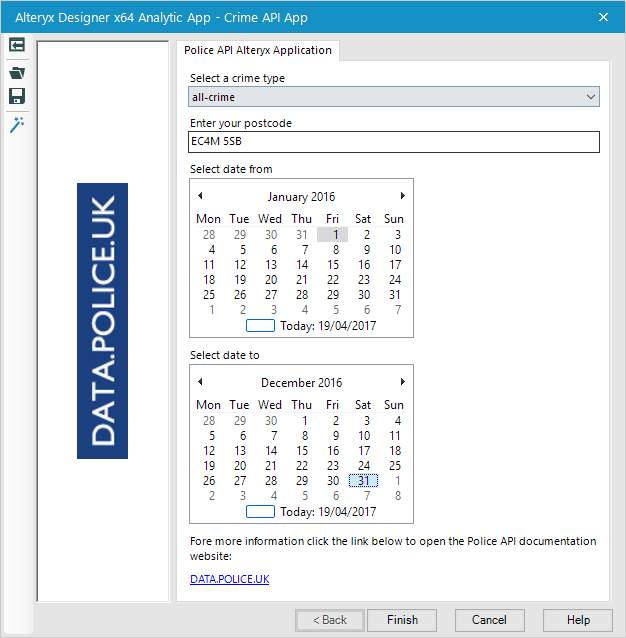
Next up were all the Alteryx Interface tools: two date inputs (for the From and To dates), a Drop Down list of crime categories to select from and finally a Text Box input for the user’s postcode:

The dates that the user inputs are validated using two Error Message controls. These ensure that:
- The Date To field is a later date than the Date From field
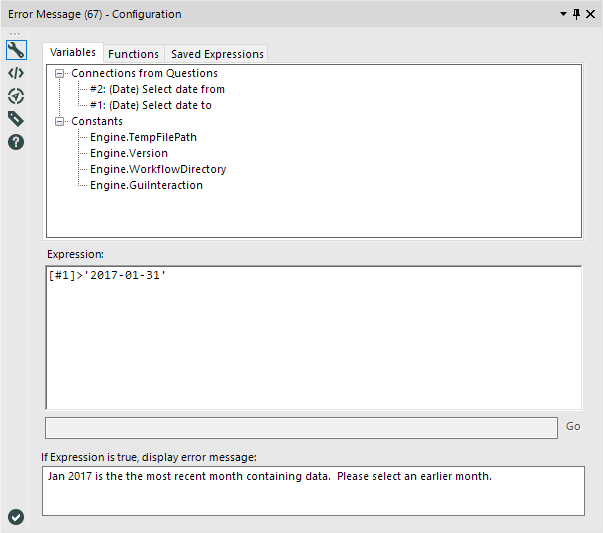
- The dates selected are in or before Jan 2017 as that is (at the time of use) the most recent month containing data
Below is the configuration for one of these Error Message controls. It shows the condition (or “Expression”) being checked and the error message that should be displayed if the condition is true. If the error is flagged, the Analytic App will stop running and workflow will not proceed.
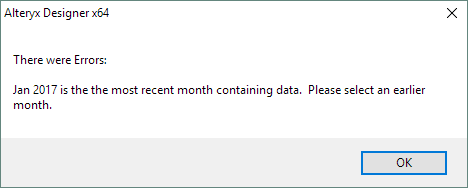
Here is the error message that is displayed if triggered when running the app:
Following the user input, the URLs to be fed into the batch macro needed to be constructed. This involved generating dates (between the start and end dates supplied by the user) using the Generate Rows tool and looking up the corresponding latitude and longitude for the postcode that the user supplied, which was done using a separate file input. The list of URLs (one for each month) were then fed into the batch macro, after which I appended back onto the data the original start and end dates and postcode supplied by the user as I wanted to use these in the final Tableau dashboard. Below is the relevant part of the workflow to perform these tasks:

Finally, lets look at the Batch Macro workflow itself. This also contains an API call similar to the one shown earlier in this blog however it starts with a Control Parameter. There is no configuration for this control parameter, however, it identifies this workflow as a batch macro. The URLs that are passed into the macro (one per iteration) are passed through the workflow, making the relevant call to the API for the particular parameters that they each contain (month, crime type and latitude and longitude). As normal, the JSON data that is returned is parsed and formatted to a table format that can be used by Tableau.
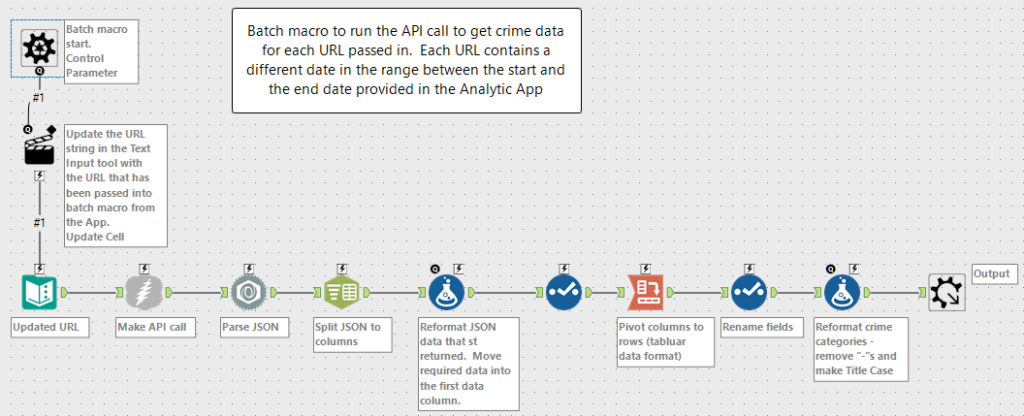
Finally the output is sent to the Run Command tool, which, as part of its configuration, sends the output to a preexisting .TDE (Tableau Data Extract) file and opens Tableau along with a pre-built Tableau dashboard, which automatically updates based on the new data downloaded from the API call. For more details on this process of launching Tableau direct from the workflow, see my earlier blog post on creating an Analytic App.
Below is the interface shown when calling the Analytic App:
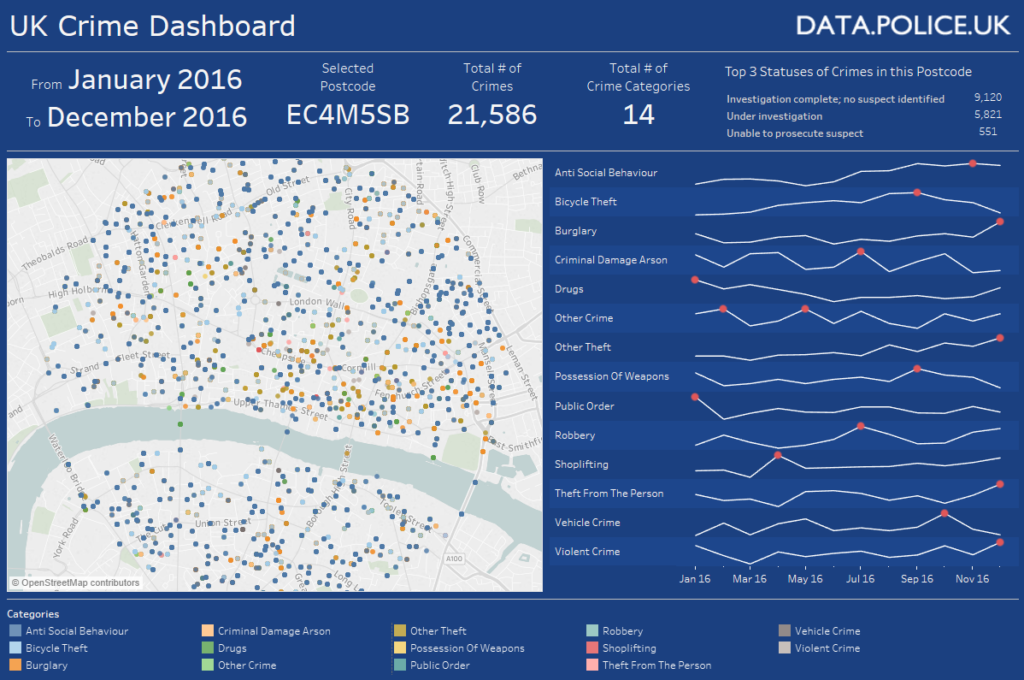
And below is the final output – the Tableau dashboard, based on the parameters entered into the App:
