


Thank you for reading my previous blog about extracting data tables from a PDF file in Alteryx. If you haven't read it yet, you can read it here. Following the previous part, I am curious about how to extract data from an image file in Alteryx. Many libraries in Python could help to extract data from an image file.
In this blog, I am going to share how to extract data (text) from an image file. I will walk through:
1/ Set up the environment
2/ Extract data from the image file with the library
3/ Input data into the Pandas data frame
4/ Output data from the Python tool
Are you ready to extract the data from the image? Let's get started!
1/ Set up the environment
I used CV2 and Pytesseract to extract data from the image file. To avoid some errors during the process, I recommend installing the Pytesseract first.
- Install Pytesseract
You can download Pytesseract from the Mannheim University Library (UB Mannheim) at https://github.com/UB-Mannheim/tesseract/wiki. After downloading the set-up file, double-click on the execute file and install Pytesseract. Note that you should remember the directory path that you installed. For example, my install directory path is C:\Program Files\Tesseract-OCR.
- Open Alteryx
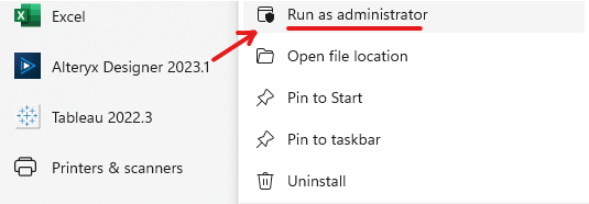
Same as the previous blog, you should open Alteryx Designer as an Administrator by right-clicking on Alteryx and choosing Run as administrator (Image 1). The reason to do this is that we will need to install the package in the Python tool later. Only the administrator role can install the new package.
- Install packages and library in the Python tool
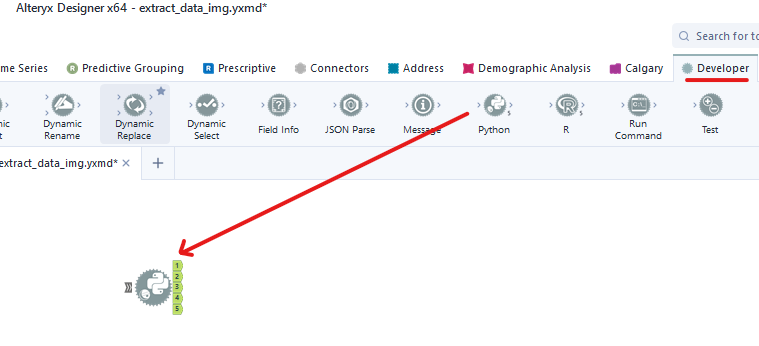
First of all, we need to install the package and library in the Python tool. I drag the Python tool from the Developer palette or the search box on the top right (Image 2).
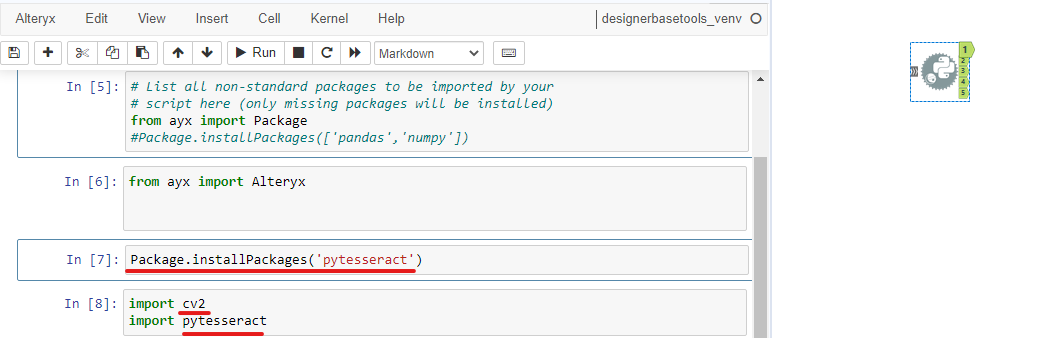
Click on the Python tool, in the Configuration window, Alteryx will load the Jupyter Notebook. Start running the first 2 cells by holding Shift + Enter. Then, install the Pytesseract package by typing:
Package.installPackages('pytesseract')
Run the cell and then import CV2 and Pytesseract by typing:
import cv2
import pytesseract
Error: No module named 'cv2'
Fix: If you see that error in the Python tool. It means there is error when installing the OpenCV library in the Python environment in Alteryx. To fix that error, you only need to type in a new cell: !pip install opencv-python. Then, run the cell.
Then run the cell (Image 3).
2/ Extract data from the image file with the library
Before extracting the data, I recommend you read the documentation about the library first. I see there are 2 useful resources to read:
1/ Github Tesseract Documentation Link: https://github.com/tesseract-ocr/tesseract?tab=readme-ov-file#installing-tesseract
2/ Pytesseract Documentation on Pypi.org: https://pypi.org/project/pytesseract/
On the GitHub Tesseract Documentation page, you will get more details about how Tesseract was founded, and the image formats (PNG, JPEG, and TIFF) that Tesseract is supporting and output formats. Tesseract is using OCR Engine which is Optical Character Recognition. According to the Wikipedia page, OCR is the electronic or mechanical conversion of images of typed, handwritten, or printed text into machine-encoded text.
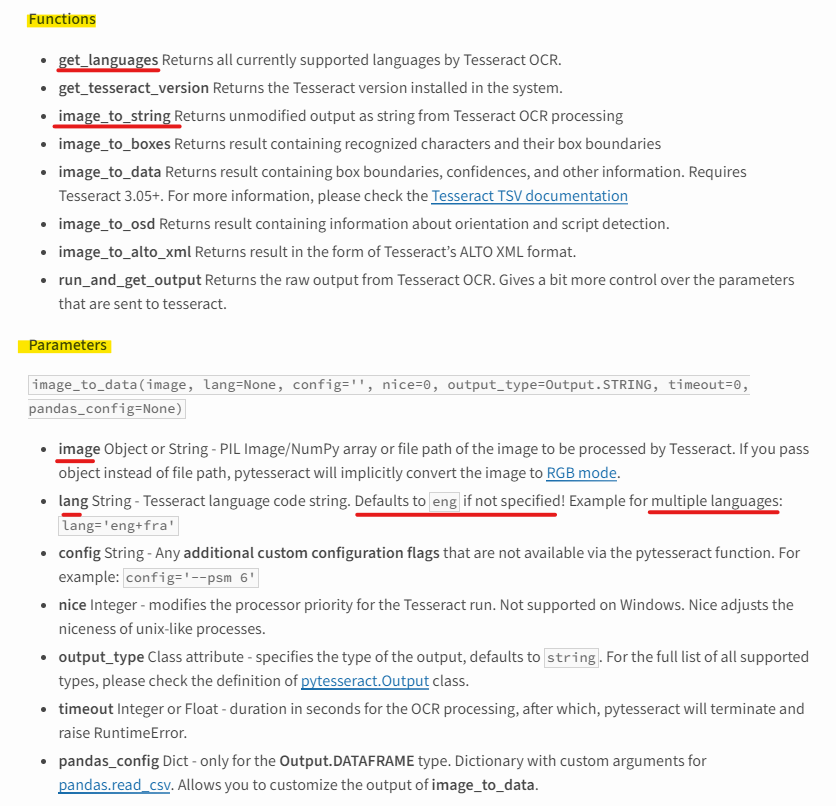
On the Pypi.org page, the page will share about Python-tesseract which is a library in Python we are working on. PyTesseract supports image formats: JPEG, PND, GIF, BMP, TIFF, and others. There are many example scripts on that page. The page also lists some functions and parameters (Image 4).
You can start searching for an example image from the Internet. I love a quote from Socrates, so I download an example image from Quotes Cosmos at https://www.quotescosmos.com/quotes/Socrates-quote-11.html (Image 5).
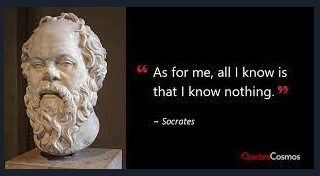
I saved the JPG image in the Download folder on my computer. Also, I need to know the directory path where I installed the Tesseract. If you prepared those already, let's start extracting data now.
In the Configuration window, I import 2 libraries: cv2 and pytesseract. In another cell, I get the directory from the downloaded image and store it in the path variable. I also use the imread() function from cv2 to extract data and store it in the image variable (Image 6).
Note that, remember to put r before the directory path. It lets the console know that using the raw string. If you don't use it, the console will recognize the backslash (\) as an escape code.
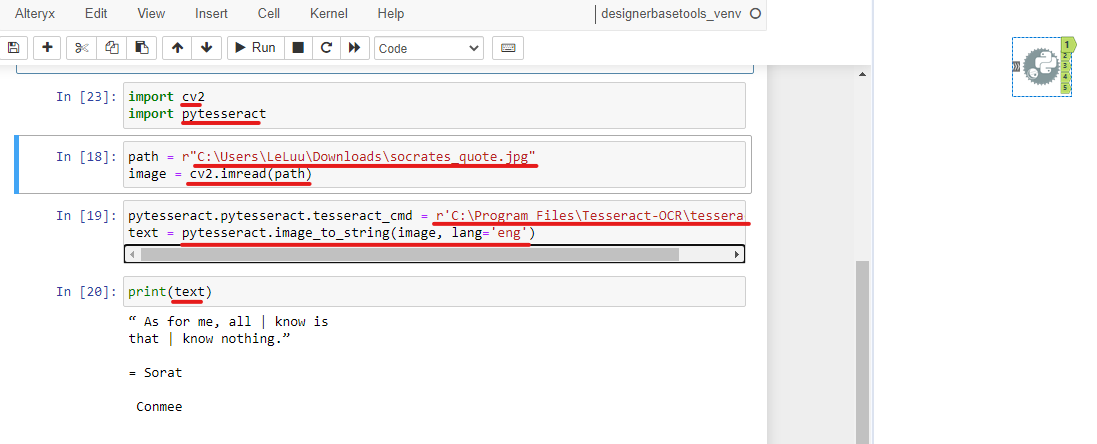
In the next cell, I need to copy the directory path where I installed Tesseract. On my computer, I installed it at C:\Program Files\Tesseract-OCR\tesseract.exe. I stored that directory path in pytesseract.pytesseract.tesseract_cmd variable. From the pytesseract library, I use the image_to_string function to extract the text from the image, in the English language (optional; by default, it will set the English language) and store it in the text variable.
Finally, print out the text. As you can see, some characters are not decoded correctly.
3/ Input Data into Pandas data frame
In this step, the Python tool requires the Pandas data frame to output, so I need to store the output in the Pandas data frame.
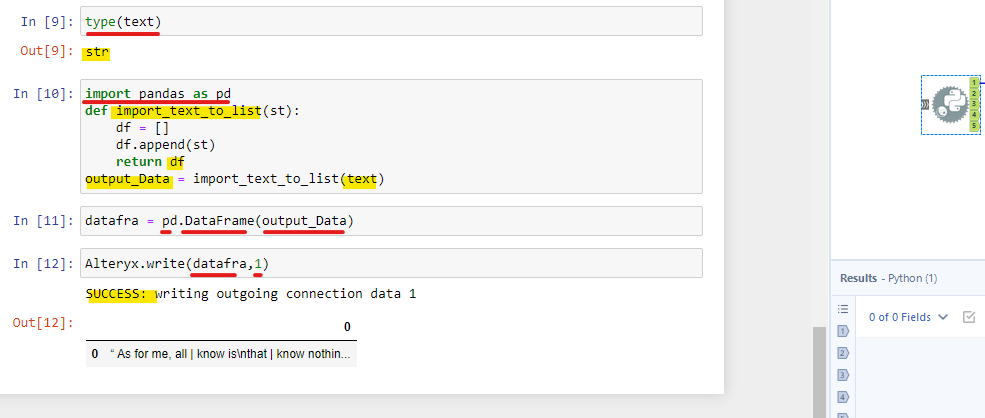
First of all, I check the data type of the text variable that I just stored the data from the image by using the type function. To use the Pandas library, I need to import the Pandas library (Pandas is already installed in the Python tool in Alteryx, so no need to install Package).
Next, I created a function called import_text_to_list by inputting a string. The function:
def import_text_to_list(st):
df = []
df.append(st)
return df
Where:
st is the string parameter input.
df is a list in Python. I initialized an empty list by typing df = []
df.append(st): It means I append the input string st into the df list
return df: the function will return the list df
Then, I call the function import_text_to_list, pass the text variable into that function, and store it in the output_data variable.
output_Data = import_text_to_list(text)
In the next step, I call the DataFrame function from the Pandas library and pass the output_Data into that function. I store it in datafra variable. Now, the datafra variable is a Pandas object.
4/ Output Data from the Python tool
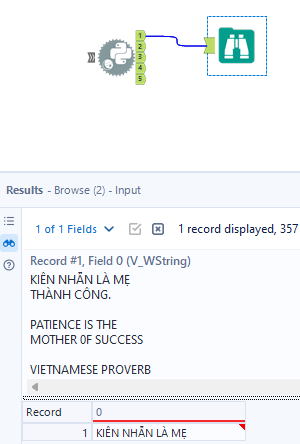
In the final step, I use Alteryx.write(datafra,1) to output that Pandas object in the first output anchor from the Python tool (Image 7). If you see the SUCCESS message, you output the data successfully.
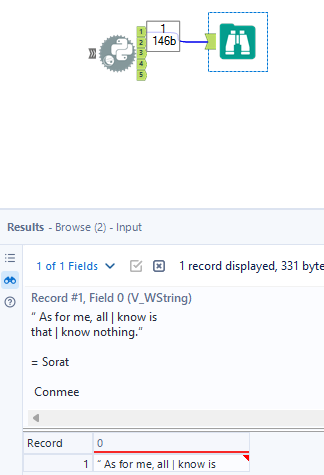
Now, let's connect the Browse tool to check the output. I connected the Browse tool from the first output anchor. In the result window, I got the same result as I got in the Python tool (Image 8).
Congratulations!!! Now you can get the data from the image file. For further steps, you can create an App from Alteryx by selecting the language, the directory path to the image, and output the text.
I tried another image with the Vietnamese language to see how it works. I got the image from Pinterest at https://www.pinterest.com/pin/24-inspirational-proverbs-from-around-the-world--542543086356244964/

The result is great! Note that, I changed the lang parameter to 'vie'.
This blog is long. Thank you for reading my blog until now. In this blog, I shared how to install the Tesseract package and import the library in Alteryx. Then, I showed how to extract the data from an image file; also store the result in the Pandas data frame to output the result from the Python tool. Many characters are decoded wrong but mostly it could decode the text from many languages.
I hope you enjoy this blog and hope to see you in the next blog!