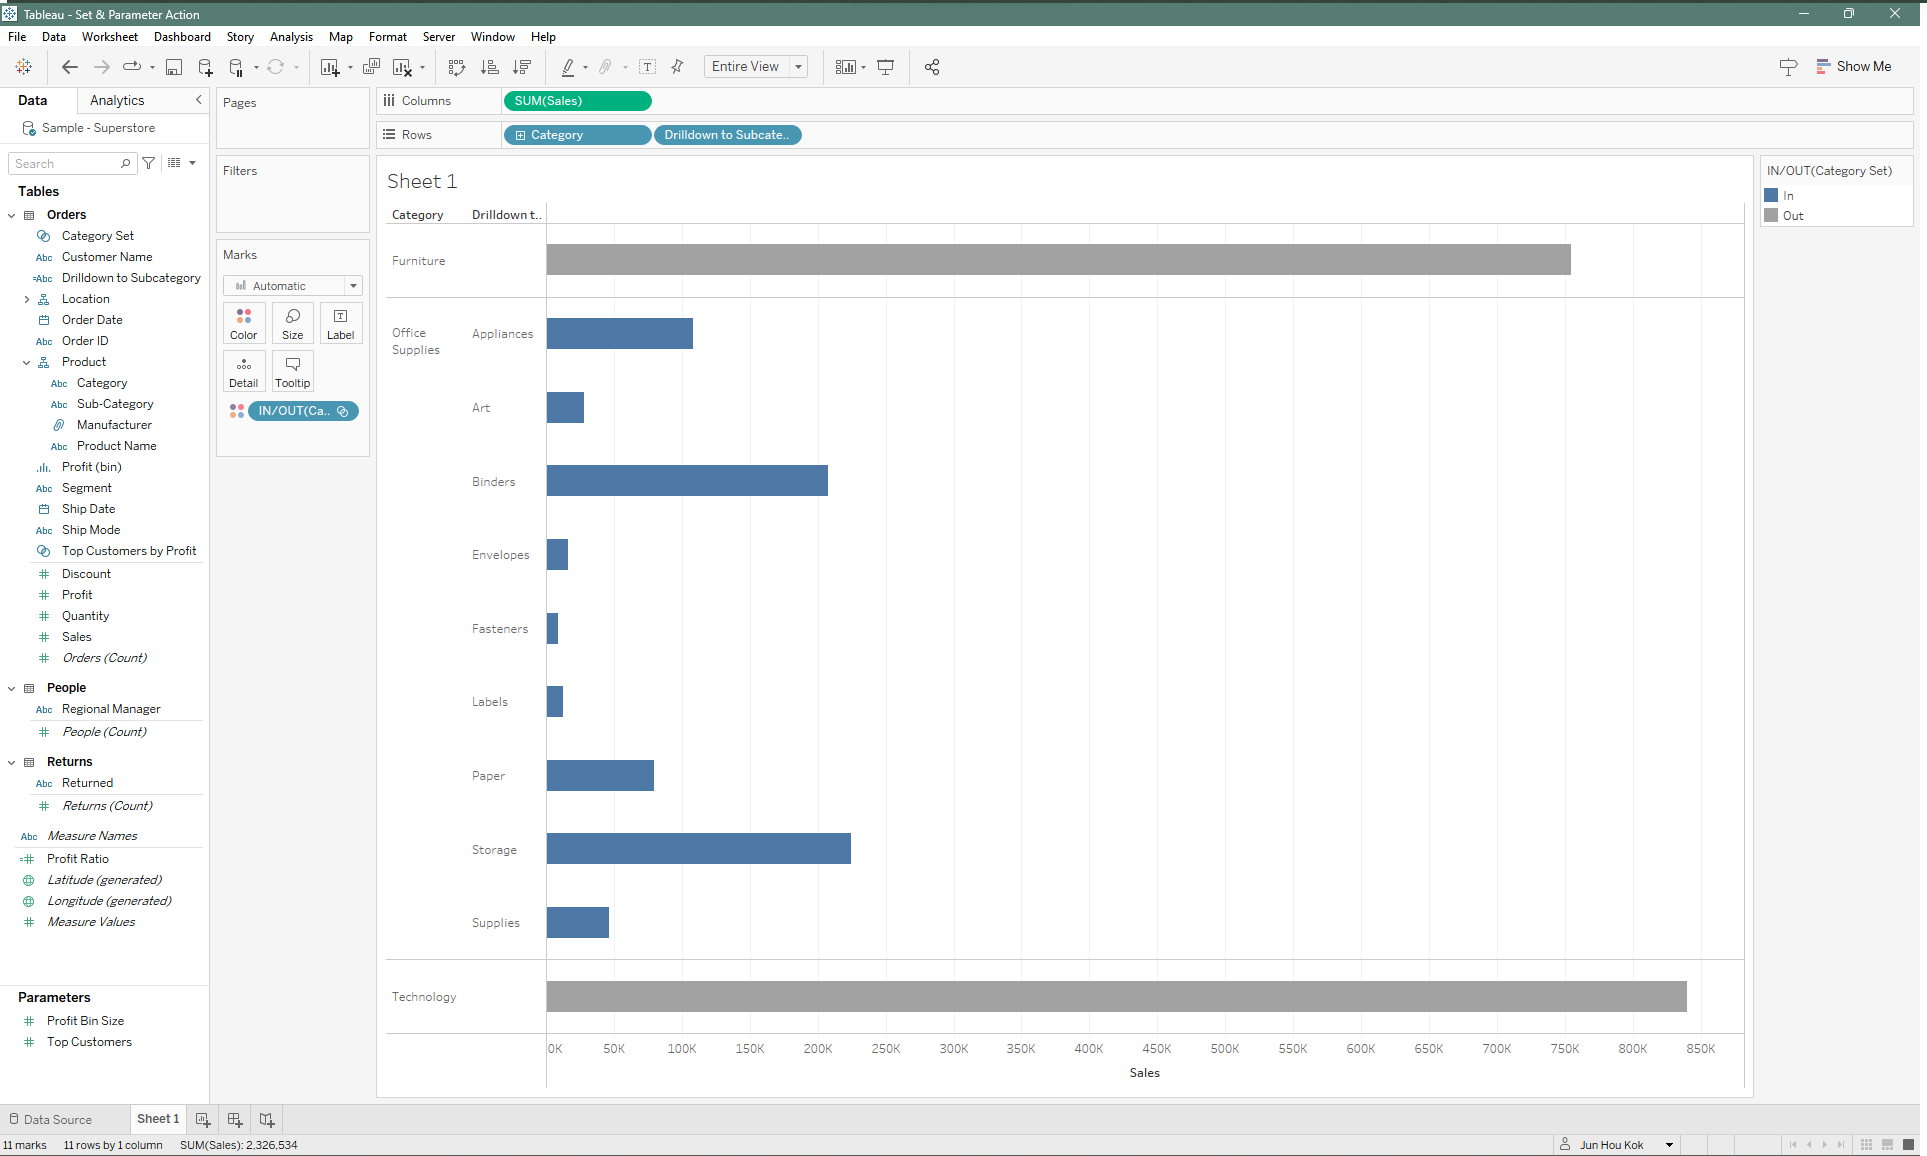
Drilldown actions are great at showcasing granularity of a specific measure in a given dataset, especially when you you have dimensions in your dataset that has a clear hierarchy. In this blog, we'll be looking at how you can achieve an interactive drilldown bar chart in Tableau, using Category and Sub Category dimensions from Sample SuperStore.
Step 1: Identify hierarchy and lay out your dimensions and measures
For this example, I know that SuperStore has automatically set the hierarchy of Products that will start with "Category" at the top level, then "Sub-Category", "Manufacturer" and finally "Product Name" at the lowest level. This doesn't play into the interactivity of the drilldown directly but it could help with building a mental modal of how you want your dimension to drilldown.

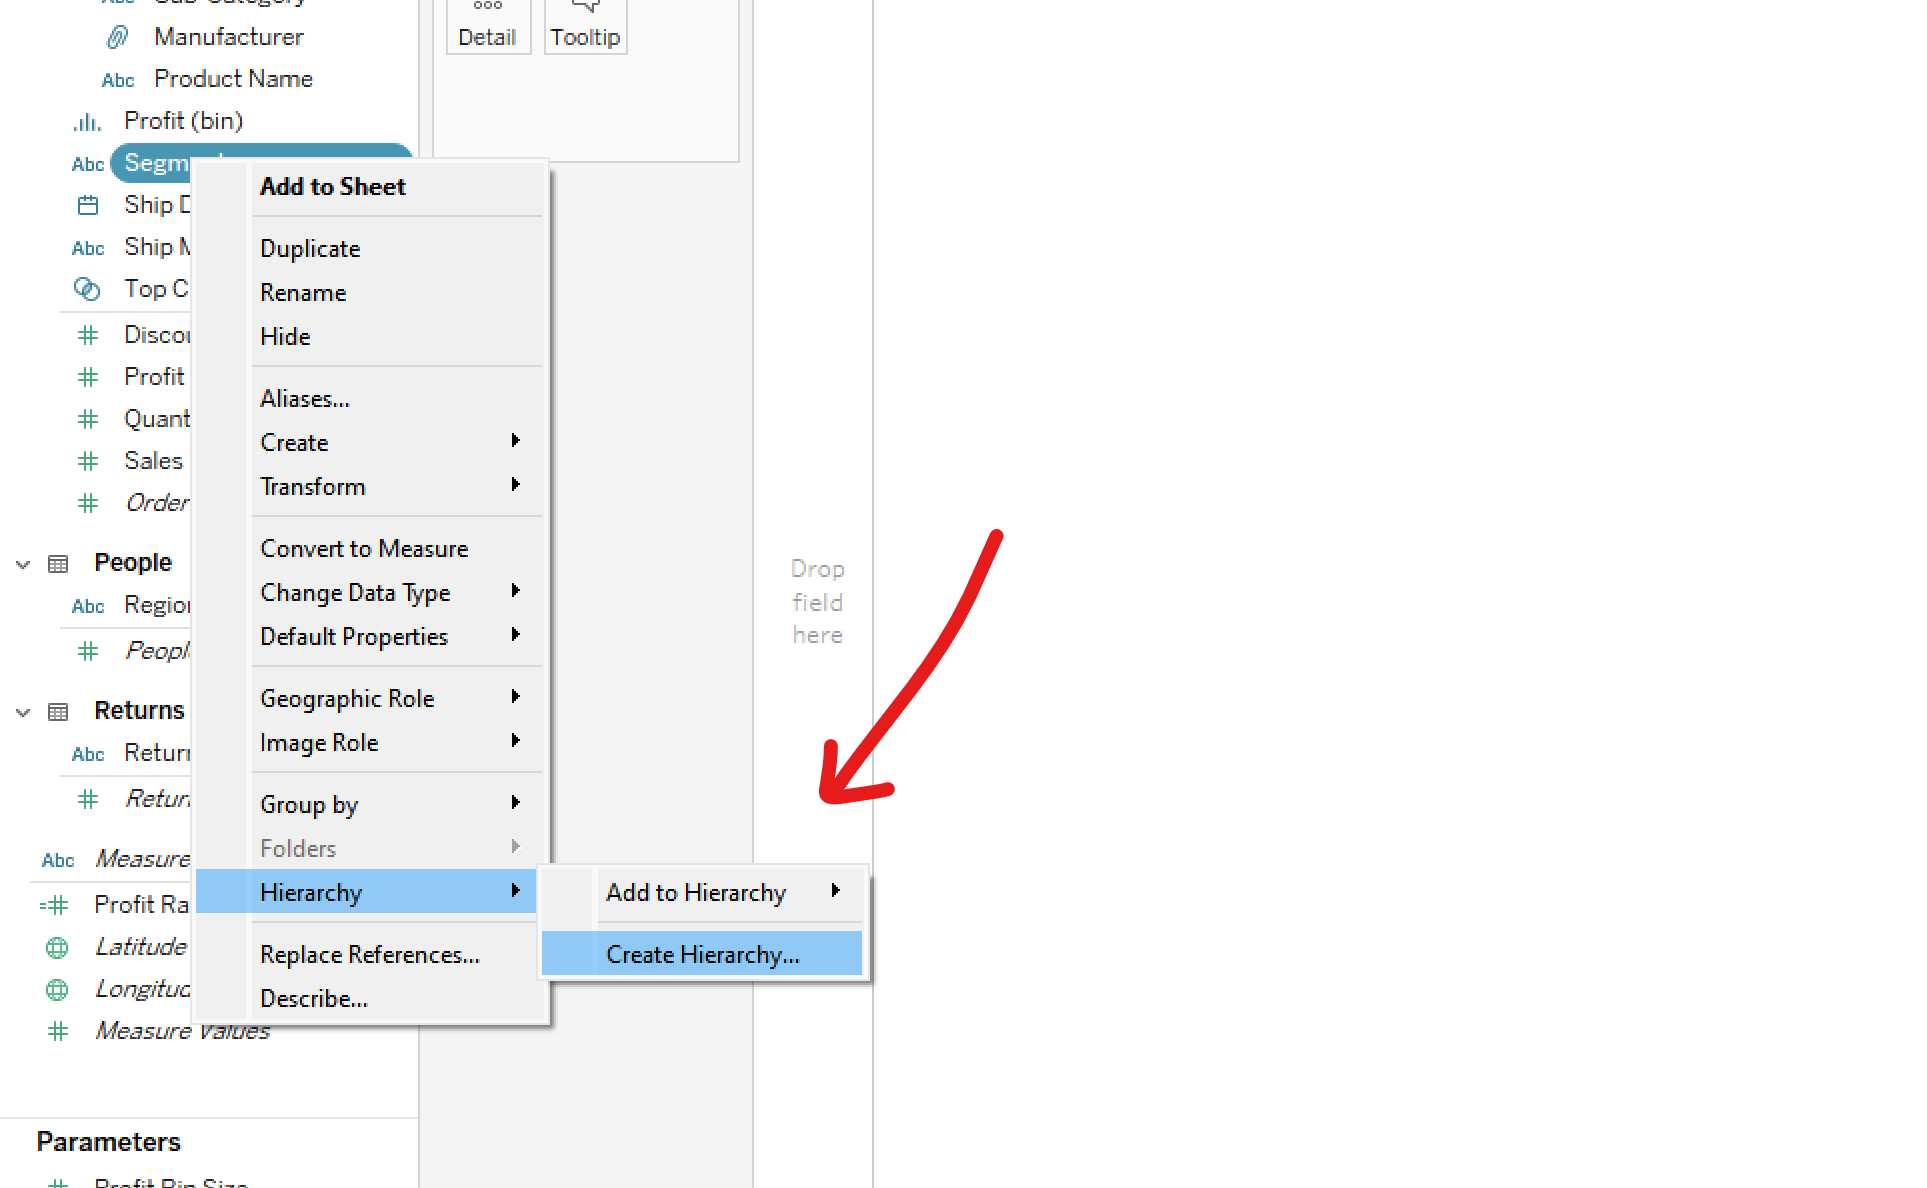
If you want to make your own hierarchy, you can simply create your own by right clicking on a dimension, navigating to the hierarchy tab and create it there.
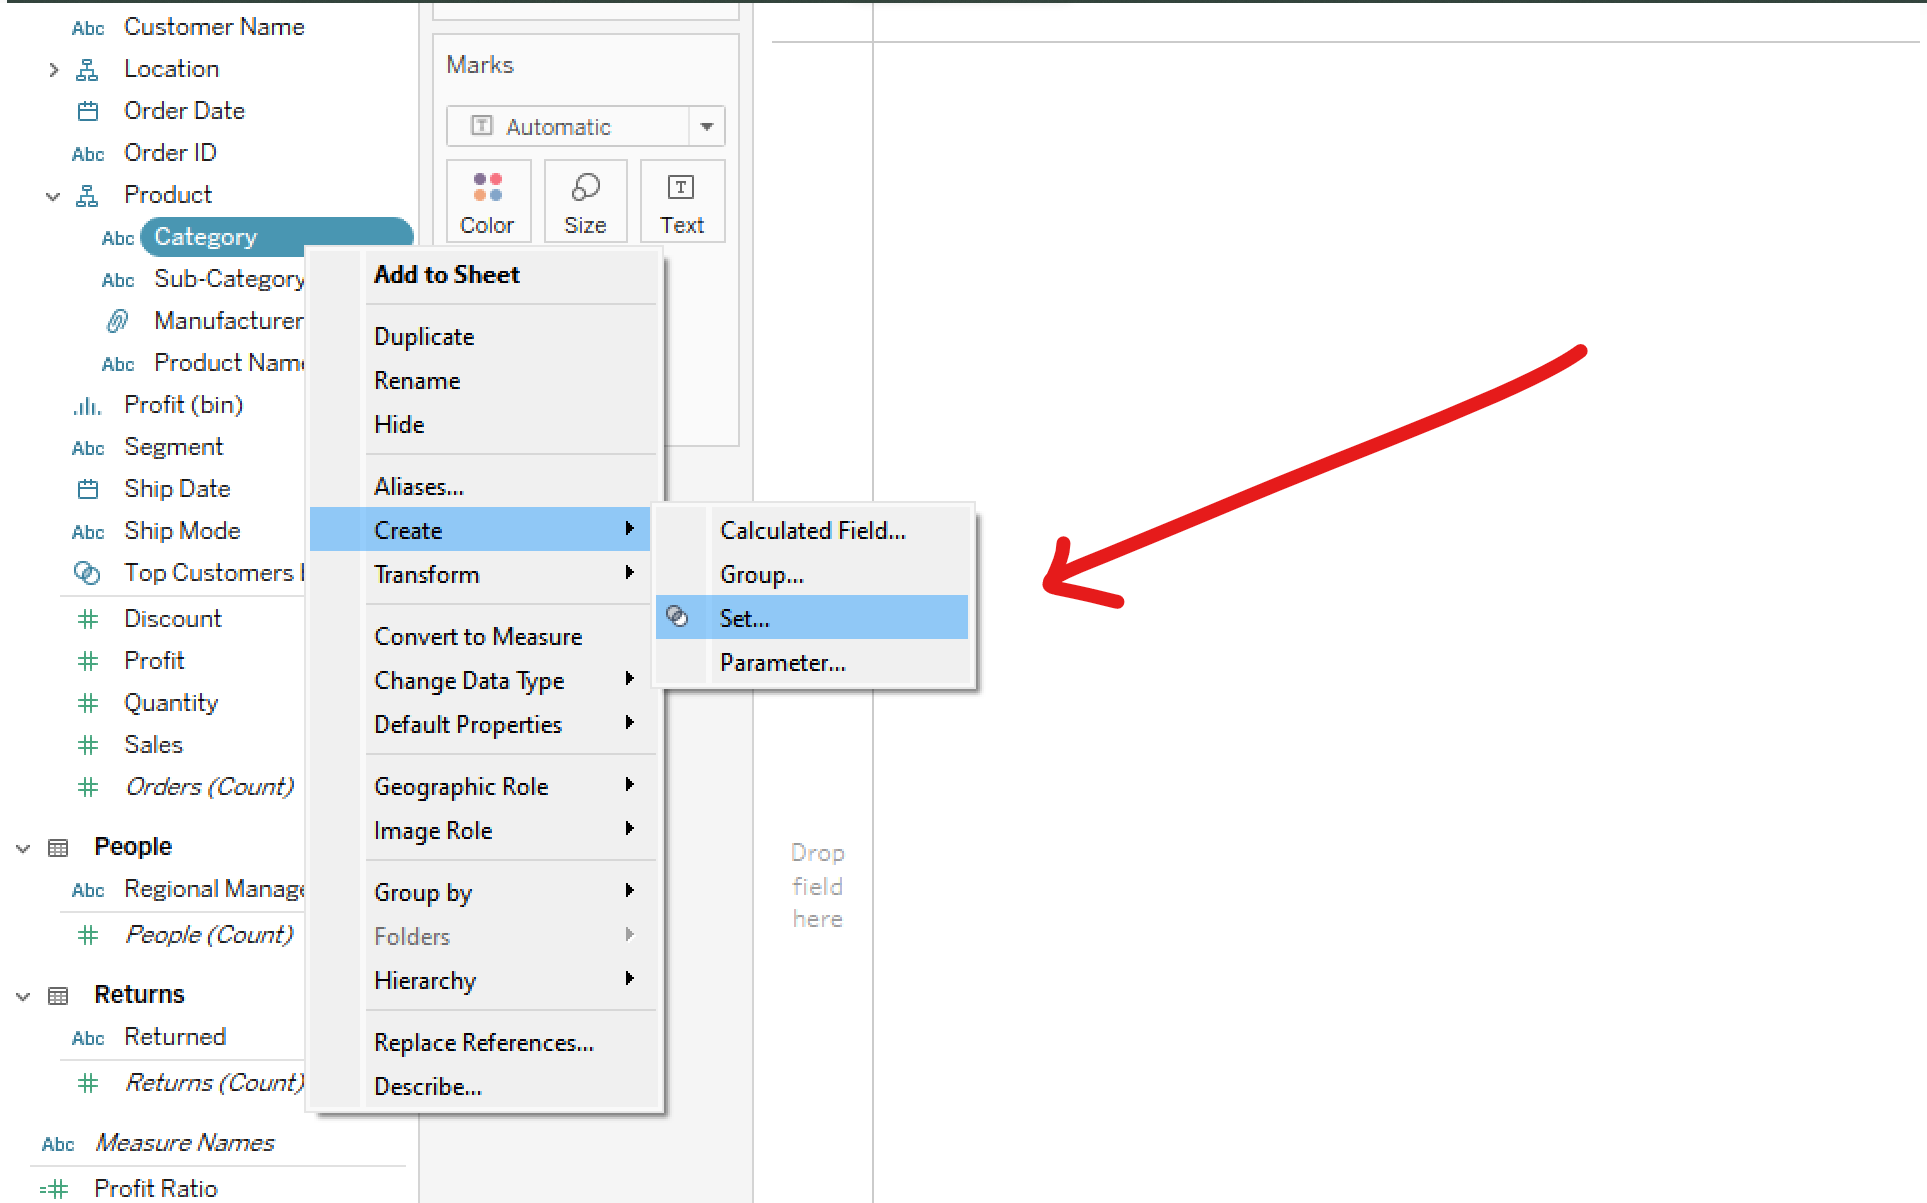
Step 2: Creating Sets
Now that you have a sense of how you want your hierarchy to work, you'll want to create a Set. Right click and navigate to the dimension you want and create a set from the "Create" tab.
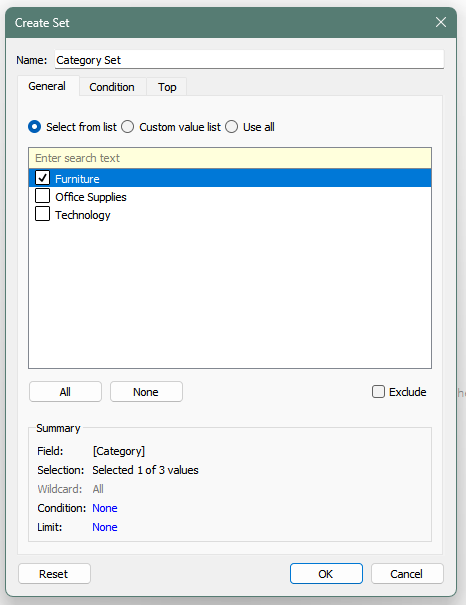
A pop-up will appear to allow you to configure your set.
Step 3: Setting up interactivity
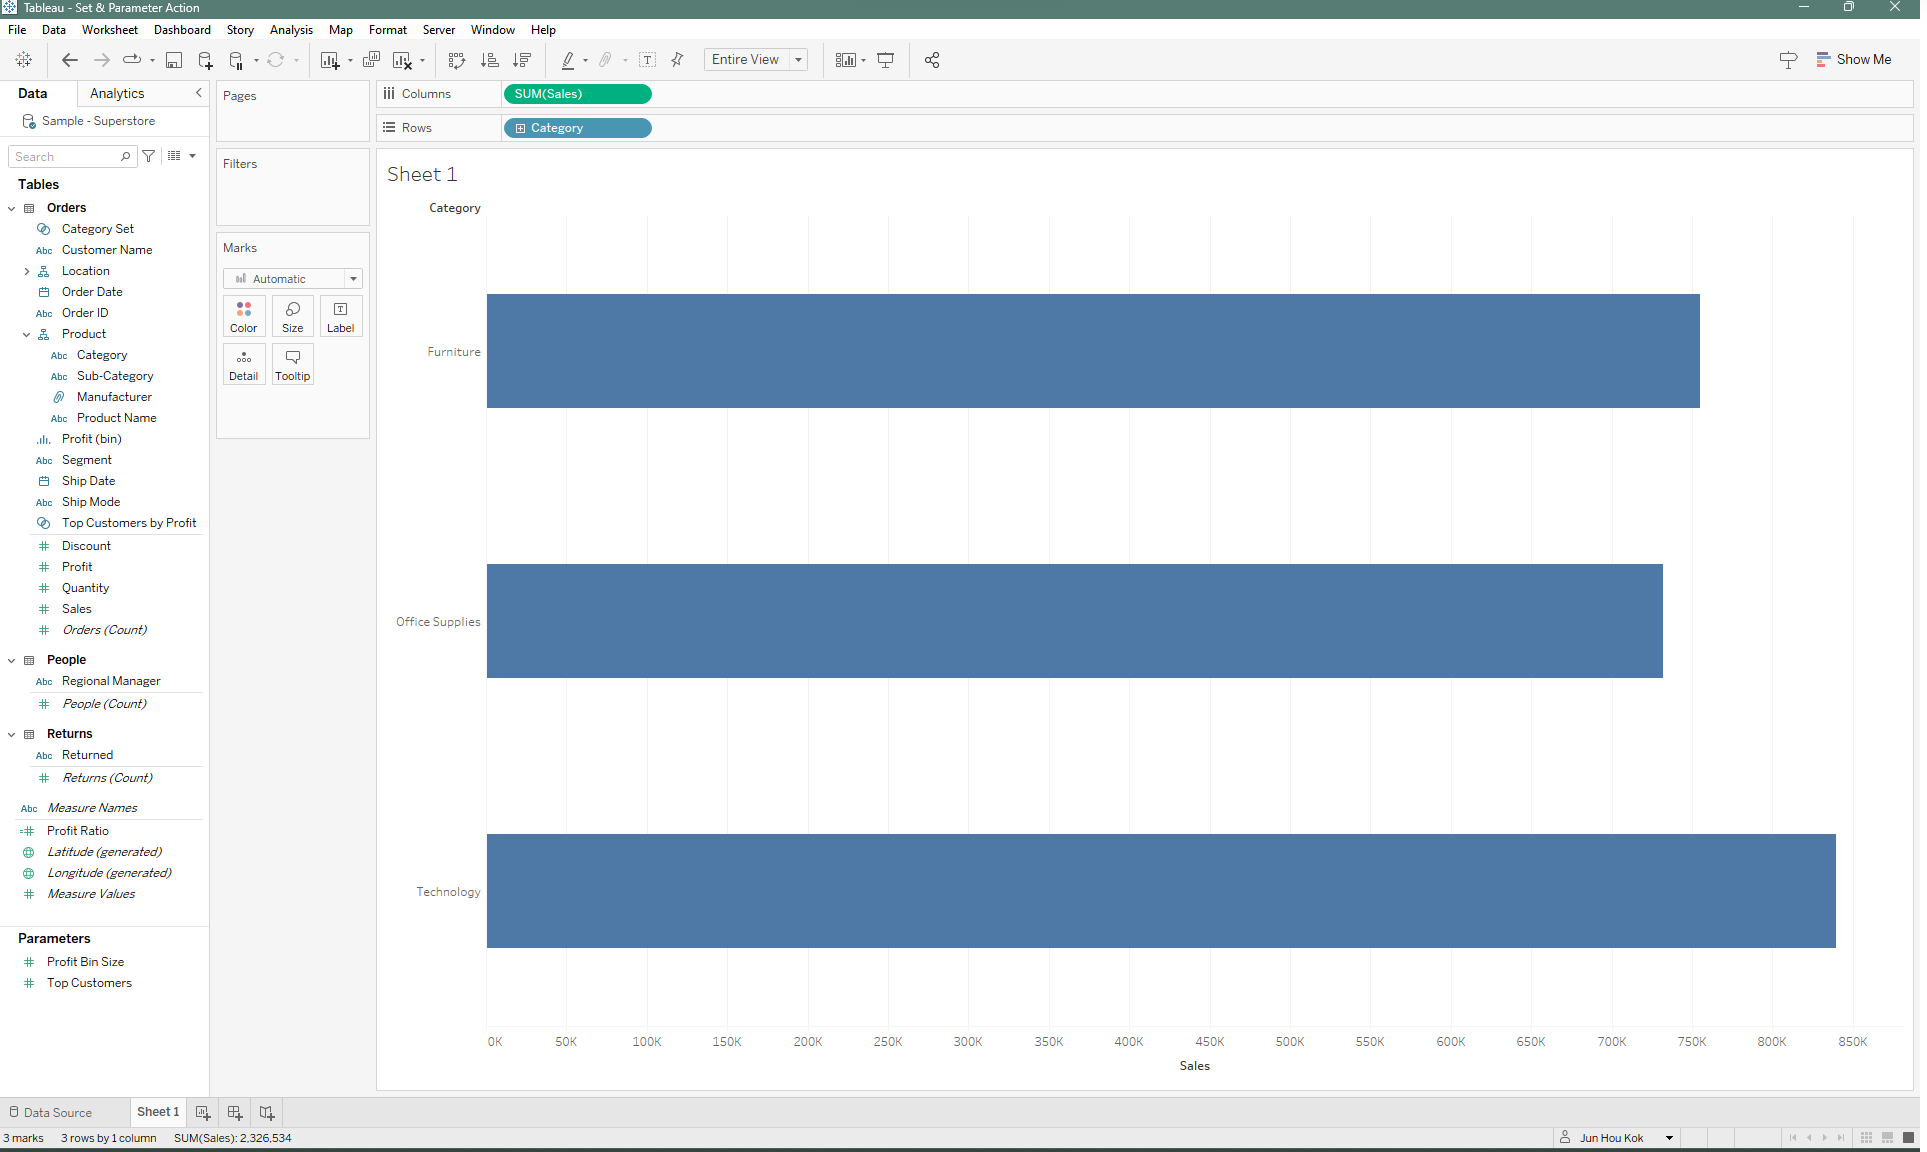
Now we can finally build out our bar chart. Drag the dimension you want to drilldown into Rows and the measure you want to display into Columns.
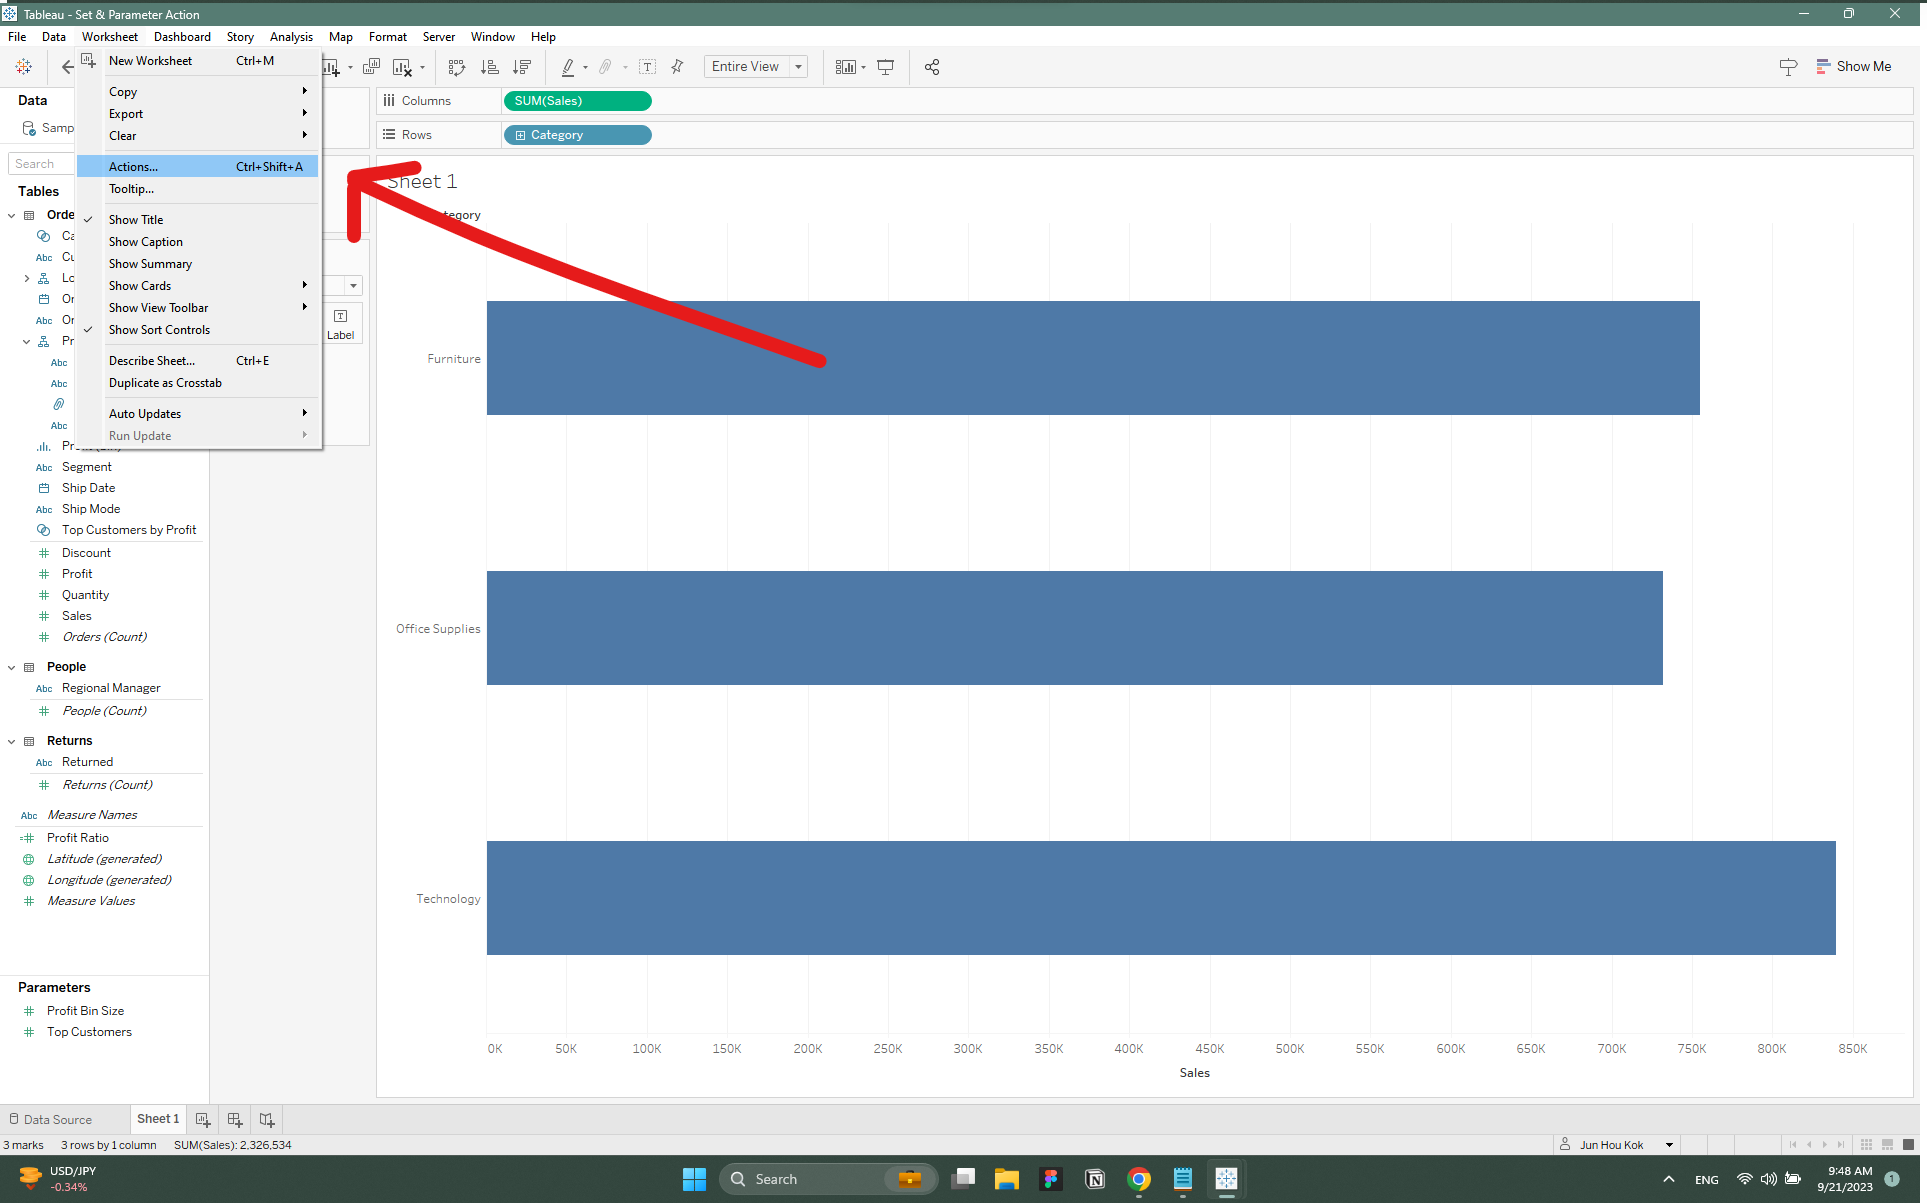
Then head over to worksheet actions, or use the shortcut (Ctrl + Shift + A). This will allow us to set up an action to change the value of the Set.
In the pop-up, click on "Add Actions" and select "Change Set Values". Then, Rename your set action and start specifying how you want the set to act. You'd want to make sure that action is performed on select, and set to the appropriate set (in my case Category Set).
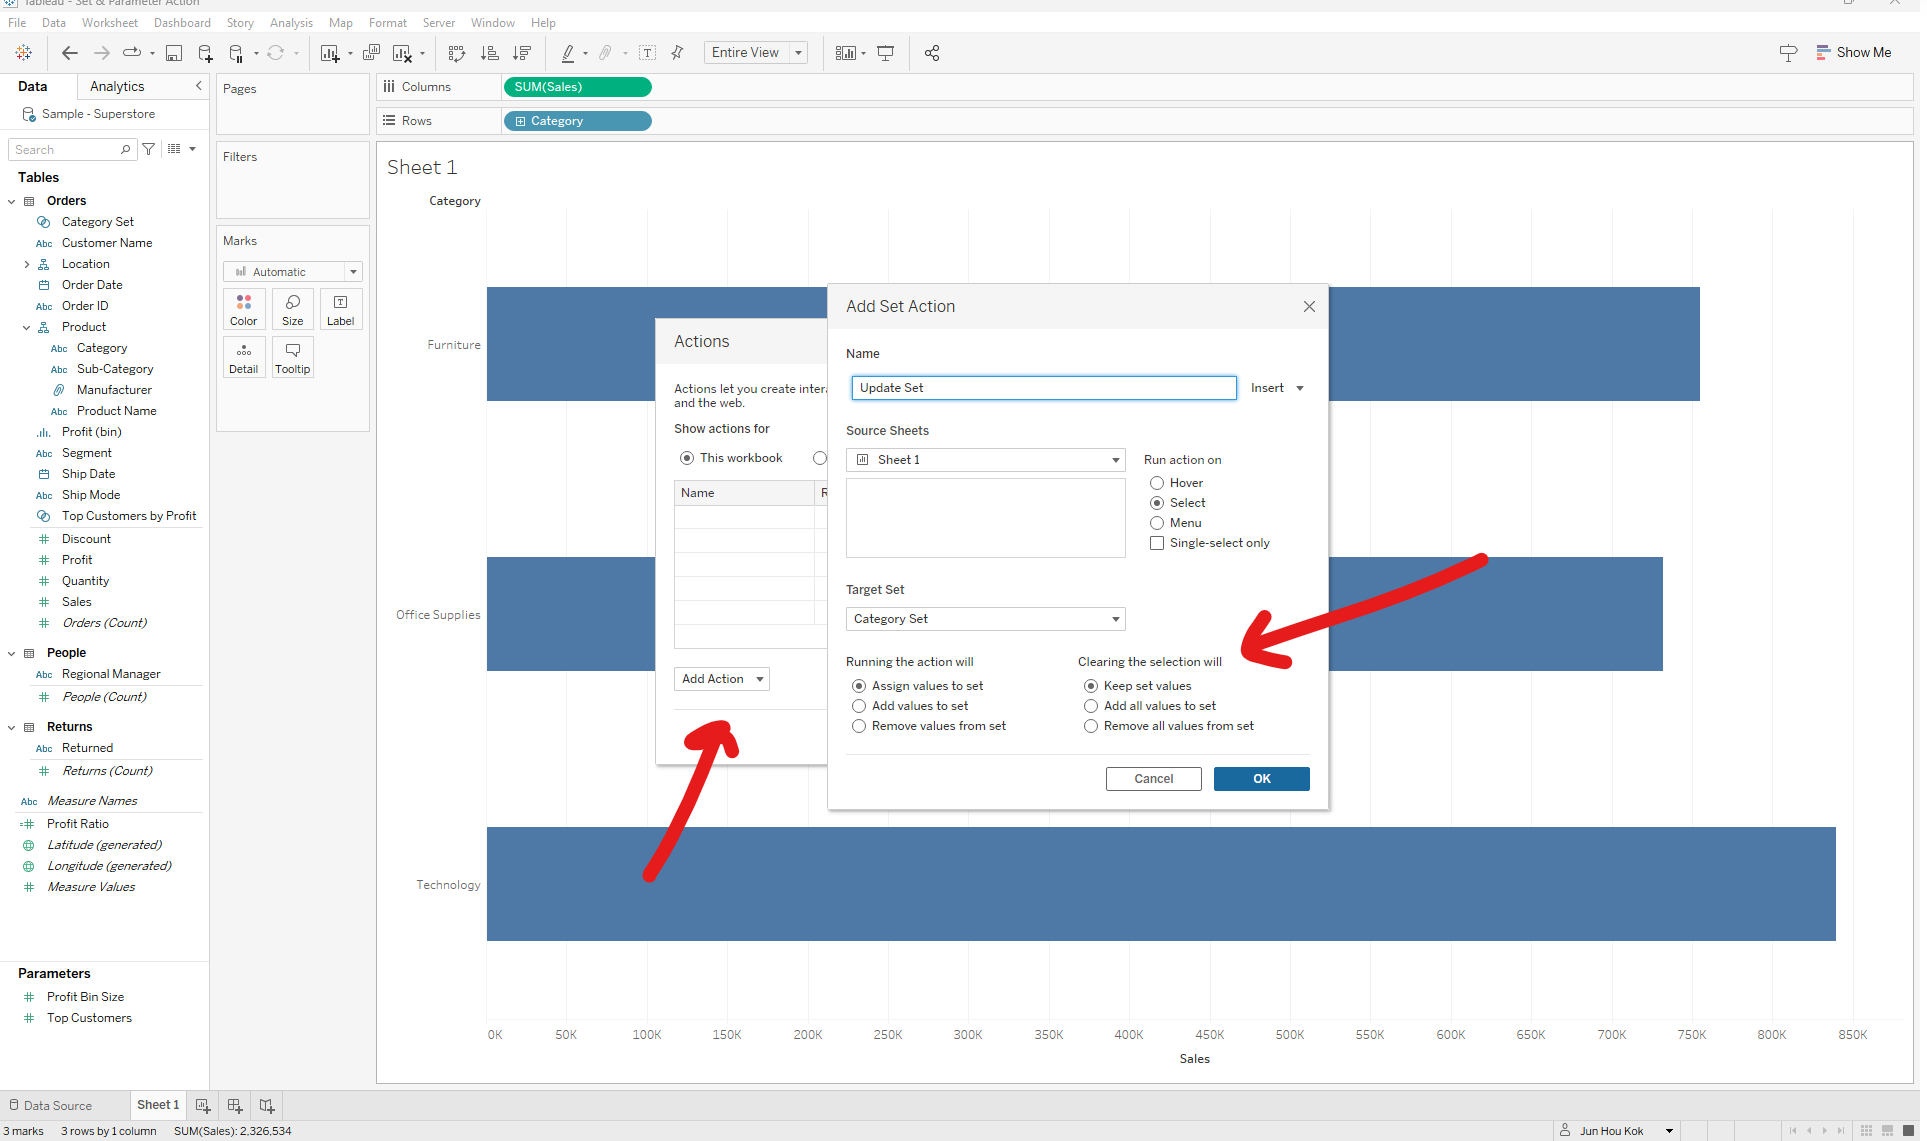
For my set up, I've configured it to assign values to my set whenever I select a category. By clearing the selection, that will keep the set values when I clear my selection.
Step 4: Finalize by setting up a calculated field
Now that we have everything set up, we'll want to create a calculated field using the set we created. For the calculation, I've used an IF statement to execute the following command: IF [Category Set] is true, or within the Set THEN show me the subsequent subcategory, ELSE show me nothing END.
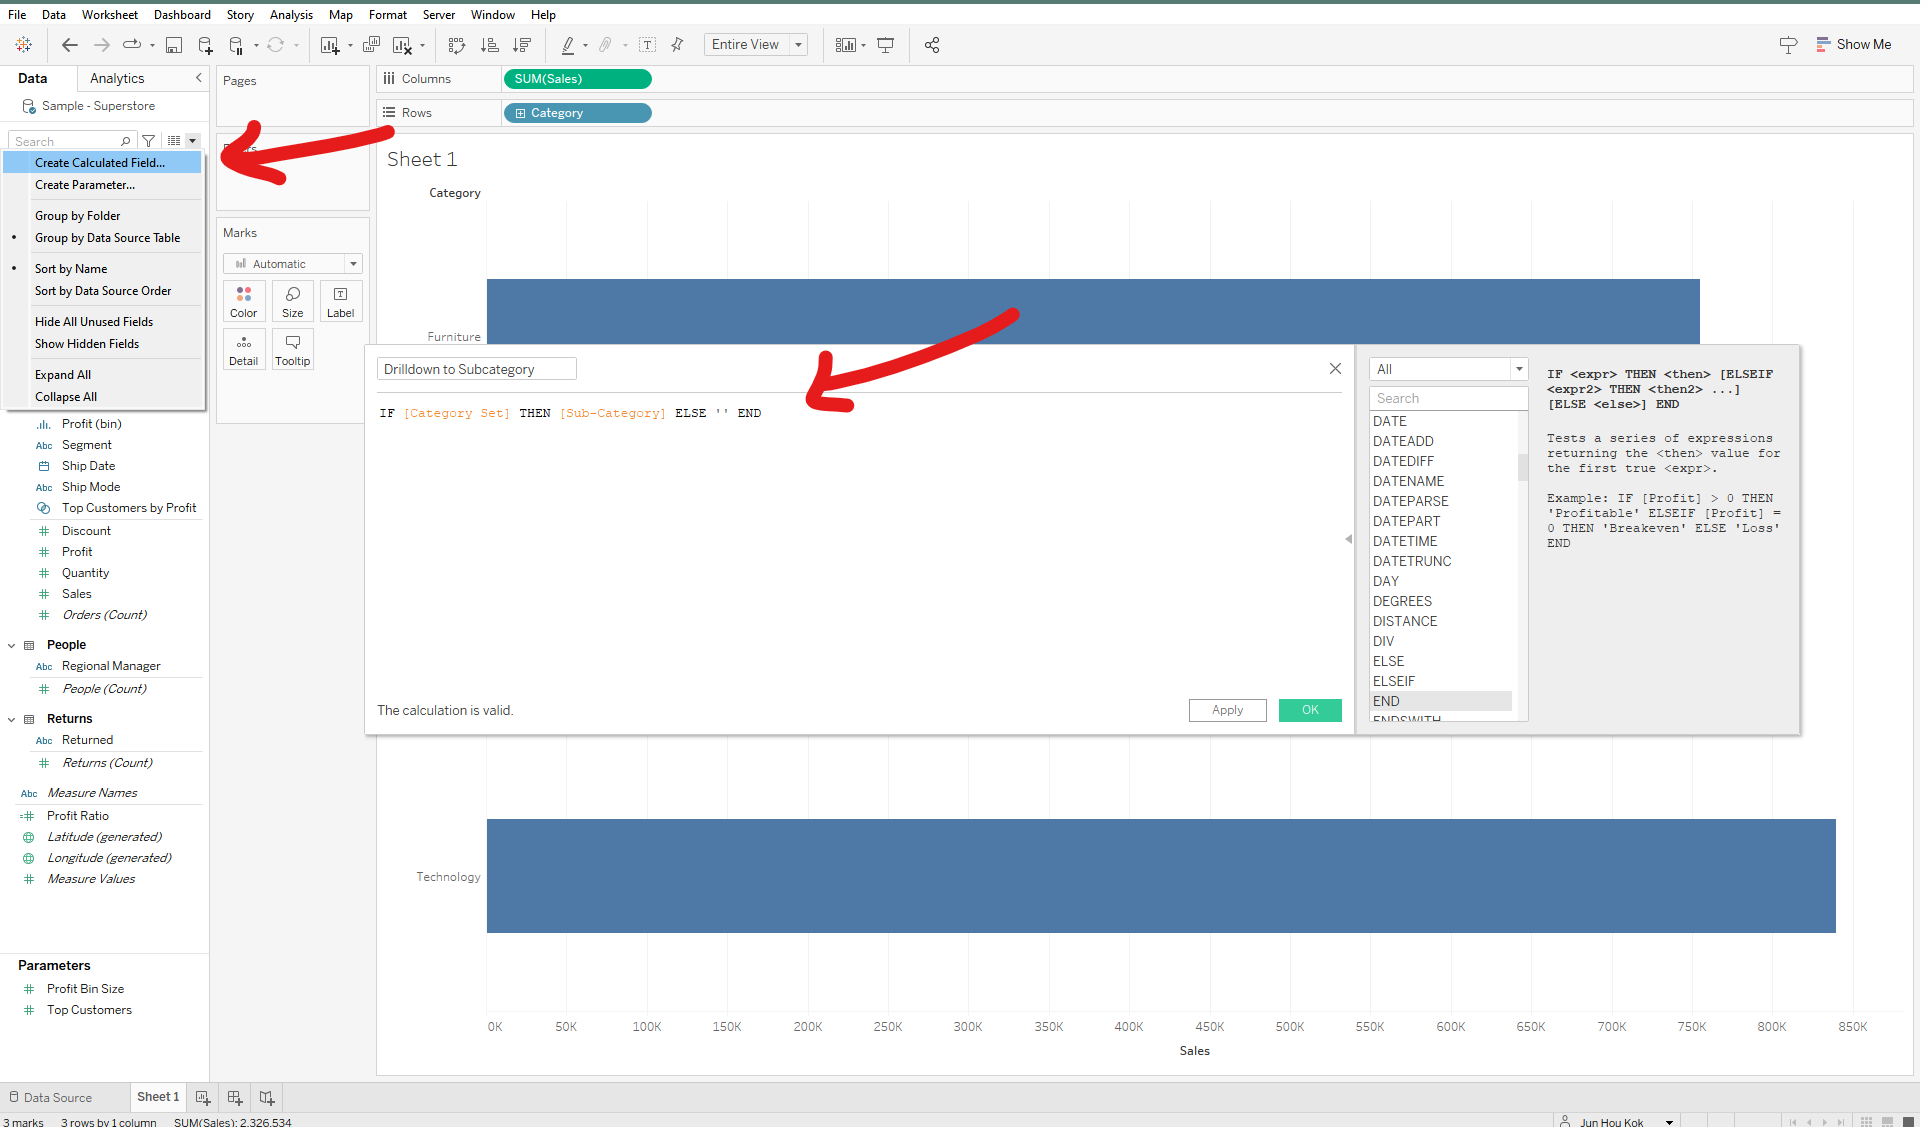
Once you're done, add your newly created calculation into the rows and it should be working. Drag the Set you've created into "Color" in the Marks tab so that you can highlight what you have selected. You can click on how each category and/or it's bar to change your drilldown.
