


If you regularly need to upload multiple CSV files from your local machine to Snowflake, instead of using the Snowflake web interface, take some time to read this blog so you can do some setup and have a set of reusable code ready to load those files in a more efficient way.
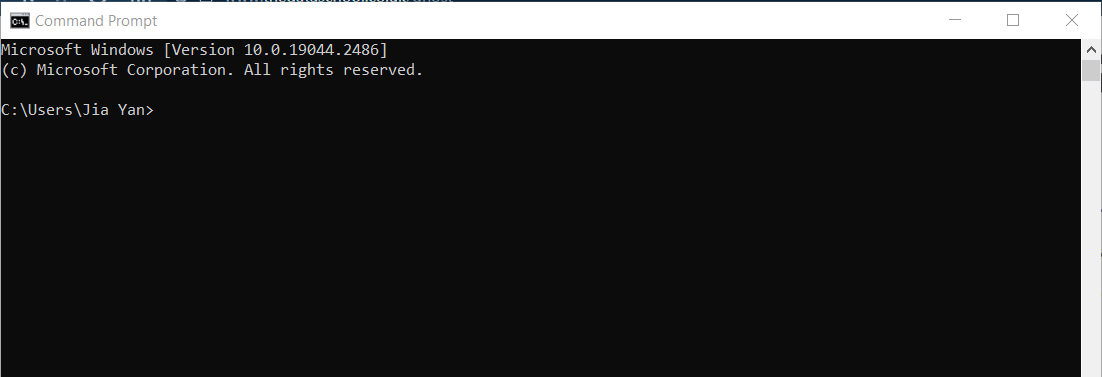
We will use the command prompt, also known as cmd, and some lines of reusable code for all the heavy lifting tasks. In order to send SQL command via command prompt, we need to install SnowSQL (CLI Client), it can be done easily with the installer.

And then look for the configuration file under: C:\Users\[Username]\.snowsql\config
Open the file with a text editor
In the config file, you need to modify this line:
log_file= ../.snowsql/snowsql_rt.log
to this:
log_file = ~/.snowsql/snowsql_rt.log
And then setup the connection configuration: [connections.anynameyoulike]
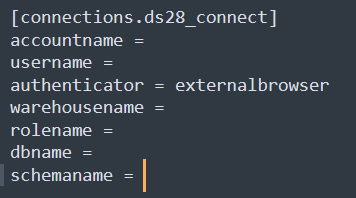
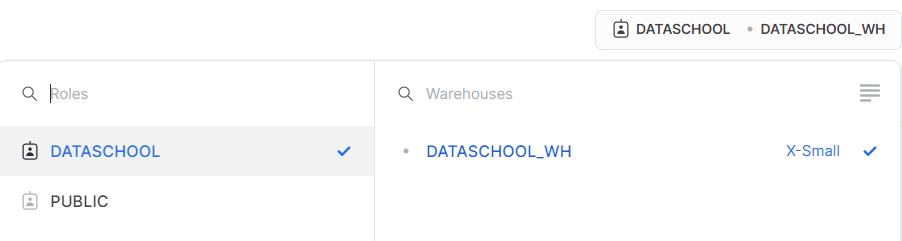
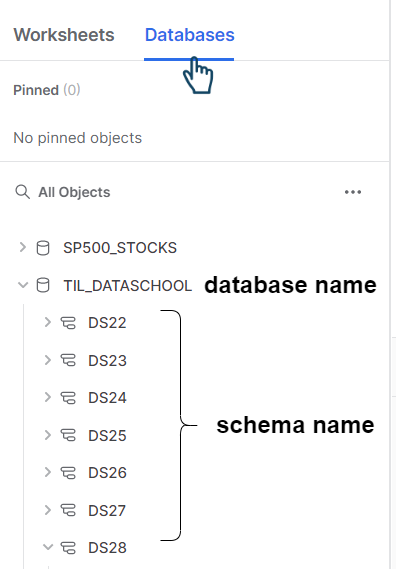
Here I have set the authentication method to the external browser, which means that a new internet window opens to direct me to the login page. The rest of the info you can find it from your snowflake account.

After that, the first thing we need to do is staging the data files. Staging is just a 'fancy' technical cover of saying to prepare your data files for loading. There are three main methods for staging in Snowflake, but I will only discuss the most robust method: Named Staging.
CREATE OR REPLACE stage preppin_stage
FILE_FORMAT = (type = 'CSV' FIELD_DELIMITER = '|');

Technically you can also run the code above on Snowflake web interface. But the following line is what all these troubles for. Especially if the naming convention of all your data files has a conventional pattern, you can use a placeholder - * (wildcard) to load all files in one shot.
Here, I named the stage as preppin_stage
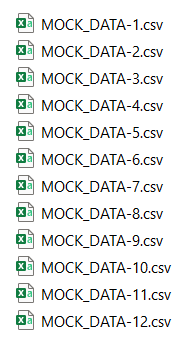
PUT 'file://C:/\Users/\[Username]/\Downloads/\PreppinData_WK08/\Input/\MOCK_DATA-*.csv' @preppin_stage;

With one line above, it allows me to stage all 12 files in one go.
Now we can go back to Snowflake Web Interface, run the rest of SQL command and save them in a worksheet.
To check if all the files are indeed in this named stage, run this:
LIST @preppin_stage
Then we need to create a table with structure that match the columns of the data. The data in the example can be found in the weekly Preppin' Data Challenge.
CREATE OR REPLACE TABLE PD2023_WK08_JANUARY(ID number, FIRST_NAME varchar(255), LAST_NAME varchar(255), TICKER varchar(255),
SECTOR varchar(255), MARKET VARCHAR(255), STOCK_NAME VARCHAR(255), MARKET_CAP VARCHAR(255), PURCHASE_PRICE VARCHAR(255))
Finally, copy the content to the table structure we just created.
COPY INTO PD2023_WK08_JANUARY FROM @preppin_stage/MOCK_DATA.csv.gz file_format=(TYPE=CSV, SKIP_HEADER = 1, FIELD_OPTIONALLY_ENCLOSED_BY='"')
And Voilaaaa! You can see the data there!
SELECT * FROM PD2023_WK08_JANUARY
If all the data to be loaded has the same structure, you only need to rename the table and the data source file in the stage and run the last two pieces of code a few more times to get the job done!