In this post I will be explaining how to use the color picker tool in Tableau to personalise/brand your visualisations.
This is one of those small changes you can make which can make a big difference to your end visualisation.
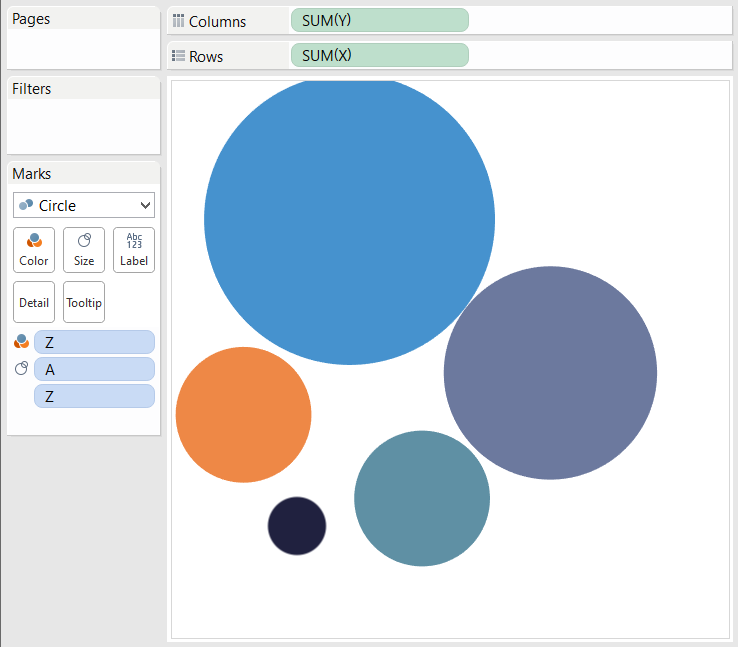
I will be using a scatter plot I quickly created to represent The Information Lab’s logo.
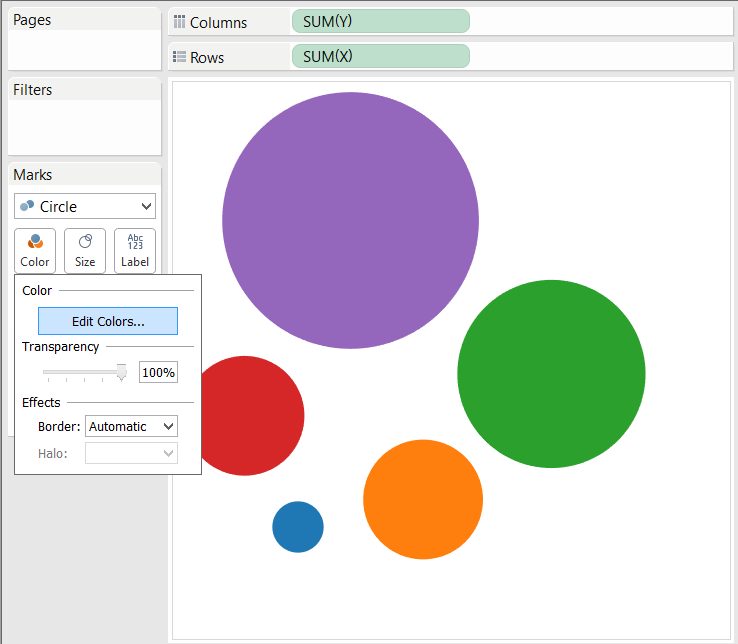
Firstly navigate to the worksheet where you wish to use custom colors. Then on the Marks card click on the Color button and then Edit Colors as can be seen below.
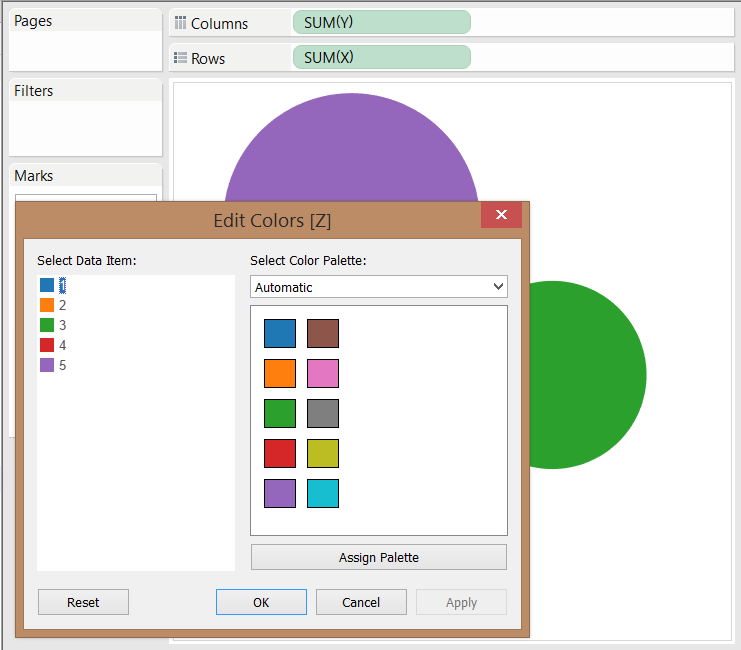
This should take you through to another window as can seen below. Now, double click on the color or number in the list under Select Data Item located on the left of the image below.
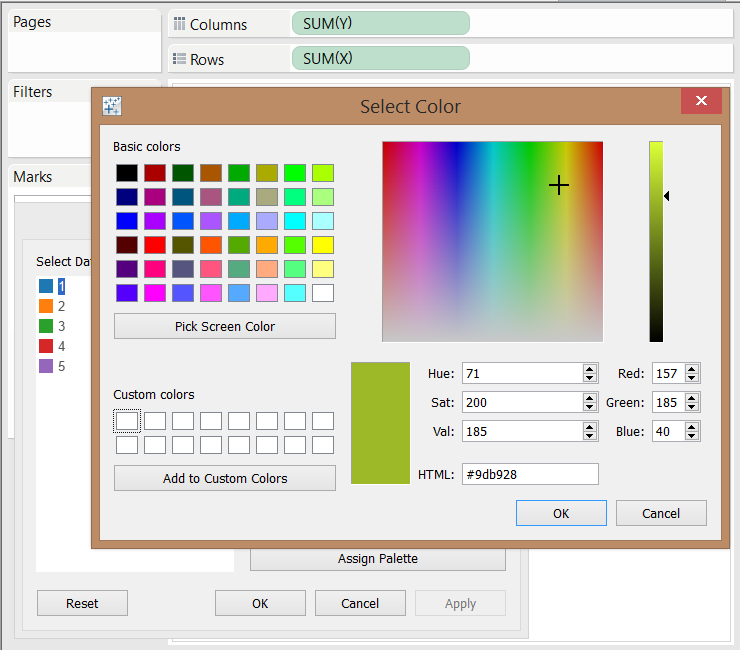
This should take you through to another window. Now click on Pick Screen Color located under the basic color palette on the top left hand side of the screen as can be seen below.
Your cursor will change to a plus sign, now you can navigate to the color on your screen you wish to use and just left click your mouse to select your desired color. However an issue I found is that the color picker doesn’t follow you when switch programs for example Google Chrome if you wish to use colors from a website. I found that the quickest and simplest way around this was to have Tableau open side by side with the application where you wish to pick a screen color from. To do this using:
- Windows 8 – drag a window’s title bar against one side of your screen; when your mouse pointer touches the screen’s edge, let go of the mouse button. Repeat these same steps with the second window, dragging it to the opposite side of the monitor.
- Mac – open the two apps, drag the lower right corner to make each about 1/2 of the screen, then drag them to be side by side.
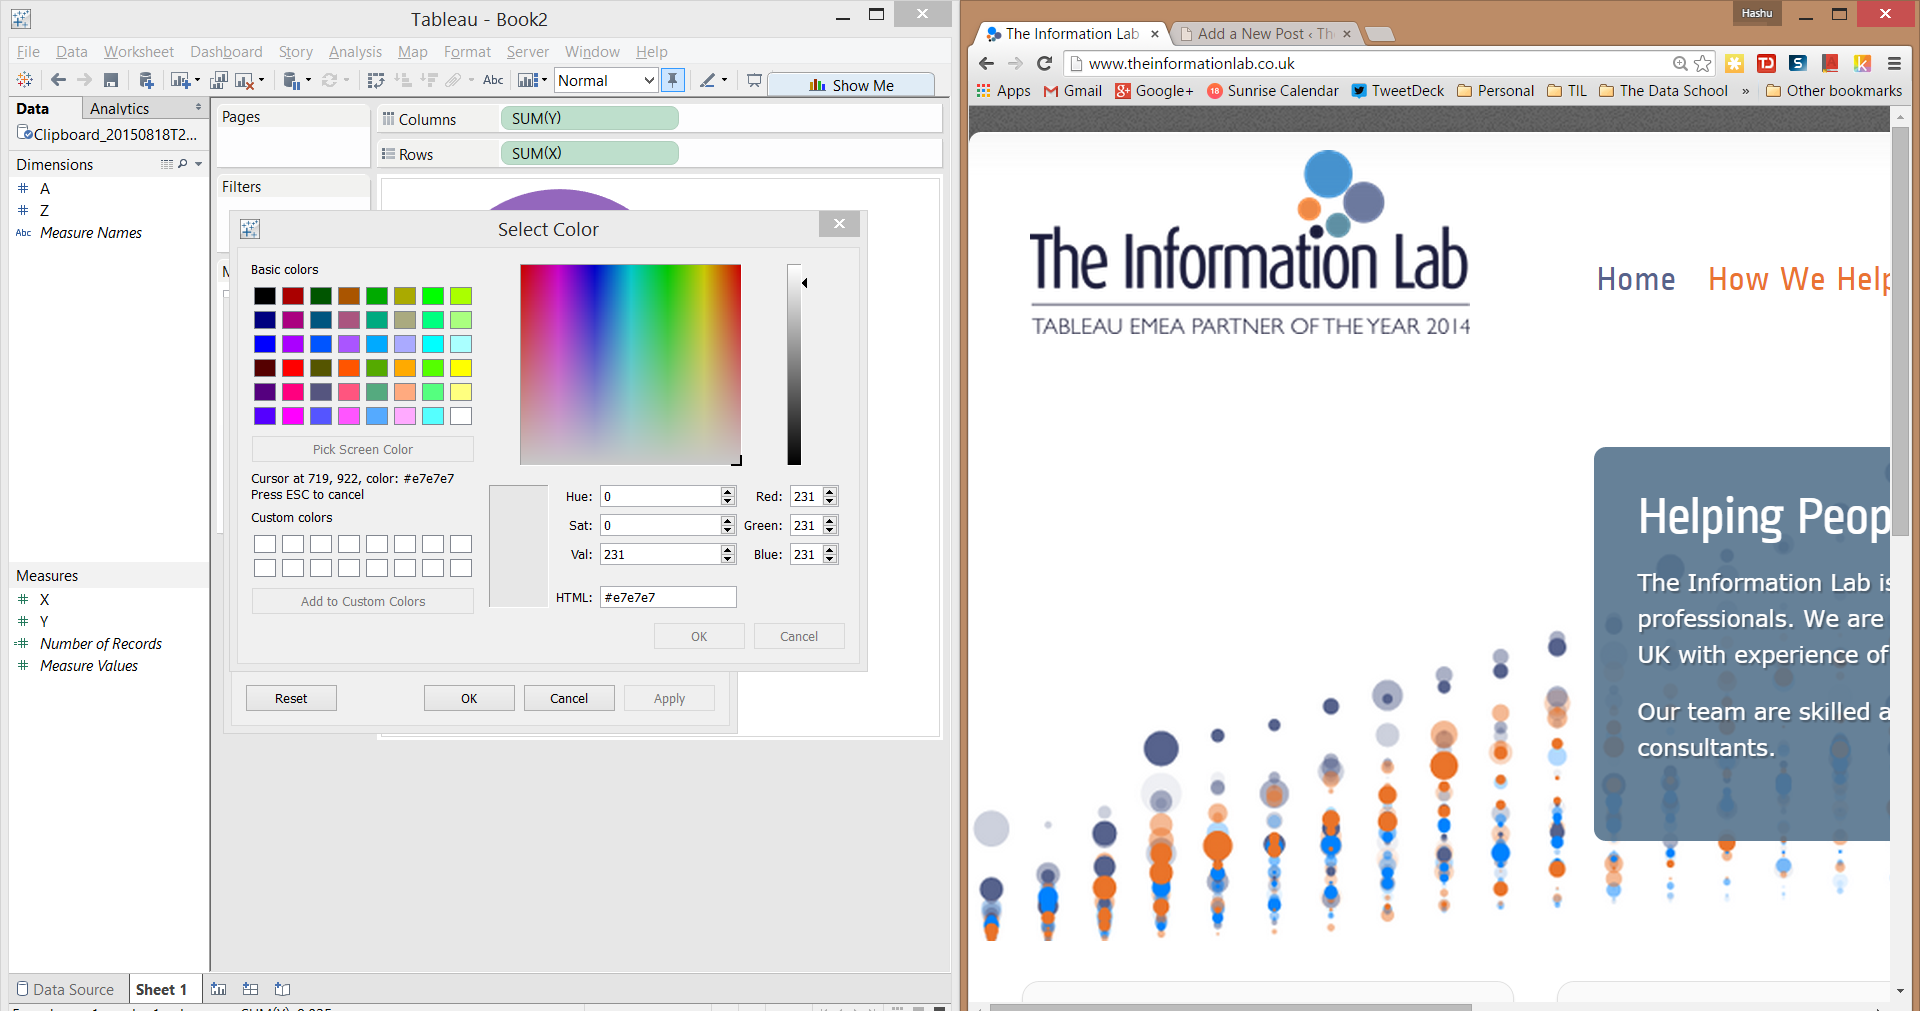
Both your applications should now occupy half of your computer’s screen like the screenshot below.
Now simply click on the color you wish to use from the second window where it’s located – you can also click on ‘Add to Custom Colors’ to save you time if you plan to reuse the color again in this workbook. Below is The Information Lab’s logo, branded!

