In Power Query, conditional columns allow you to create new columns based on values in other columns in your table your table. A conditional column uses logical rules and conditions, i.e. IF/THEN statements.
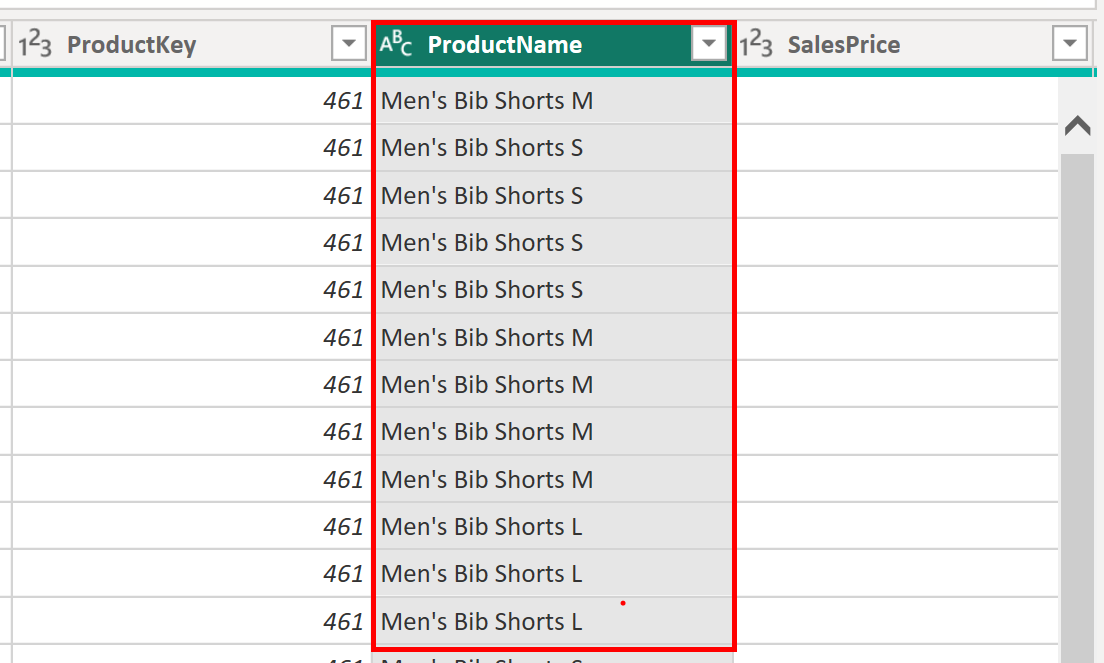
Let's say we are working with data from clothing sales, and we want to create a new column for 'Clothing Size.' In our data table, the size is indicated at the end of our product names, e.g. in 'Men's Bib Shorts M,' the size is 'M' for Medium.

A conditional column is a great way to pull the size from the product name.
These are the steps we would take to accomplish that:
Preparation
- First, we want to see how many different clothing sizes are available in our dataset. So, first filter the Category column to include only the 'Clothing' category. Our data contains two categories: Clothing and Accessories. Filtering first is not necessary, but it makes our work easier by narrowing down products to only the relevant category.
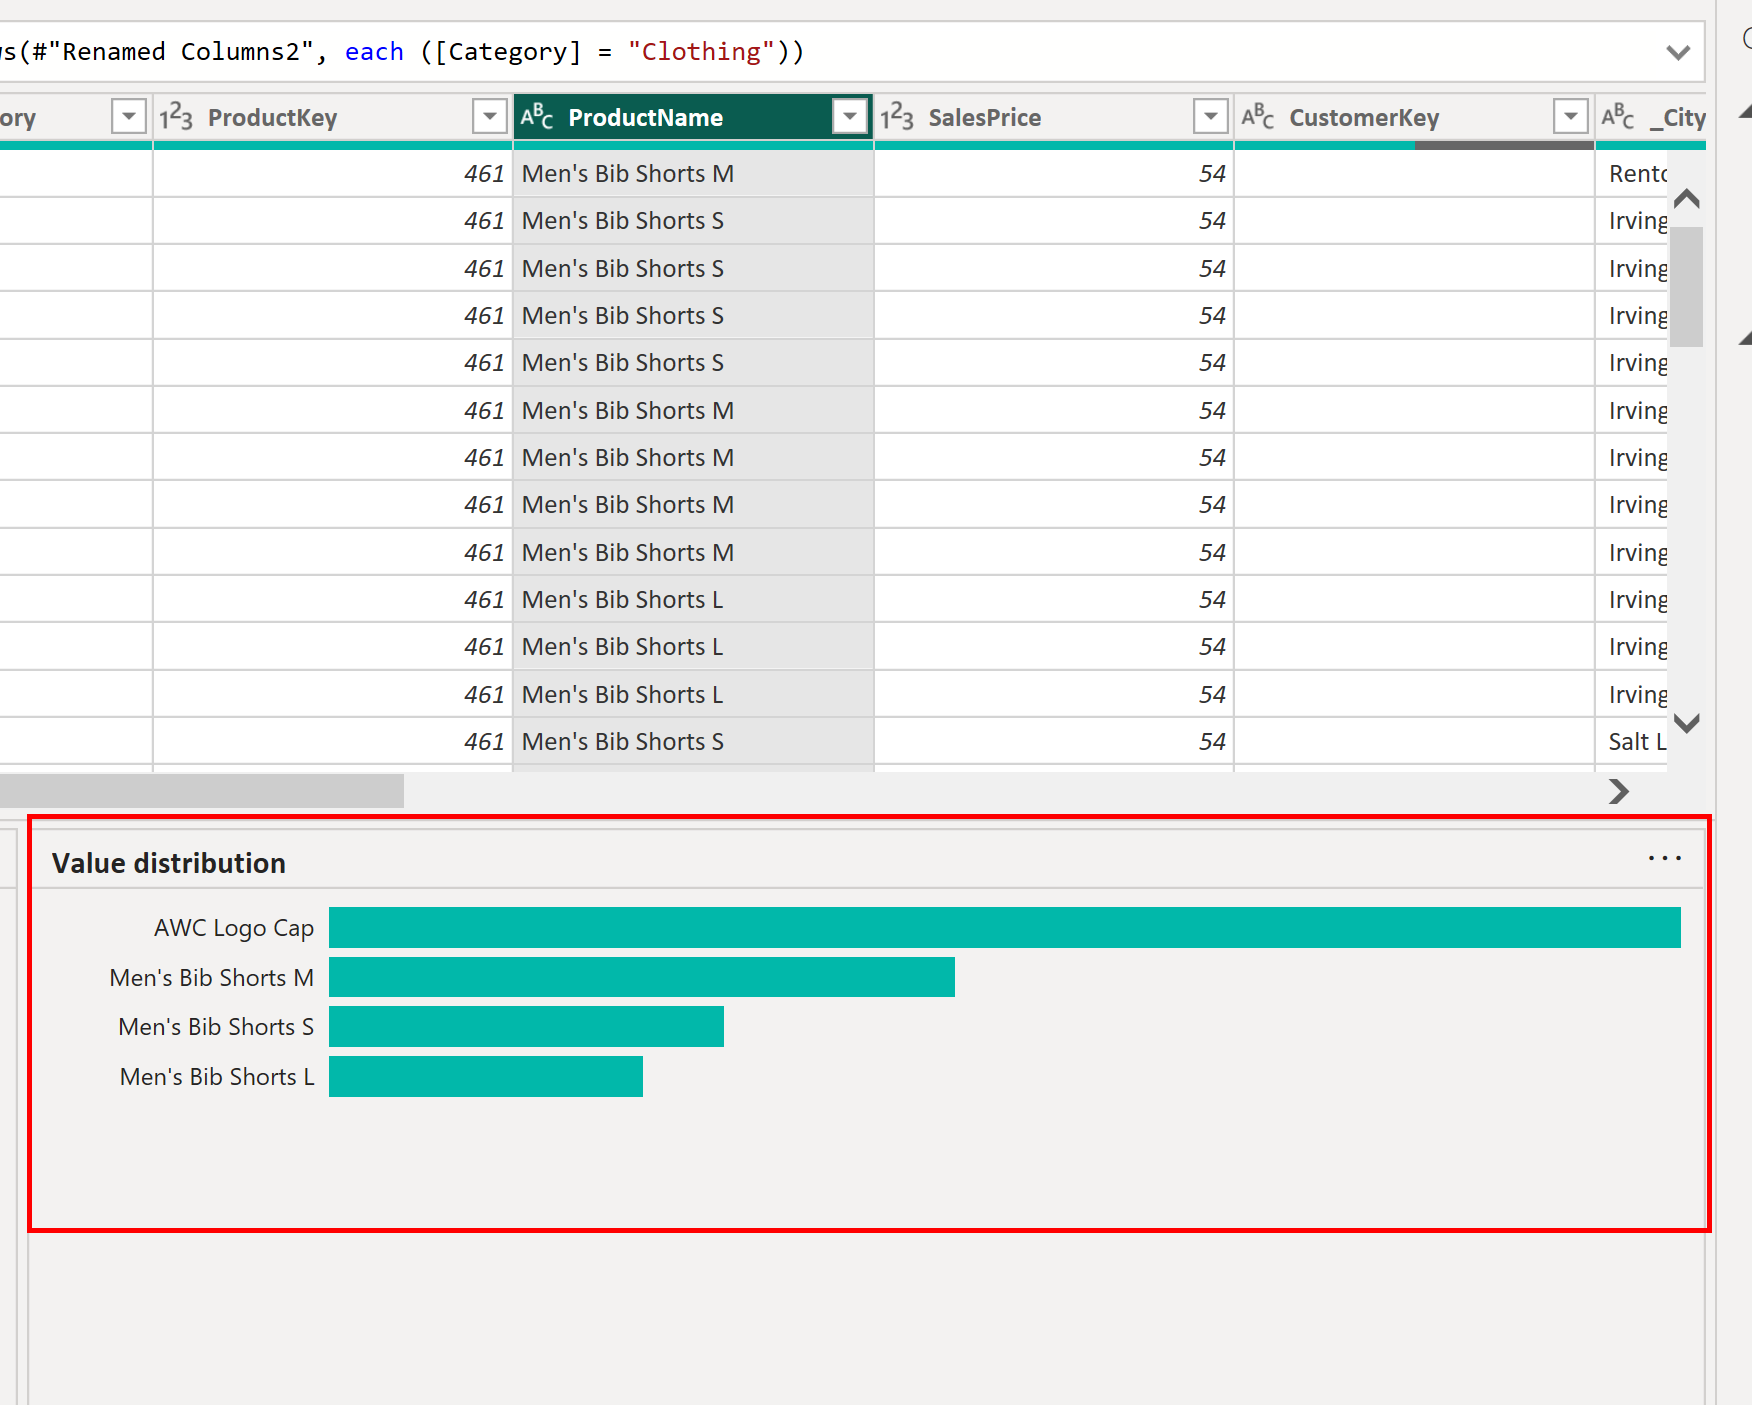
- Then, we select the ProductName column, and go through the Value distribution summary at the bottom. If the Value distribution summary doesn't show up: i) On the menu bar at the very top, select View; ii) Check the box against Column profile
- We see the following sizes in the Value distribution chart: M, S, L

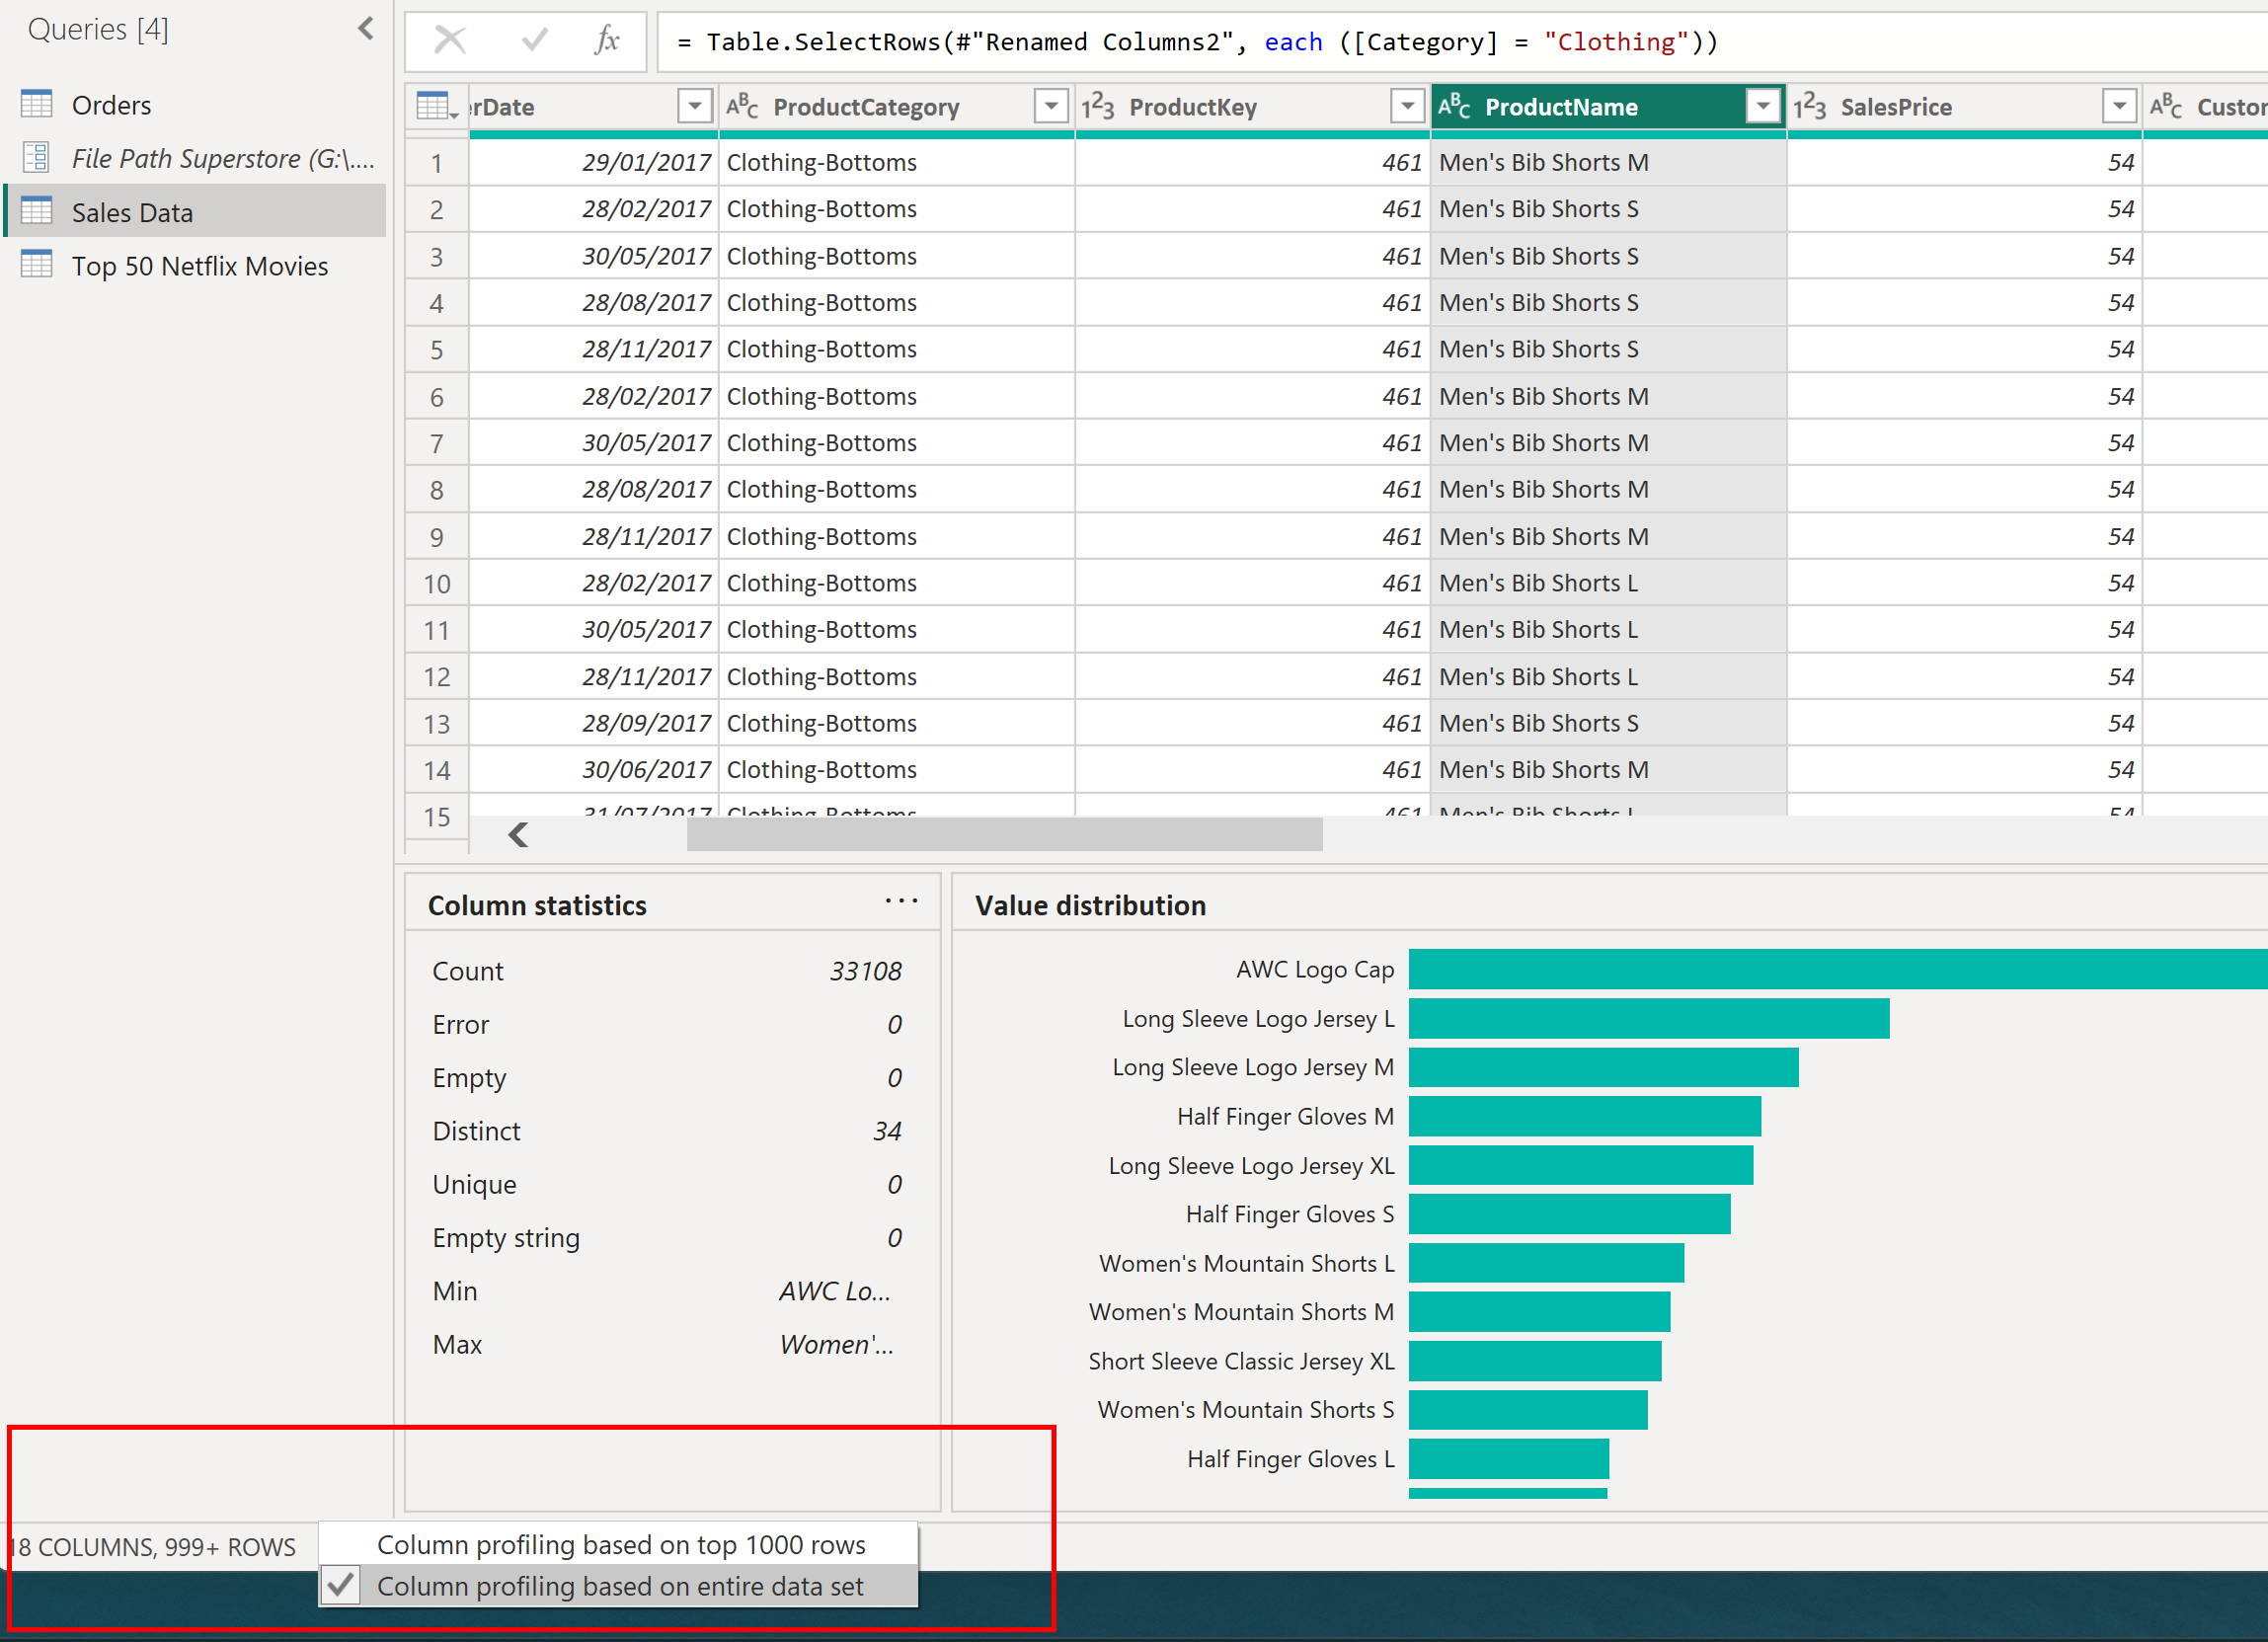
- It's possible that these are not all the available sizes, as we're only seeing a sample of the data. To see all the sizes in the data, select 'Column profiling based on entire data set' on the bottom right corner of the view

- The value distribution summary updates and when we scroll through the bar charts, we now see all of the sizes: S, M, L, XL
Creating the conditional column
- Now that we know all the available sizes, it's time to create our conditional column
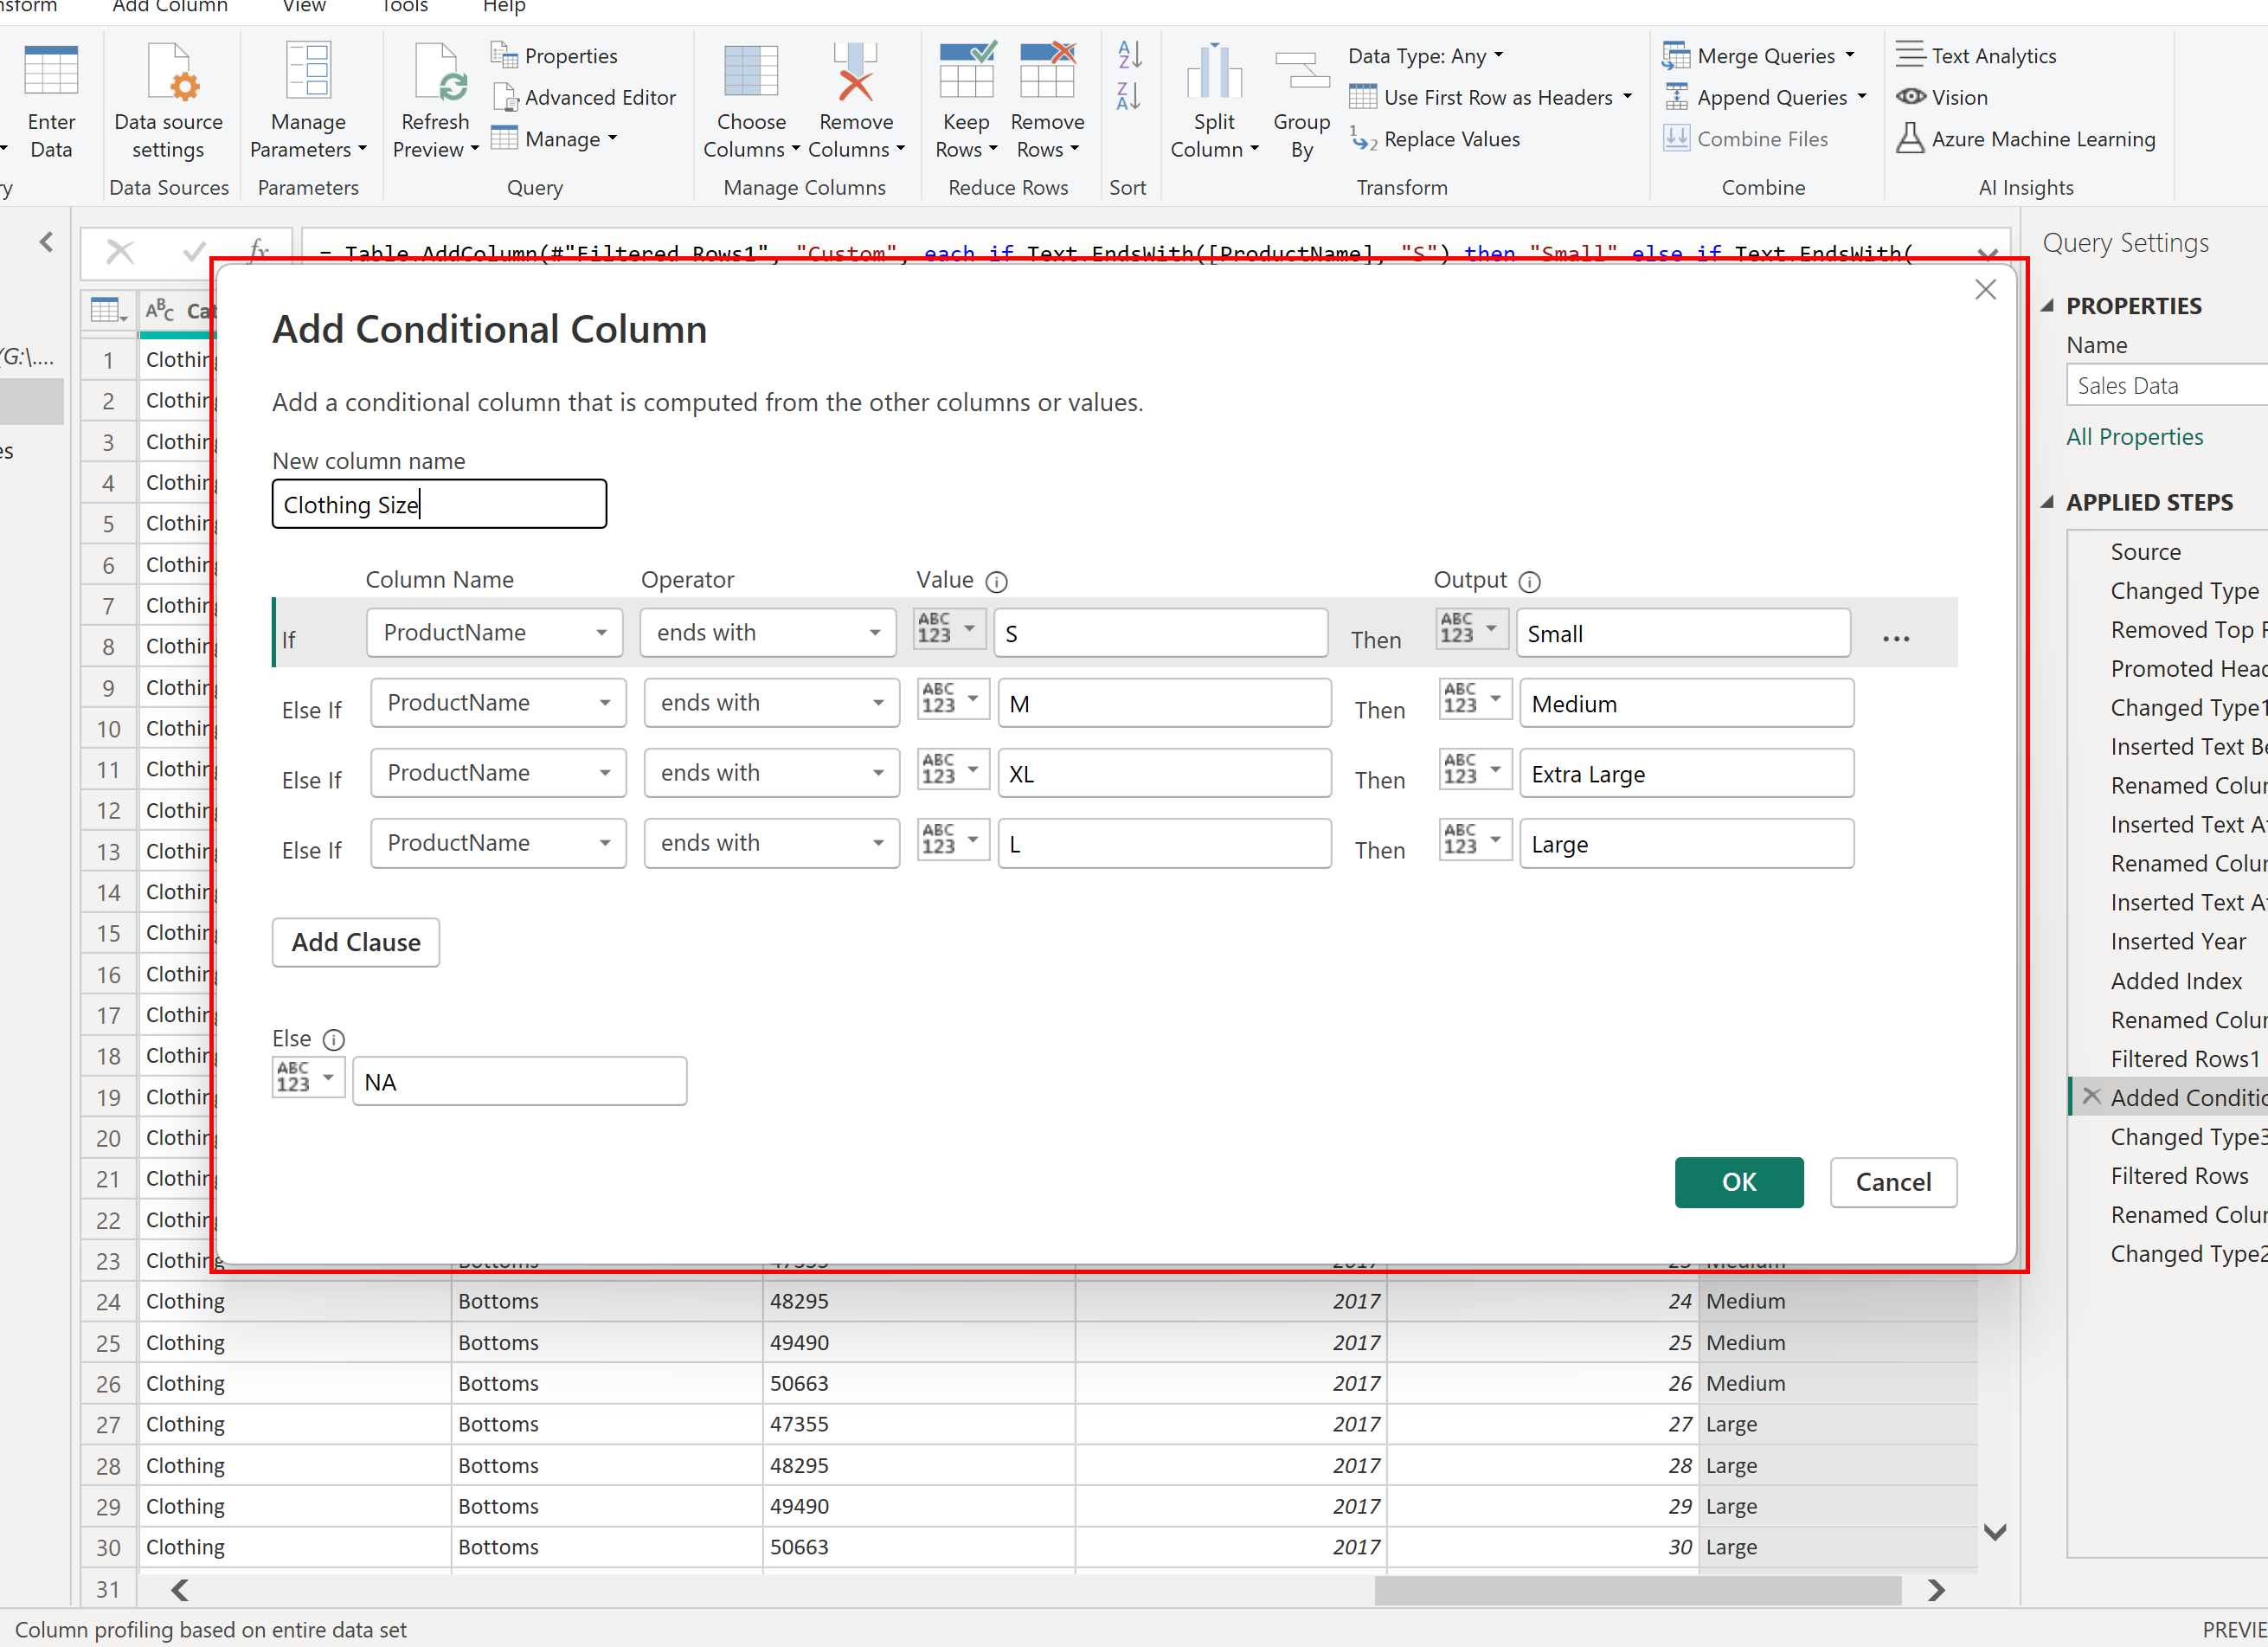
- Select Add Column > Conditional Column. The Add Conditional Column dialog box appears to help you create your conditional statement
- In the New column name box, enter a unique, descriptive name for your new conditional column. In this example, we change the name from Custom to Clothing Size
- In the Column name list box, select a column name. In our case it's ProductName
- In the Operator list box, select an operator: ends with
- In the Value box, enter the value we want to find: for example S
- In the Output box, enter the output value that our new should display when the if condition is true: Small
- Select Add Clause to include the remaining size options. And finally, indicate what the column should display in cases where there's no clothing size under the else box: NA
Important: The order of conditions matters!
While we'd naturally want to start with S, M, L, then XL for our sizes, the result would be that all our XL sizes would be pulled into the L. Power Query evaluates logical conditions sequentially, which means that when it gets to the condition If ProductName ends with L then Large, everything that ends with 'L', including the 'XL's, would output Large. For this reason, the condition for XL comes first, followed by the one for L.
- The filled out dialog box will look like this:

- Select OK
And voila, we're done!
