


Shapes can be a powerful tool when telling a story with your visualisations, here's a quick guide on how to add custom shape files to Tableau.
Step 1: Download your shape(s)/image(s)
In this example I have downloaded a hexagon to be used in hexbin maps (I wrote a blog on creating hexbins for mapping in Tableau here). Feel free to follow along by downloading the image here.
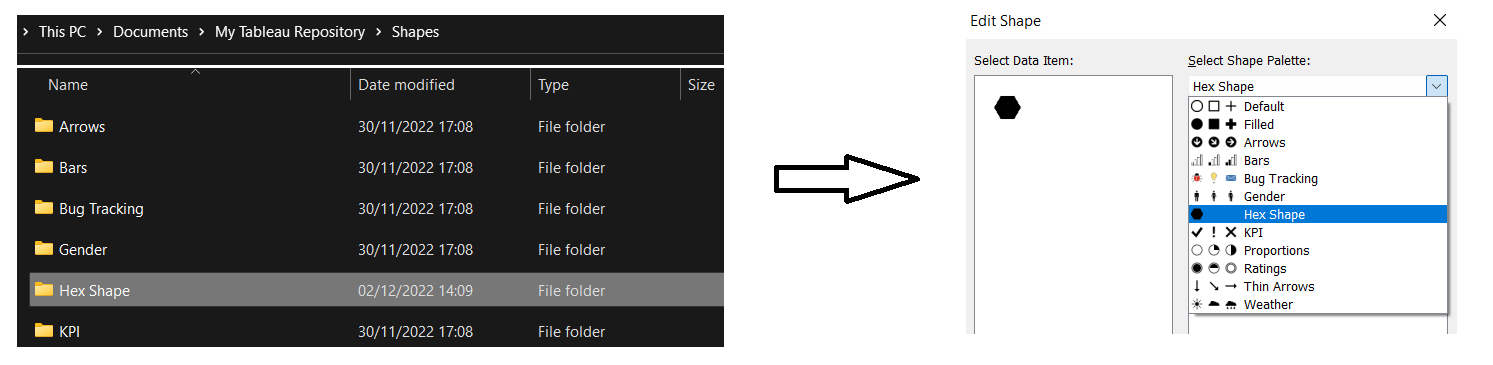
Step 2: Go to your 'My Tableau Repository' folder, open the 'Shapes' folder and create a new folder
Unless you've moved it, the Tableau repository folder should be in your documents folder as it is automatically created in this location when installing Tableau. Create a new folder within the 'Shapes' folder and give it a good name as the folder name is what will be displayed when you access it in Tableau.
Step 3: Start building visualisations!
Once you've downloaded your shape/image file(s) make sure to exit and re-open Tableau if you already had the application running to ensure they appear. Be sure to use shapes with purpose, the customisation is available to help better inform your reader and over involving custom shapes can convolute your end visualisation making it harder to interpret the data correctly and efficiently.