


On my most recent friday project I created a straightforward dashboard to showcase specific information about planets such as Venus and Mercury. To add a creative touch, I decided to incorporate a map, as shown below:
From this point you can navigate to another dashboard to get information about the particular planet by clicking on the image. However, delving into the dashboard functionality is not the focus of this blog post.
Another idea I came up with was having a calculation button to determine on’s age on each planet and subsequently displayed alongside each corresponding planet. If the caclulation isn’t required all these values should remain hidden until the calculation button has been activated again. Due to the count of planets it consenquently needs nine distinct numeric values allocated across nine seperate containers. Upon clicking the calculation button, the respective ages for each planet become visible.
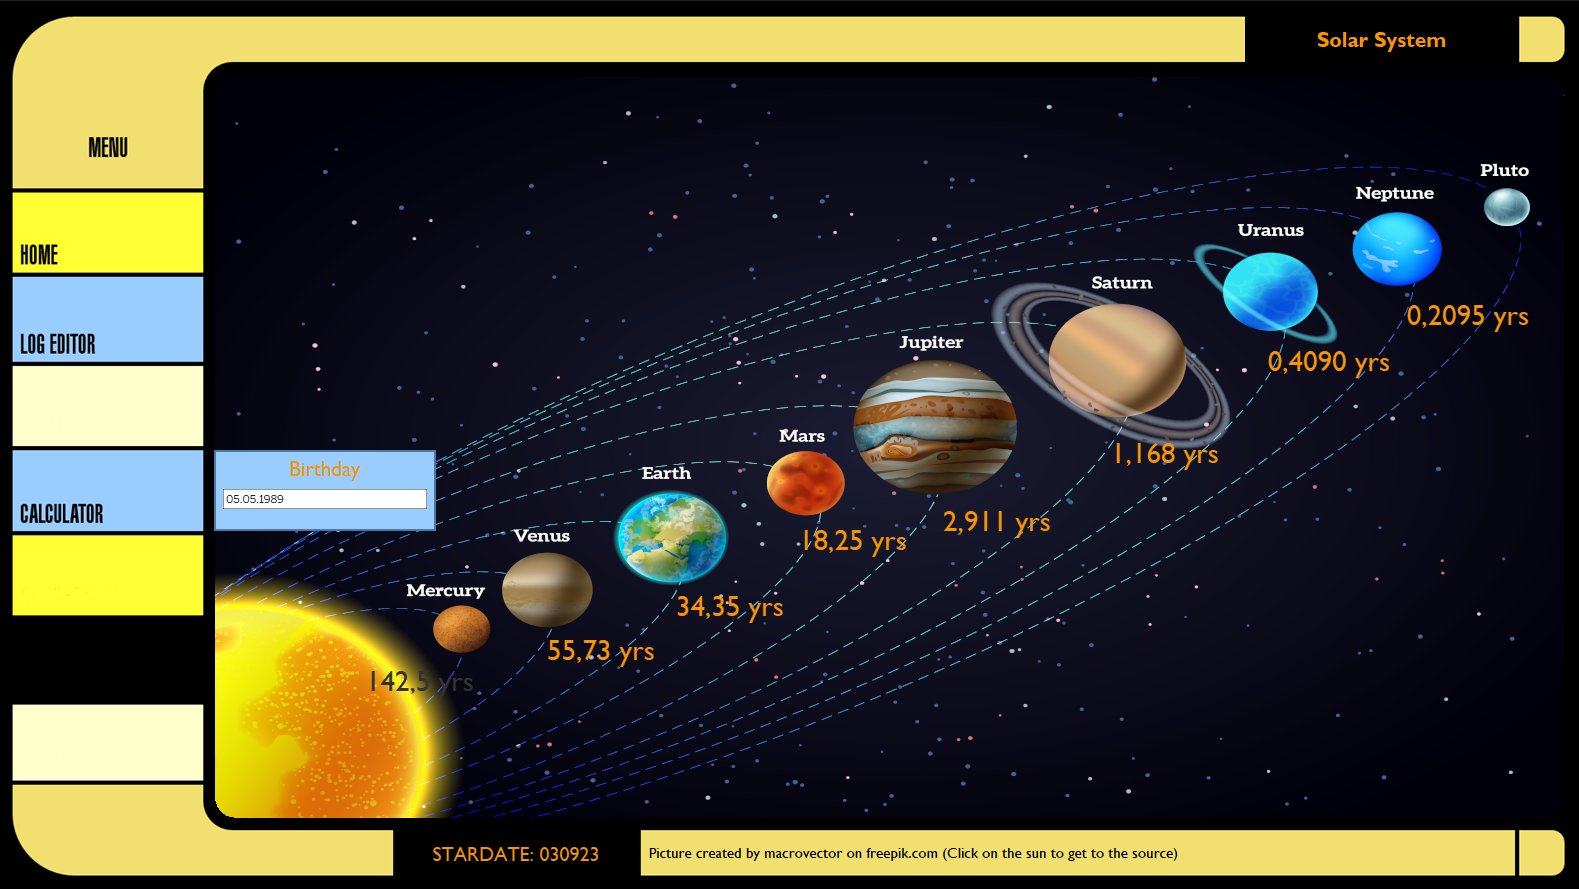
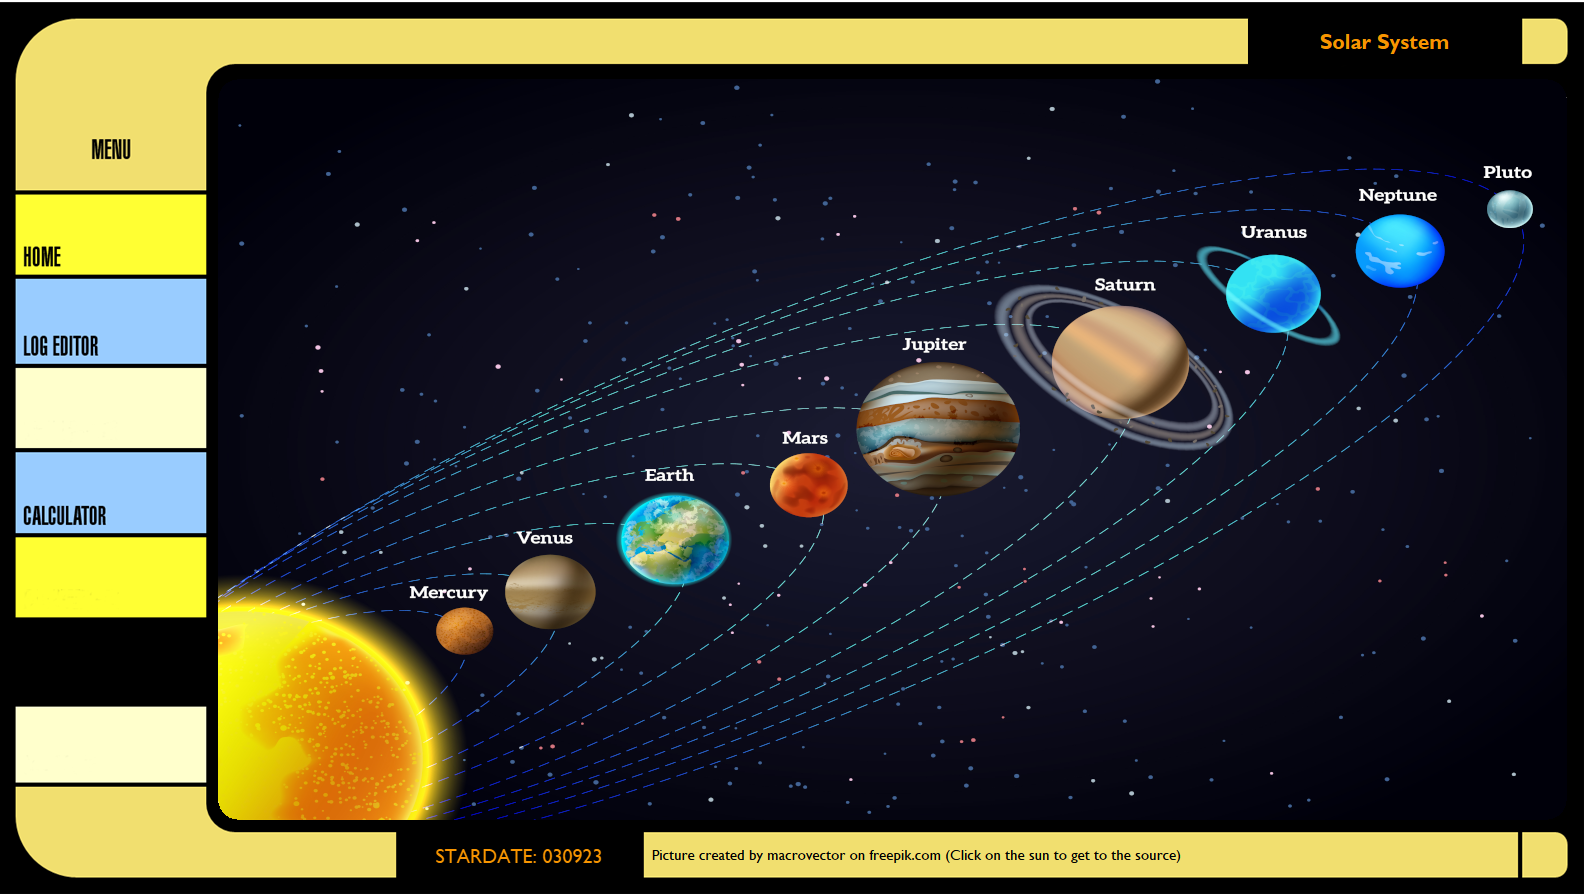
Furthermore, clicking the button again cause these numbers to vanish as shwon in the picture below:
Thus, the central question is: How can such behavior be archieved? As an initial step, it’s strongly advised to create a backup copy of your dashboard before! Ready? Let’s proceed! I’m going to illustrate you this technique based on my dashboard. Firstly, we take a look into the dashboard where the map is located:
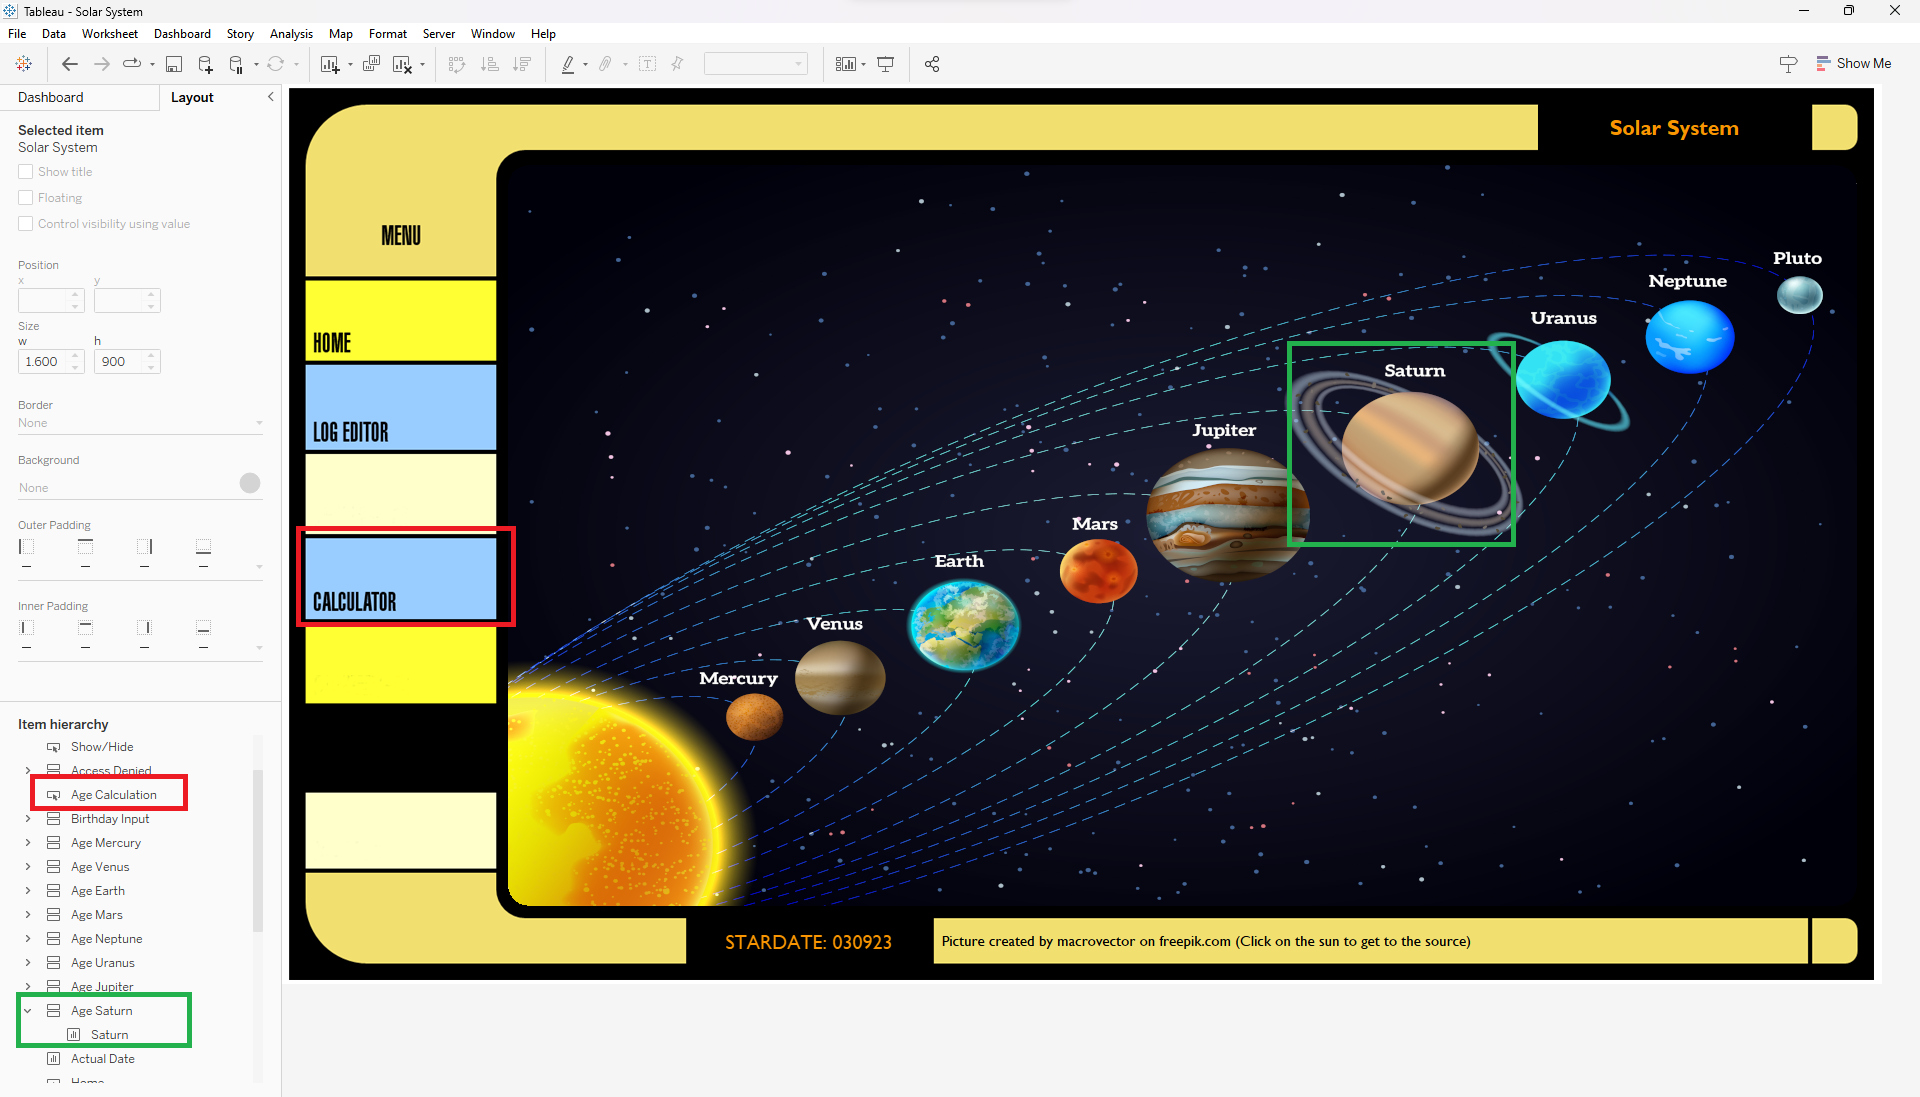
On the left-hand side, a segment of the dashboard item hierarchy is visible. My first task was to assign meaningful names. I created a calculation button (colored red) as Age Calculation and nine further container displaying the age. In this example we’re using the container displaying the age on the Sarturn (colored green) as Age Saturn. Remember these two containers for reference!
What I’m going to do next is saving the workbook as a .twb file. It’s a cruscial step for the upcoming technique to work correctly. After saving the workbook, right-click the .twb file and open it, use a tool of your choice—like Visual Studio Code. In my case, I used Visual Studio Code. Once the .twb file is open, you'll see the following:
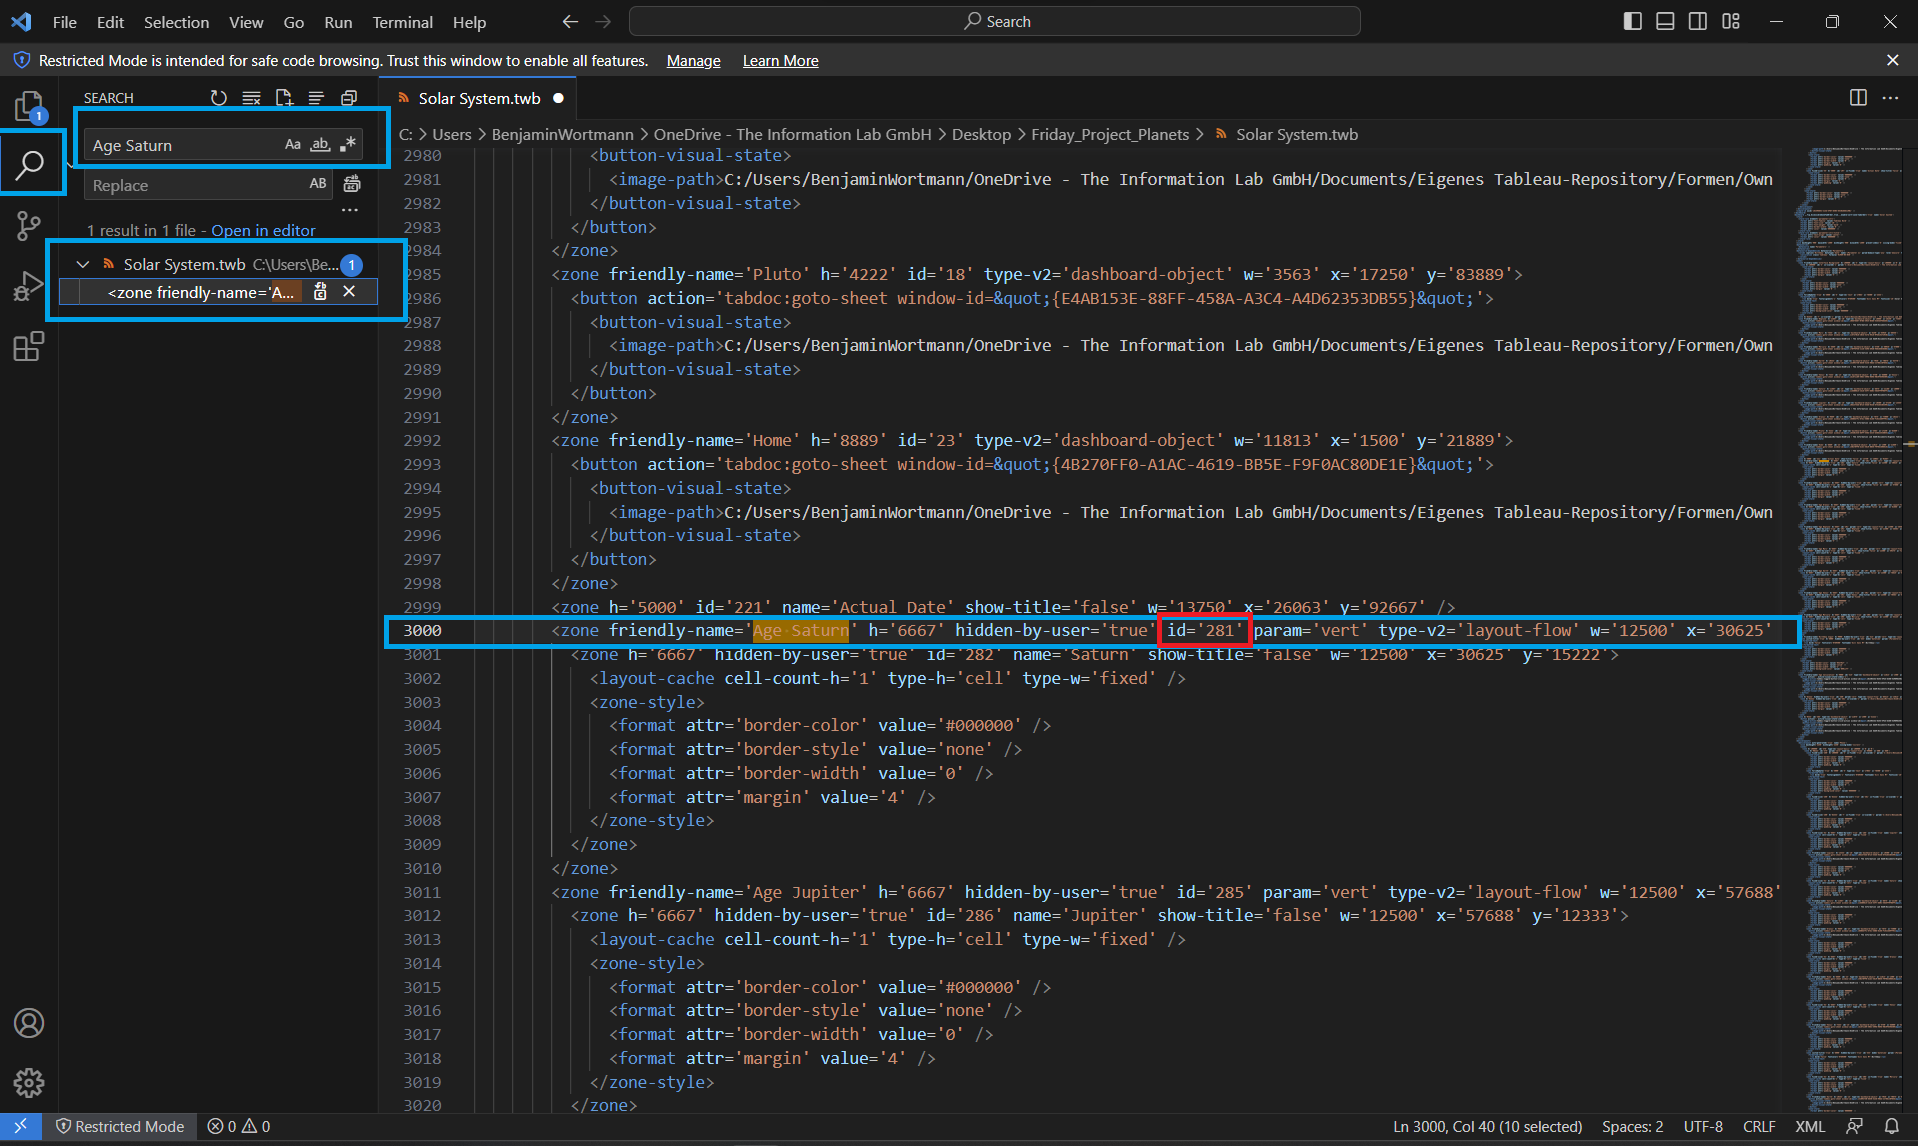
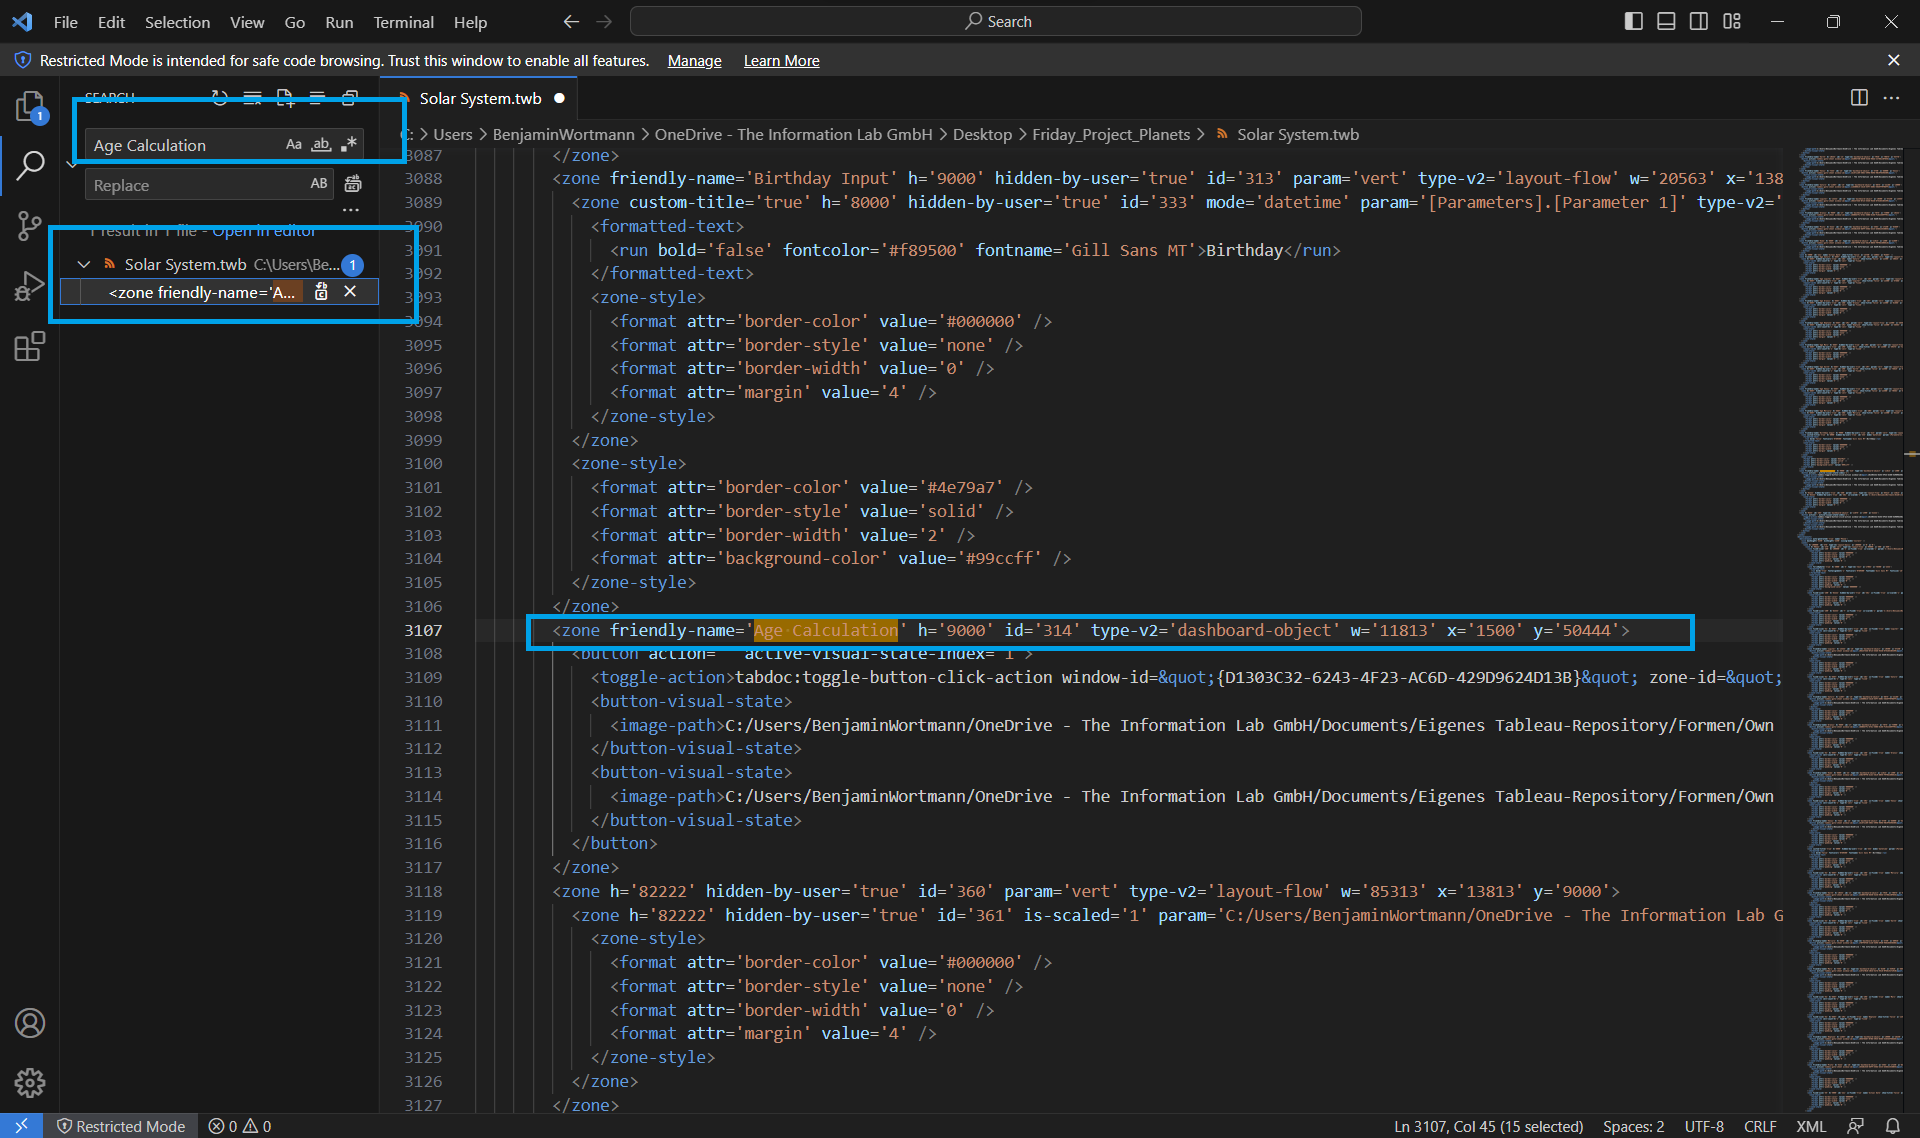
Due to the lenght of this file, now you know why I assigned meaningful names. On the left-hand side there is a magnifier symbol to enable the search function. In my instance, I searched for Age Saturn. Note the blue-framed line on the right-hand side; it’s also featured a red-framed number, which correspondes to the id we require. Remember this Id for reference again. When seeking the Age Calculation button, the result is as follows:
Scrolling to the right, zone-ids become visible (red-framed):
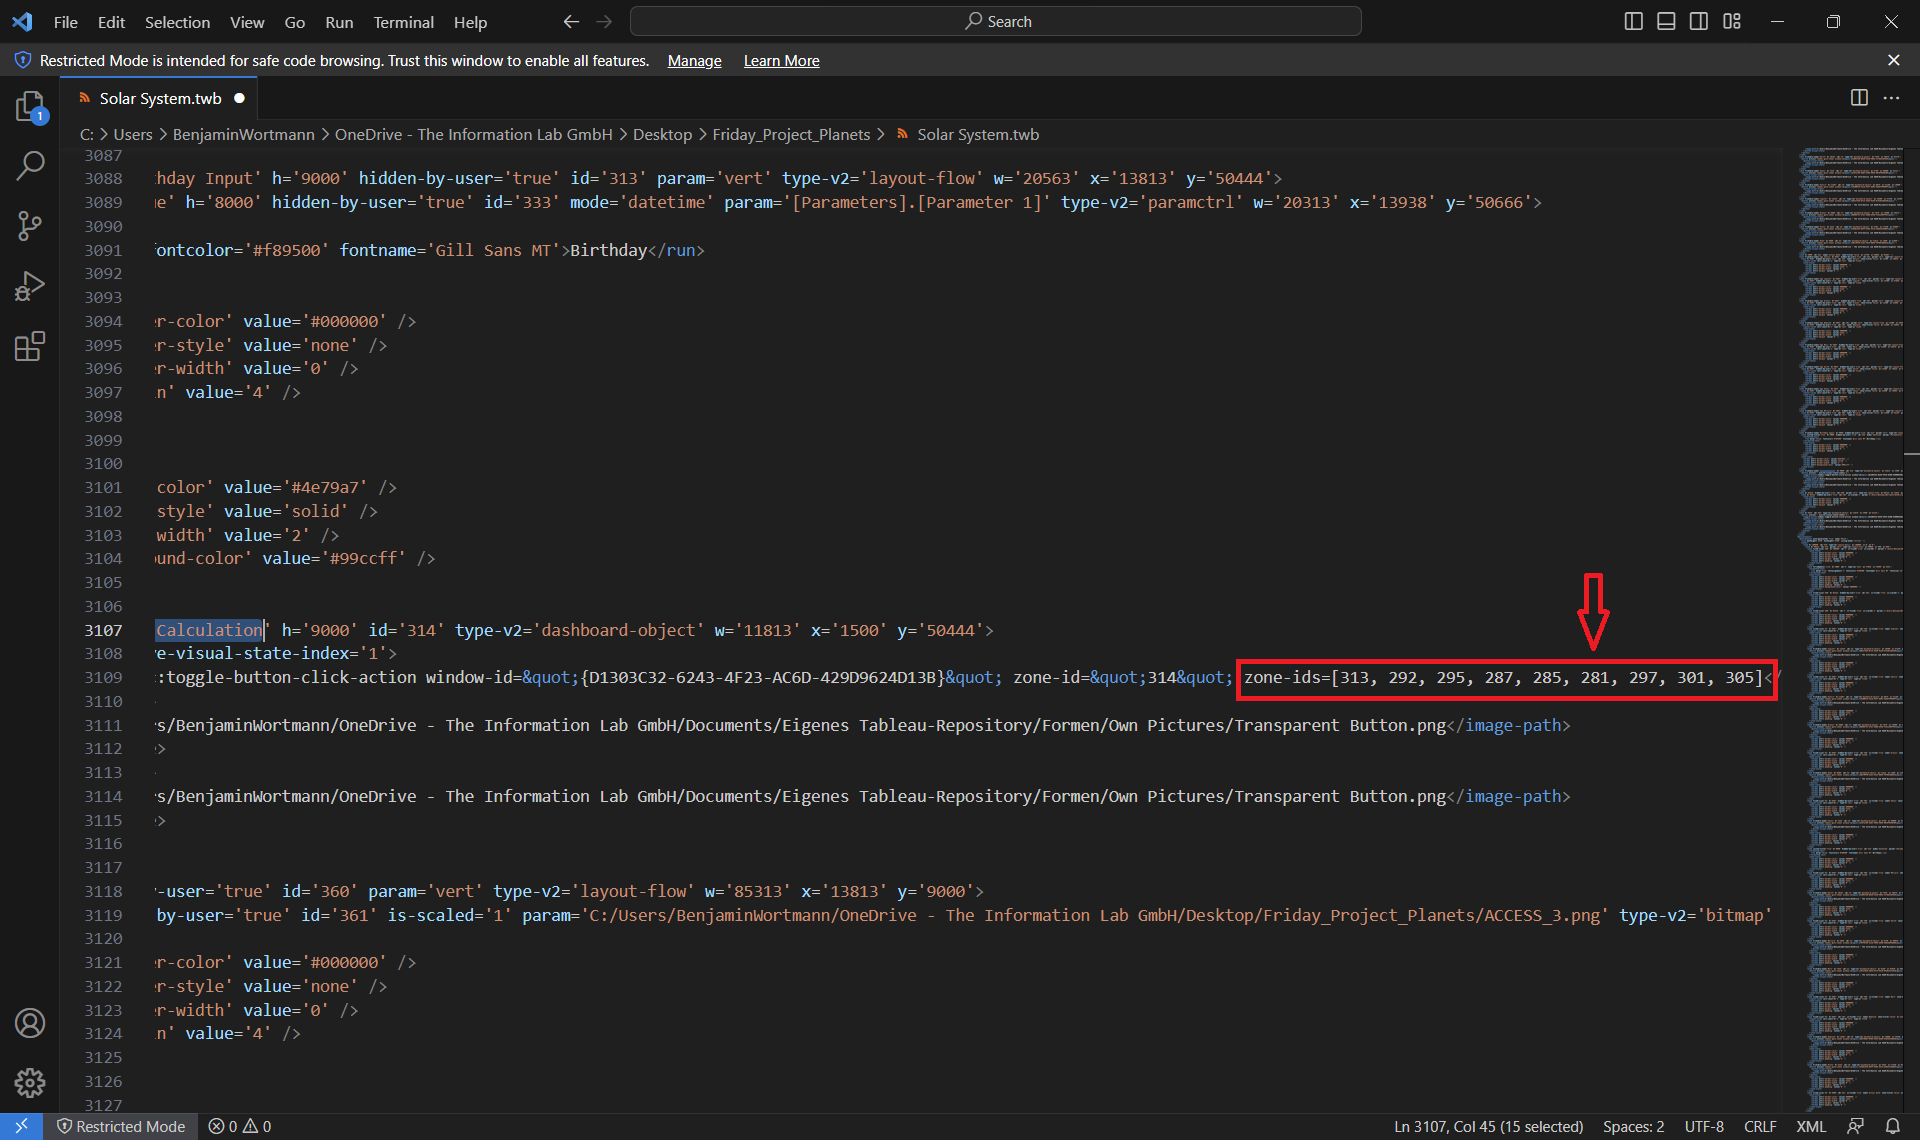
Within the brackets you note the id 281, which correspondes to the id of the Age Saturn container. There also many more id’s correspondes to it’s container such as Age Mercury and so forth.
This technique is really useful and simple to execute but also very risky. Hence COPY and DOCUMENTATION is highly recommended. After each alteration to the xml file, perfoming a check is necessary.
By the way, if a .twbx file is required, save it in this format after modifying the xml file. However, for changes related to id’s, save your workbook as a .twb file beforehand.
If you are interested in my dashboard I created, it will be uploaded to my tableau public account soon -> https://public.tableau.com/app/profile/benjamin.wortmann