


Background
TIL Germany is freshly ISO-certified. 🥳 ISO/IEC 27001:2022 demands technical measures to protect sensible information.
One of these technical measure can blurring of areas in pictures, f.e., screenshots of our clients’ dashboards before attaching them to a company internal convo post. ISO/IEC 27002:2022-02 calls such techniques data masking. One technique can be to add noise to data. This is what we do when we blur - in a visual way.
There are many programs on Windows like Snippet Tool, Paint, Pictures, PowerPoint etc. which can blur information. I tried them all but none was cutting it for me. Therefore I needed another tool plus workflow which were fitting my needs better in order to meet the new standard. This article will guide through the process how to practically archive that.
Tool: GIMP
GIMP is an open source program and can be used free of charge. It runs completely locally and without telemetry. You can use GIMP for a wide variety of file formats from nearly all picture formats to others like PDF. GIMP can also used for a lot of other things than blurring, f.e., cropping out symbols out of screenshots and making them available for further dashboard work.
GIMP has been whitelisted in the software self-service portal. This is the recommened installation source.
How to blur
My current workflow is the following:
- Selecting the area
- Selecting a filter
- Configuring the strength of the filter
- Applying the filter
- (Rinse & repeat)
In practice:
- Select the “Rectangle Select Tool” (or press R):
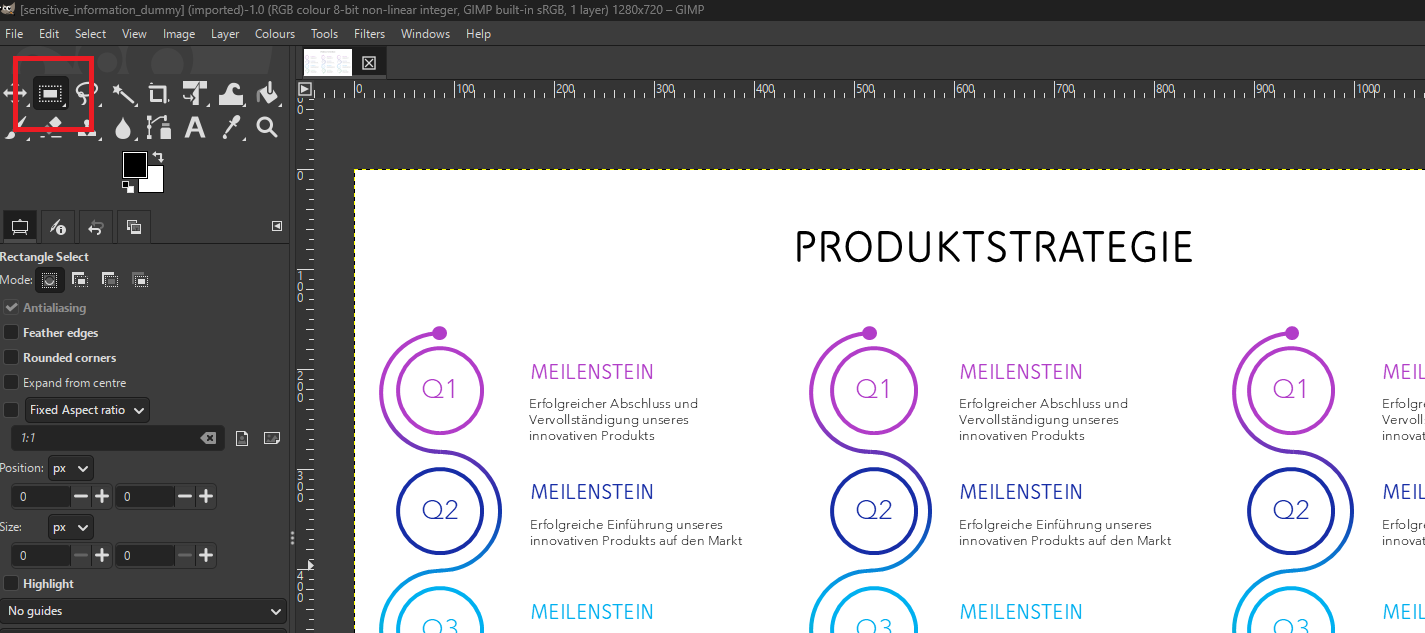
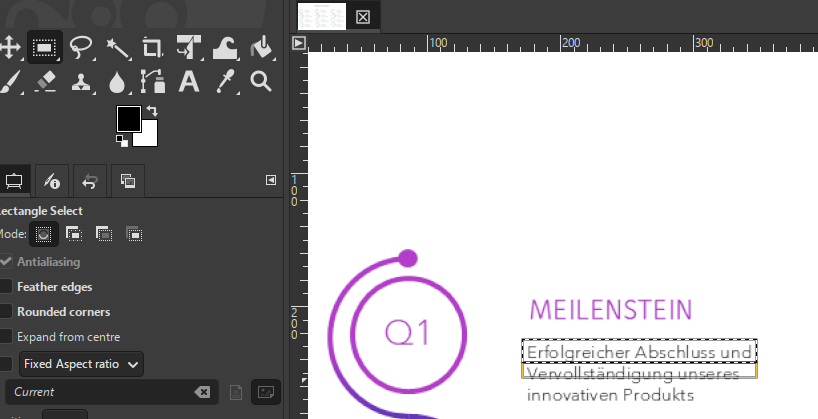
- Select the text, number or other information which should NOT be visible (In this case “Erfolgreicher Abschluss und”):
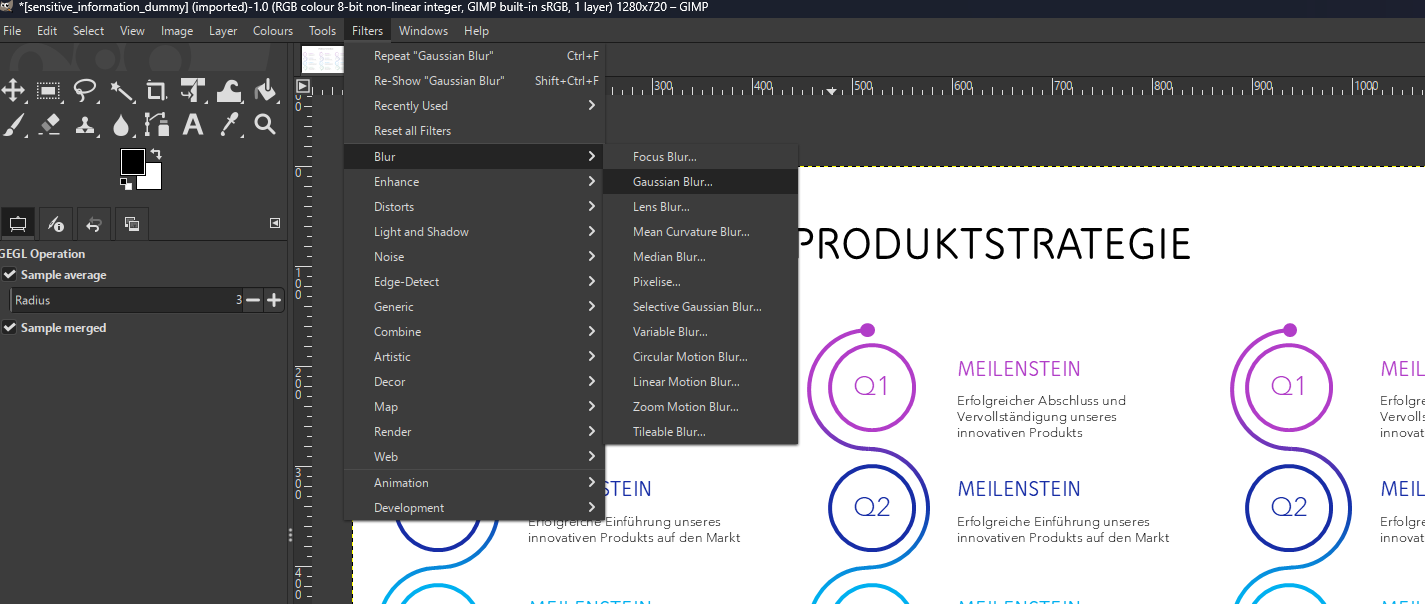
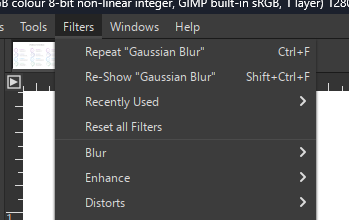
- Select Filters > Blur > Gaussian Blur After testing all blur filters, Gaussian remained the best tool for this scenario and as well as for general purposes:
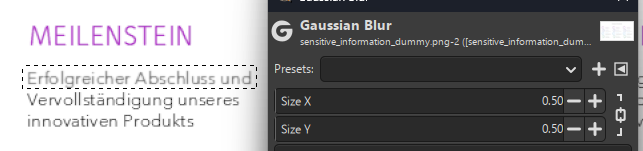
- “Size X” and “Size Y” effectively control the strength of the blurring. As you can see in this example a blurring of 0.50 is not doing enough here. This a crucial point. The filter strength must be 5.00 or more for differnt reasons (more further down in the article):
- Press OK to apply the filter to the selected area.
Security advice
A general rule of thumb is that the more pixel an element has (bigger size, fat, different font etc.) the stronger the blur has to be. But the first visual impression alone might be misleading. What looks blurry or noisy can be denoised with technical tools such as sharpening filters. This must be accounted for as well. So there must be more blurring than initially seemed sufficient.
After quite some testing it turned out that for Gaussian Blur a filter a size of 5.00 or bigger can withstand re-sharpening attemps as of now. Opt for more if you are in doubt.
Tips & Tricks to speed up the process
Clicking through context menus can be tiresome and distracting from the main task - blurring elements. Furthermore it can be a rather slow process. Also switching between selection tool and filter can cause friction in the process if you have to do it often enough. So for me there is a need of speeding things up little bit.
- Instead of navigating through menu on and on again only use this way for the very first element. Work interatively from there on: Simply repeat applying the filter.
- Since this still involves much clicking around. Switching to using keyboard shortcuts can definitely help:
- To have the “Rectangular Select Tool” ready simply press R.
- For repeating the filter press strg + F
Alternating between R and strg + F is so much faster!
Save your work
When everything is done you can use File > Overwrite Filename. If you want to save your changes into a separate file File > Export As… is the option of choice.
Happy blurring! 🙂