


How to use to pivot tool in tableau prep for columns to rows
Oftentimes the raw data we are presented with (we have) needs a little bit of love (restructuring and cleaning) before we are able to analyse it effectively in Tableau.
Thankfully, Tableau Prep equips us with a toolbox full of tools, like pivoting, that allows us to make our data more digestible - ready for Tableau Desktop to eat!
Essentially, pivoting allows you to reshape your data, transposing from either from rows to columns or columns to rows, giving us the two types of pivots. This can come in especially useful if the data you want to use was initially recorded in pivot tables in an excel file.
How to Pivot
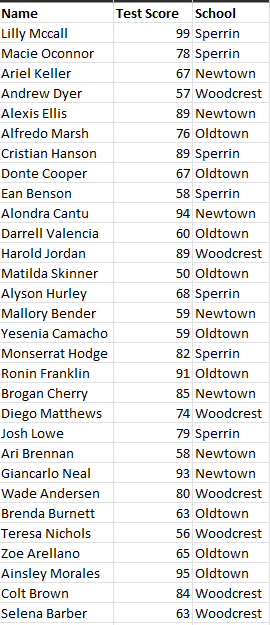
- In data set we want the data from the school column to become rows as we want to consider the data on the basis of the pupils schools.
- Connect to your dataset
2. Click to add a pivot step
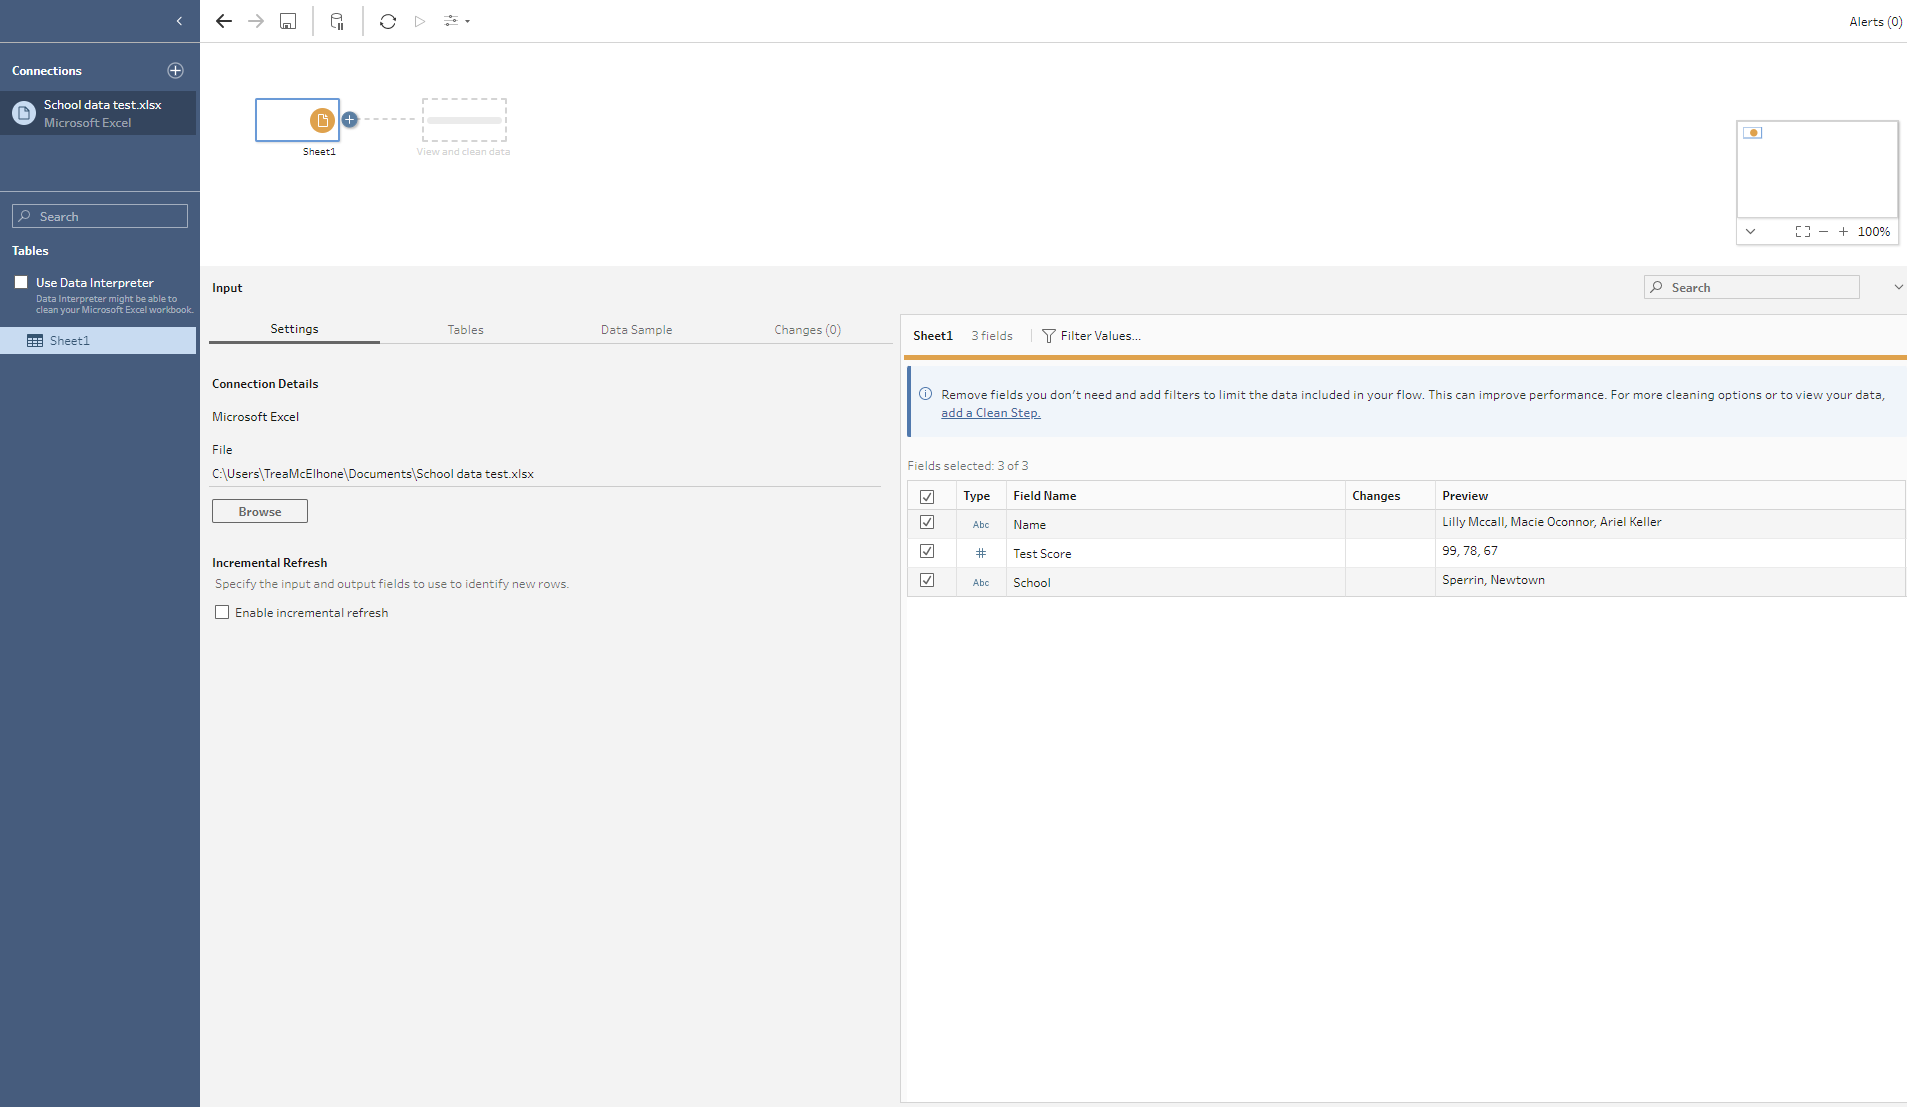
3. For this data set, we want to look at the data on the basis of the schools, so we want to pivot from columns to rows, so we drag the field (in this example “school”) to the Pivoted Fields area. We also have to ensure that the right dropdown is selected for the type of pivot we want to carry out - in this case “Columns to Rows”.

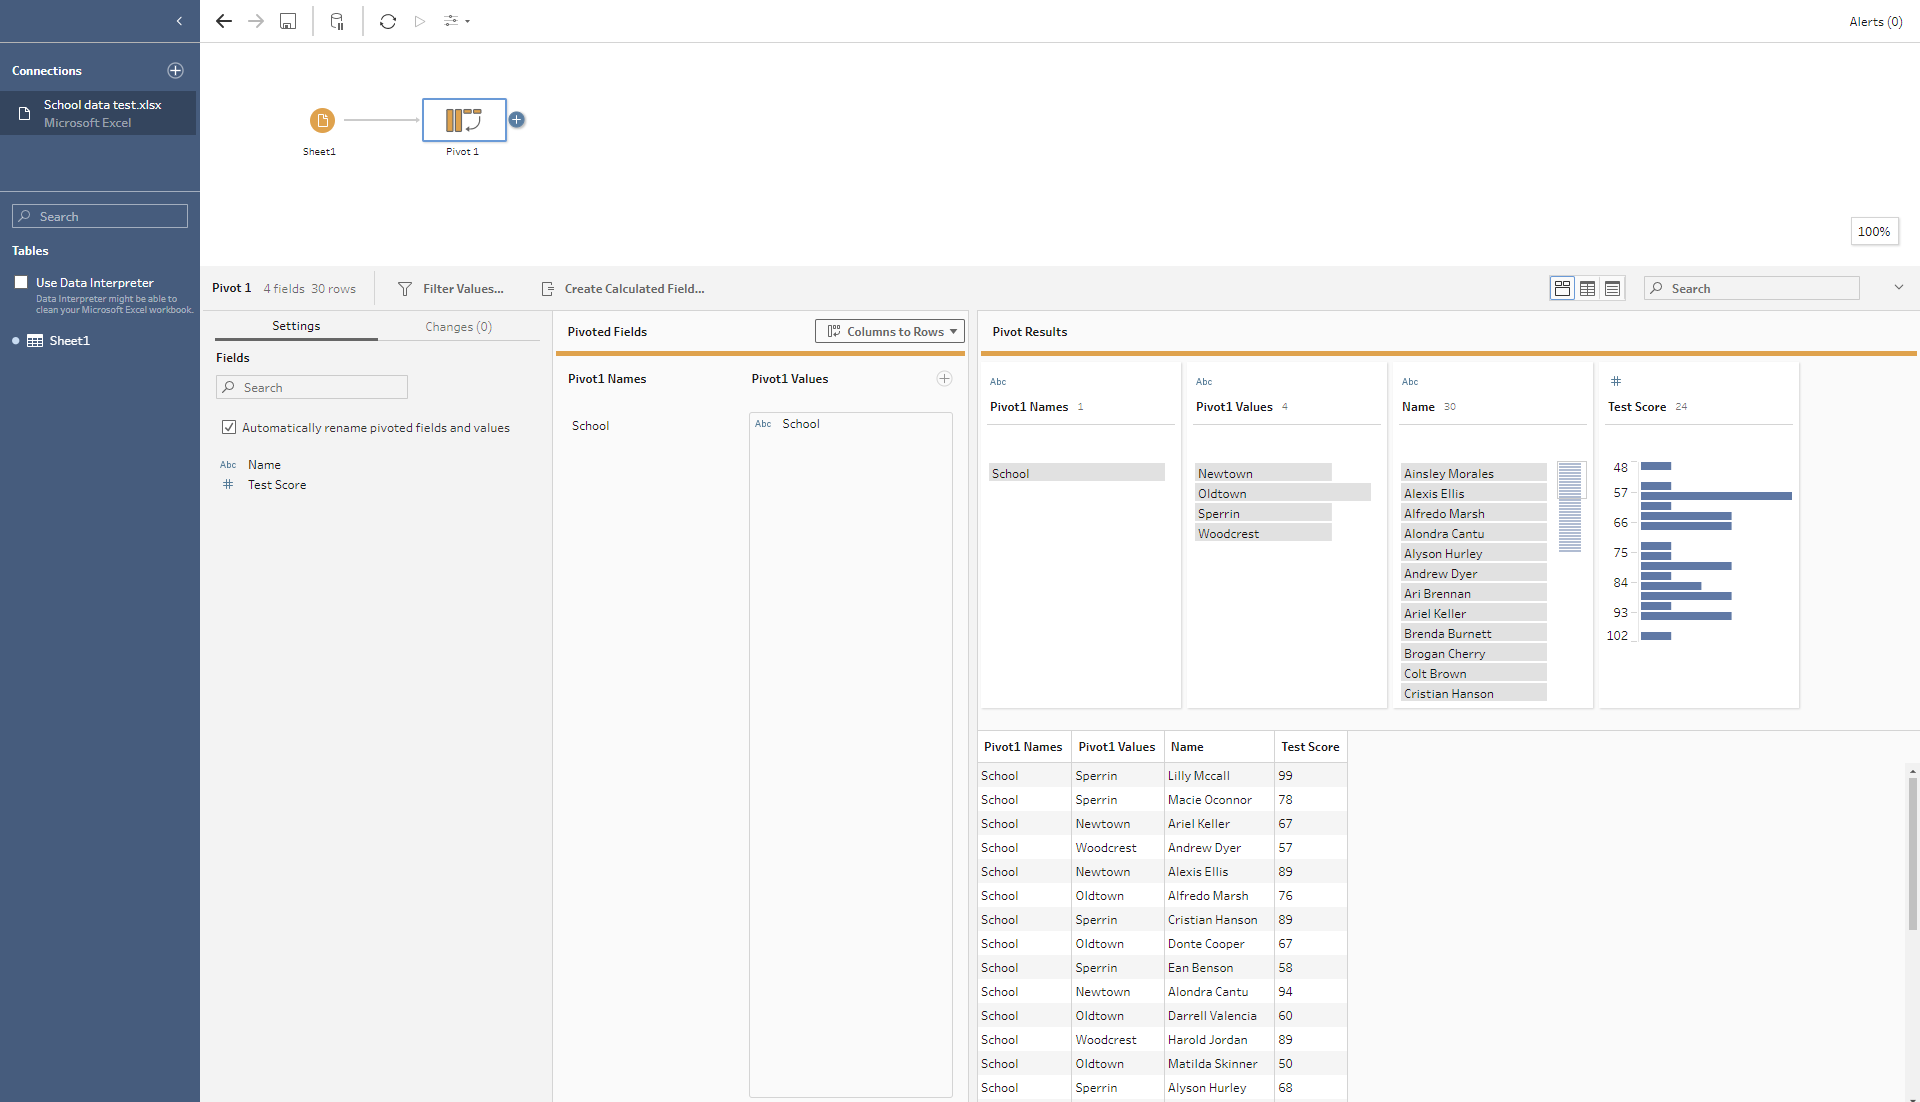
4. Rename the “Pivot 1 Name” Field

5. Additionally, I removed the “Pivot 1 Name” field.
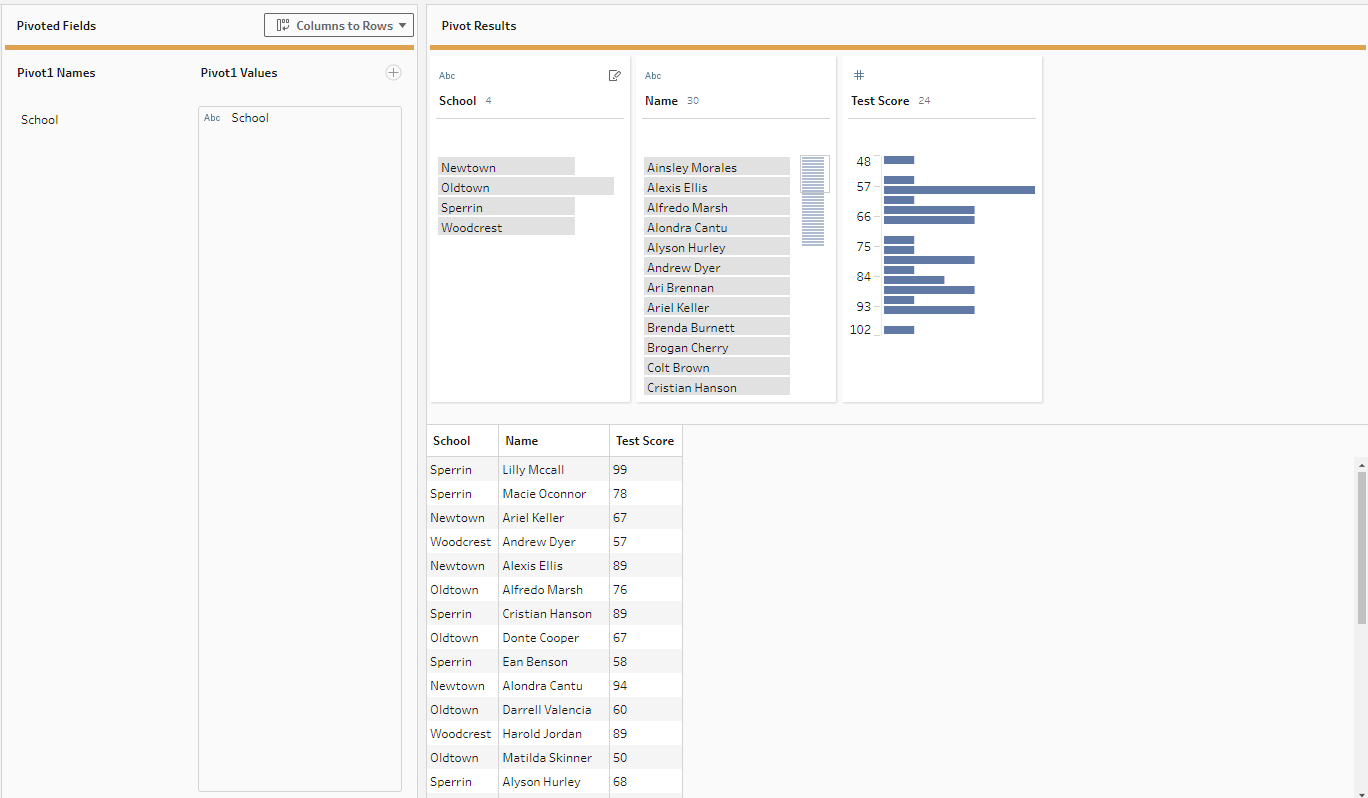
Your data should now be pivoted successfully.