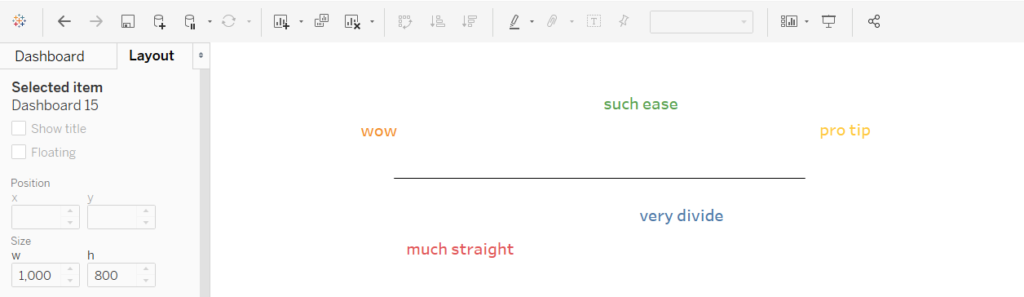
I’m going to show you how to put lines on your dashboard. Reference lines? No. Axis lines? No. Row/column dividing lines? No. I’m talking about straight up (or across) lines, whose purpose is entirely aesthetic. These could be suitable for putting underneath titles, partitioning your viz, or whatever other miscellaneous formatting reasons you may have.
When I was building my application to the Data School I wanted to story tell without using a story i.e. I wanted the viz to be on a single, lengthy dashboard, as opposed to multiple dashboards. There were natural points where I wanted to divide the space up to signal to the reader that I was, metaphorically, turning the page on my analysis. I decided I wanted to implement this soft separation with the use of lines. However, there is no real shape function in the objects pane that allows you to do this easily. I ended up creating lines in paint, saving them, and then importing them into Tableau as images. This technique wasn’t ideal, especially as I had a slightly blue background in my dashboard which meant a lot of faffing in paint with colouring and editing line heights that wouldn’t result in the image being too faint or too thick etc.
I am here to tell you that there is an easier way! Robert Headington aka Bobby H aka Lil’ Rob showed me this technique which literally takes a few seconds.
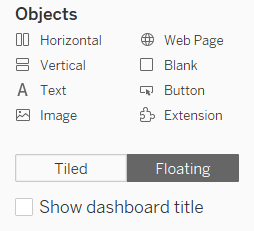
Step 1
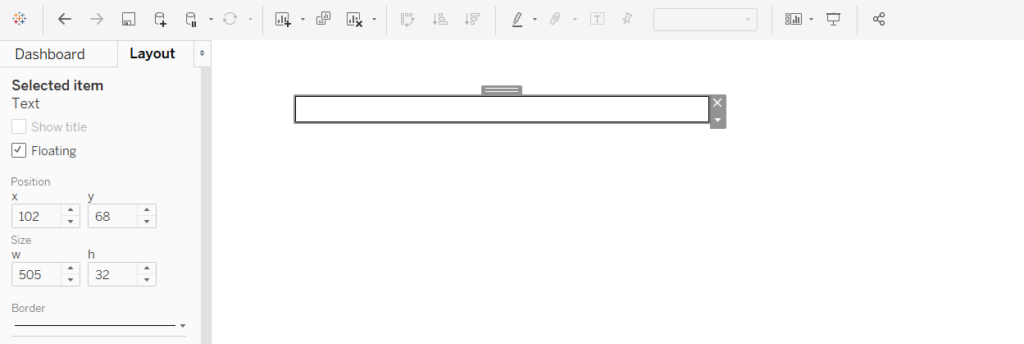
At the bottom of the dashboard pane, select a text object which is floating and drag it onto the dashboard.
Usually you’d put some text into a text box like so.
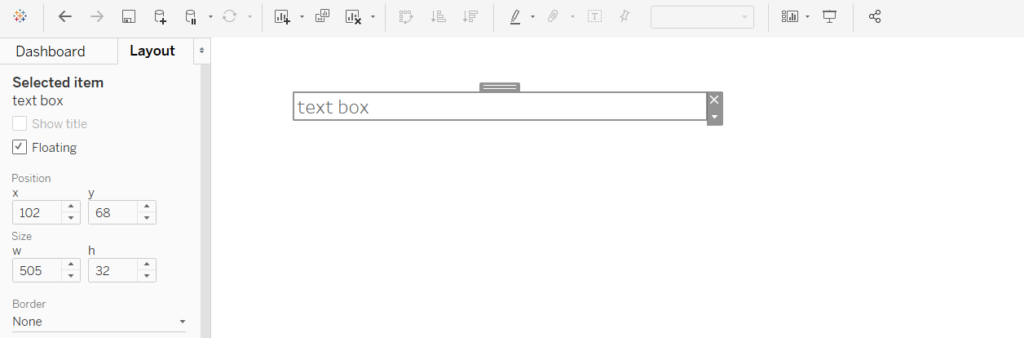
However, delete the text, as it isn’t required here.
Step 2
Click on the text box and make sure you’re on the layout tab of the dashboard pane. Click on the border option, select a border type, a border thickness and the colour you desire.
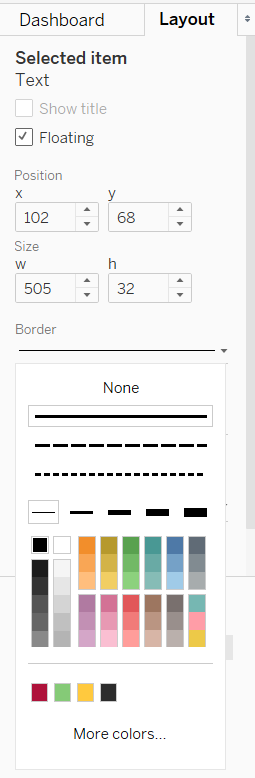
Your text box now has a four wall border, a nice looking rectangle. But didn’t we just want a line?
Step 3
On the layout tab again, we look at the size and want to edit the height (h) of the text box to 1 and adjust the width (w) to whatever we choose (or vice versa if we want a vertical line).
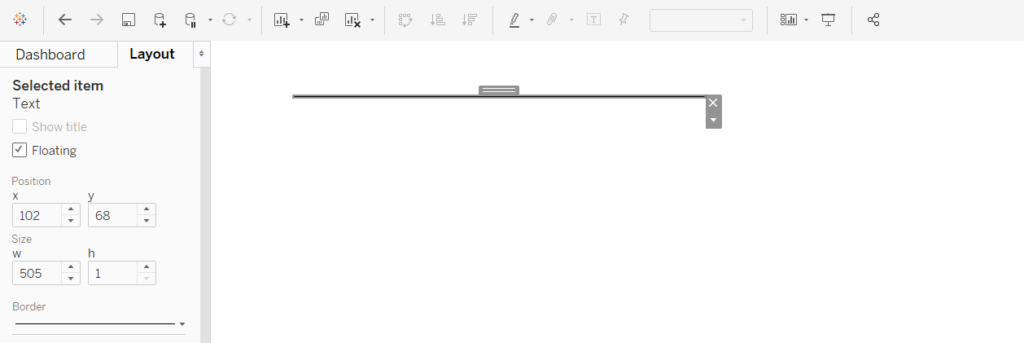
And there we have it. A line. You’re welcome.