Ever wanted to swap between static images on your dashboard with a click of a filter button? well here’s how, by using the background image option of a worksheet.
Step 1
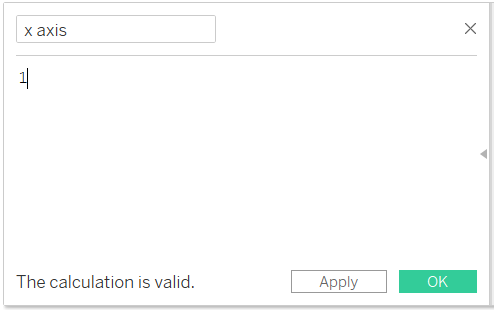
Create new calculated fields for both your x and y axes by just entering the value of 1.
Step 2
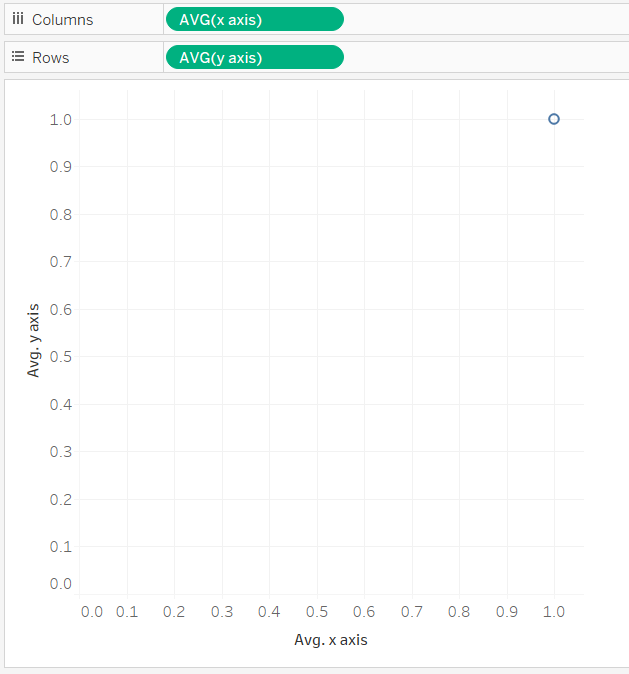
Put these 2 newly calculated fields on columns and rows to form a scatterplot and turn the measure to AVG.
Step 3
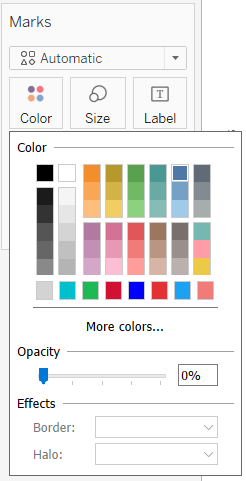
Turn the mark transparent by clicking on the colour shelf and turning the opacity all the way down to 0%.
Step 4
Edit both the axes with a fixed range of 0 to 1.

Step 5
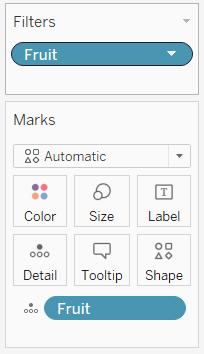
Put the field you want to filter by on both the detail card and also the filter shelf.
Step 6
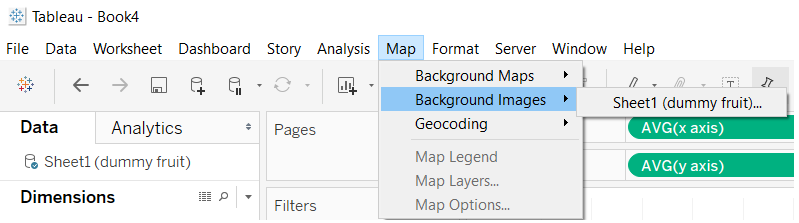
Now the canvas has been formed, we can add the images. On the top ribbon, select:
Map > Background Images > Datasource in question
Step 7
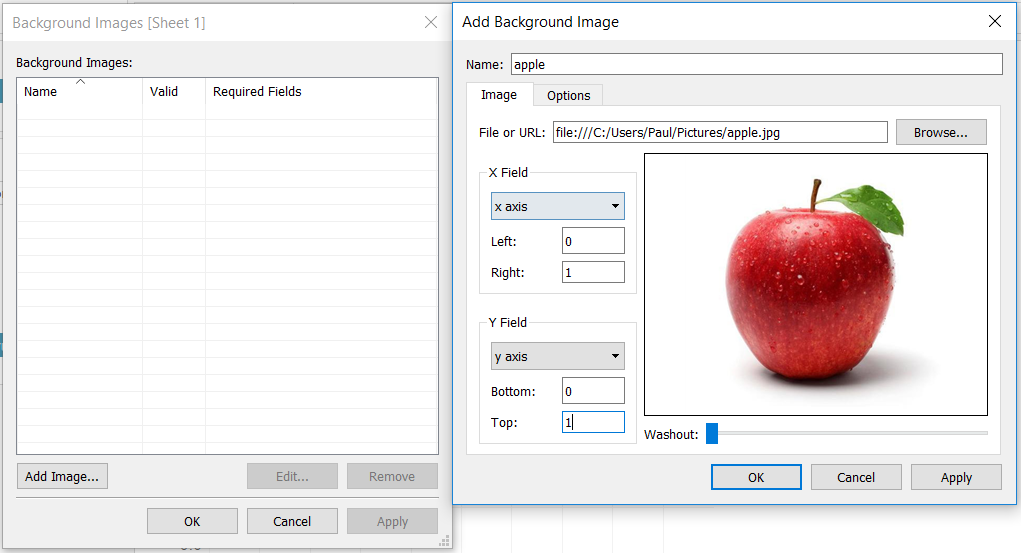
Click on “Add Image…” on the pop up window, which will then result in a second pop up.
On the Image tab you should:
– Select the file/url of the wanted image through the browse button,
– Generate the X Field with your x axis calculated field with Left = 0 and Right = 1.
– Generate the Y Field with your y axis calculated field with Bottom = 0 and Top = 1.
Step 8
On the Options tab:
– Select whether or not you want to lock the aspect ratio,
– Tick “Always show the entire image”
– For “Only show when” click Add > Select the field which will be filtered on > Select the value for the particular image in question.

Add as many images as you desire/is required.
Step 9
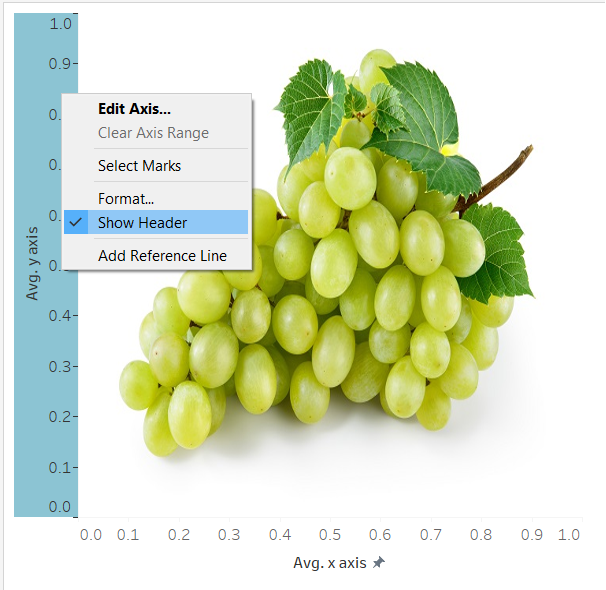
Hide the headers of the axes.
Step 10
Stick the created worksheet onto a dashboard and show the filter. Now you can select which ever image (in this case, fruit) that you want, and it will update the image as configured.
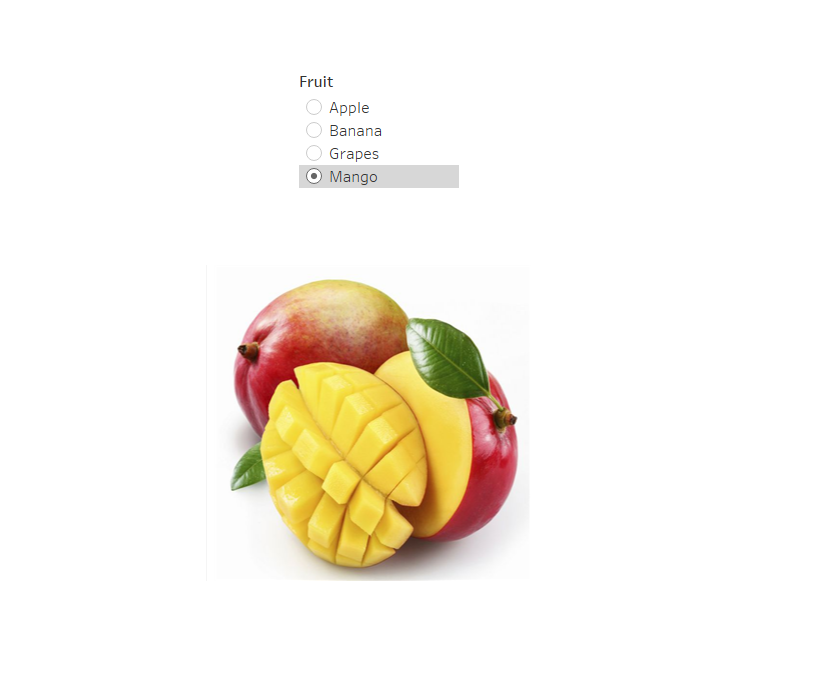
Very nice.