Before joining the Data School dashboard formatting was a nightmare. I thought that the sizing and position of things relied on the eye alone and would spent ages resizing things and trying to make them align in an aesthetically pleasing way. Since learning about containers creating clean looking Dashboards has become much quicker and easier.
Containers allow you to essentially group dashboard objects (sheets, text, images, filters etc.) together. This means the container itself can be moved anywhere on the dashboard and and the dashboard objects within will stay the same size and in the same position relative to each other. This allows for rapid AB testing of dashboard designs as groups of objects can be swapped around and moved about on the dashboard. Objects within the containers can also be swapped in and out easily.
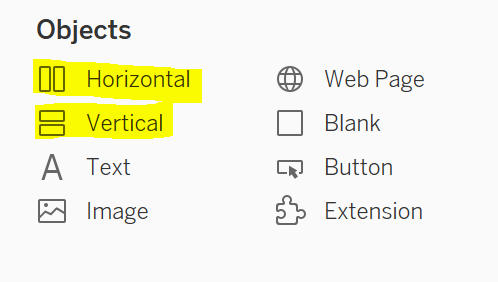
Horizontal and vertical containers can be dragged from here into a dashboard – but whether they are vertical or horizontal depends on the second object you place within.
Whenever you drag your first object onto a dashboard Tableau automatically creates a container to house this object. If, like me pre-Data School, you never used containers you will then continue to drag the other objects required to build the dashboard into this overall container and re-position and resize them within. It is actually much easier to do this formatting by planning how you want the dashboard to look like beforehand and then building it out using containers and blanks. Different views can then be tested once the initial planned view has been built. But before all this you need to know how containers work.
Containers are split into two types, vertical and horizontal. To begin with these are two separate options but whether a container is horizontal or vertical actually depends on the second object you drag into the container. Horizontal containers place objects to the left/right of each other whereas vertical containers place the objects above/below. Therefore whether a container is vertical or horizontal depends on if the second object is placed to the left/right of the first or above/below. If you need to group objects together but need a mix of horizontal and vertical alignments you can place containers within containers. Therefore a horizontal container could have a sheet on the left hand side with a vertical container to its right which contains a drop down filter at the top with another sheet below it. There is no limit to the amount of containers that can be placed within other containers. You can see the hierarchy of containers in the item hierarchy on the layout tab, and can select objects or containers using this.

Item hierarchy – containers and objects within containers.
To select a container as a whole click on an object within and use its drop-down to ‘select layout container.’ This will show you the container highlighted in blue which can then be re-positioned, resized and modified with its own drop-down menu. To select a container housing other containers you can use the same method with the drop-down for a container within. The drop-down menu for containers also allows you to fix the height/width of a container and the same applies for objects within. This means you can add things to a dashboard or change the size of the dashboard without worrying about the size and position of the objects changing as well. The drop-down menu also offers to option to distribute the objects within it evenly either next to or above/below each other. This means making things the same size is extremely simple and no longer required a rough attempt by eye or painstaking comparison of the pixel heights/widths. I especially find it useful when putting multiple filters next to each other horizontally.
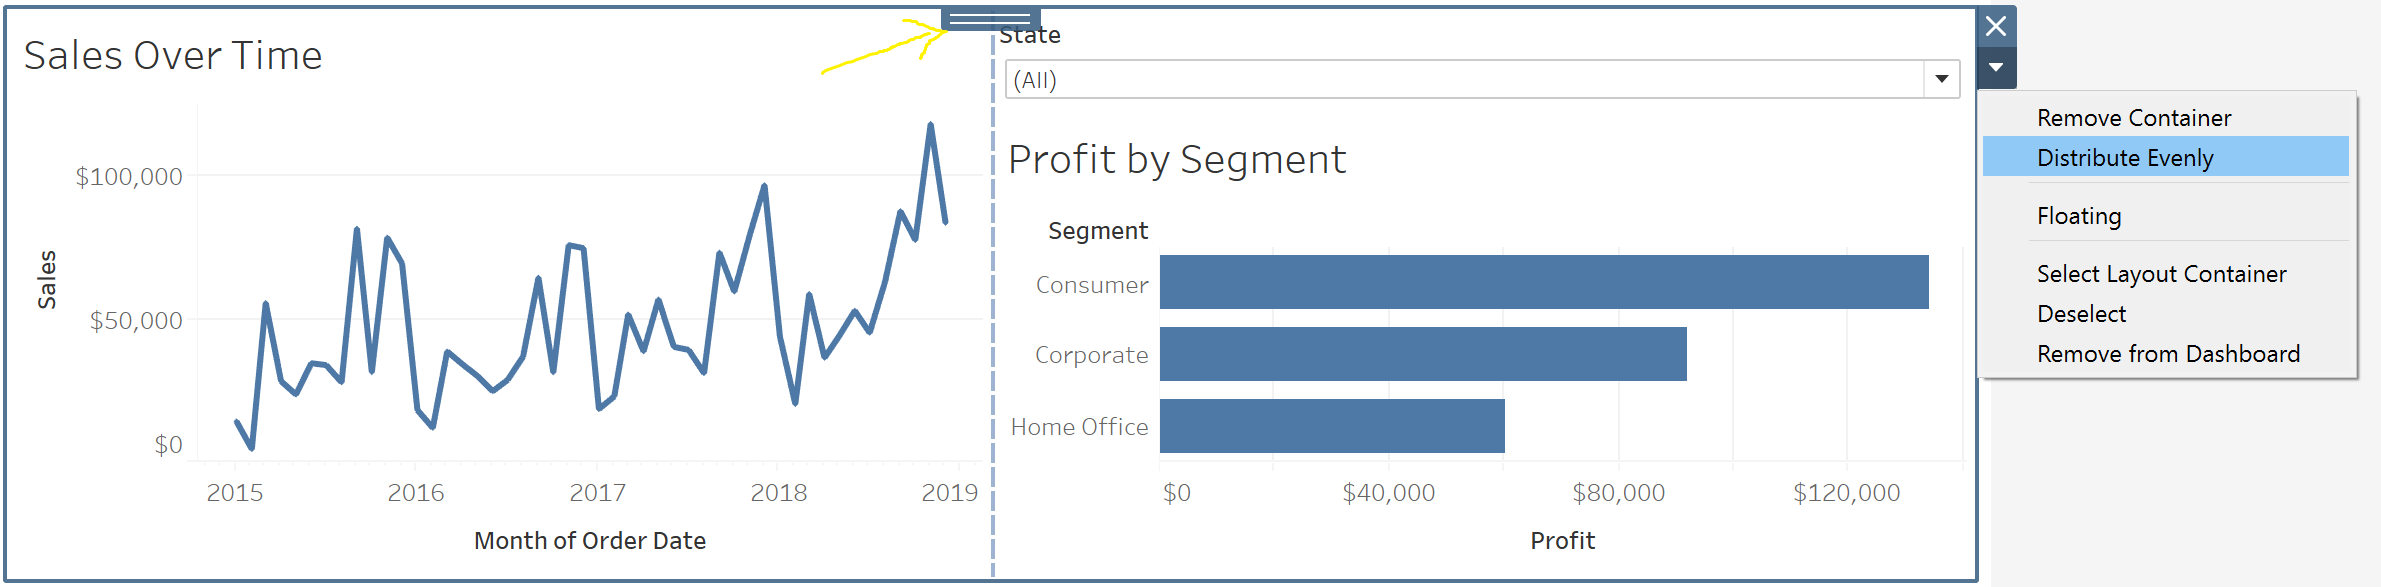
You can distribute objects evenly within the container using the drop-down. You can also select containers by double clicking on the thing you use to move objects/containers around with (being pointed to with the yellow arrow).
I find it useful to set up my dashboard without any of the objects first. The containers can all be set up with blank sheets inserted as placeholders to get the rough size and position of things all set up. All that is required then is the insertion of the sheets, filters etc. to replace the blank sheets (these must be deleted). This makes the whole process much more organised and is actually quicker with less time wasted resizing things and coming up with a plan piece by piece . Containers also allow this initial plan to be modified easily as the necessary objects are already grouped together. This means trying out slight variations of the original idea are quick to test, but returning to the initial style is also easy.
Containers are good for maintaining structure and order in your dashboard and often render the ability to float objects unnecessary. If, however, you do need to float you can group objects together first within a container and then float that. You can also use the show grid option on the dashboard drop-down to help align the floating object/container accurately, but floating is unreliable when it comes to Tableau public as people with different screen sizes may have the floating object re-positioned.
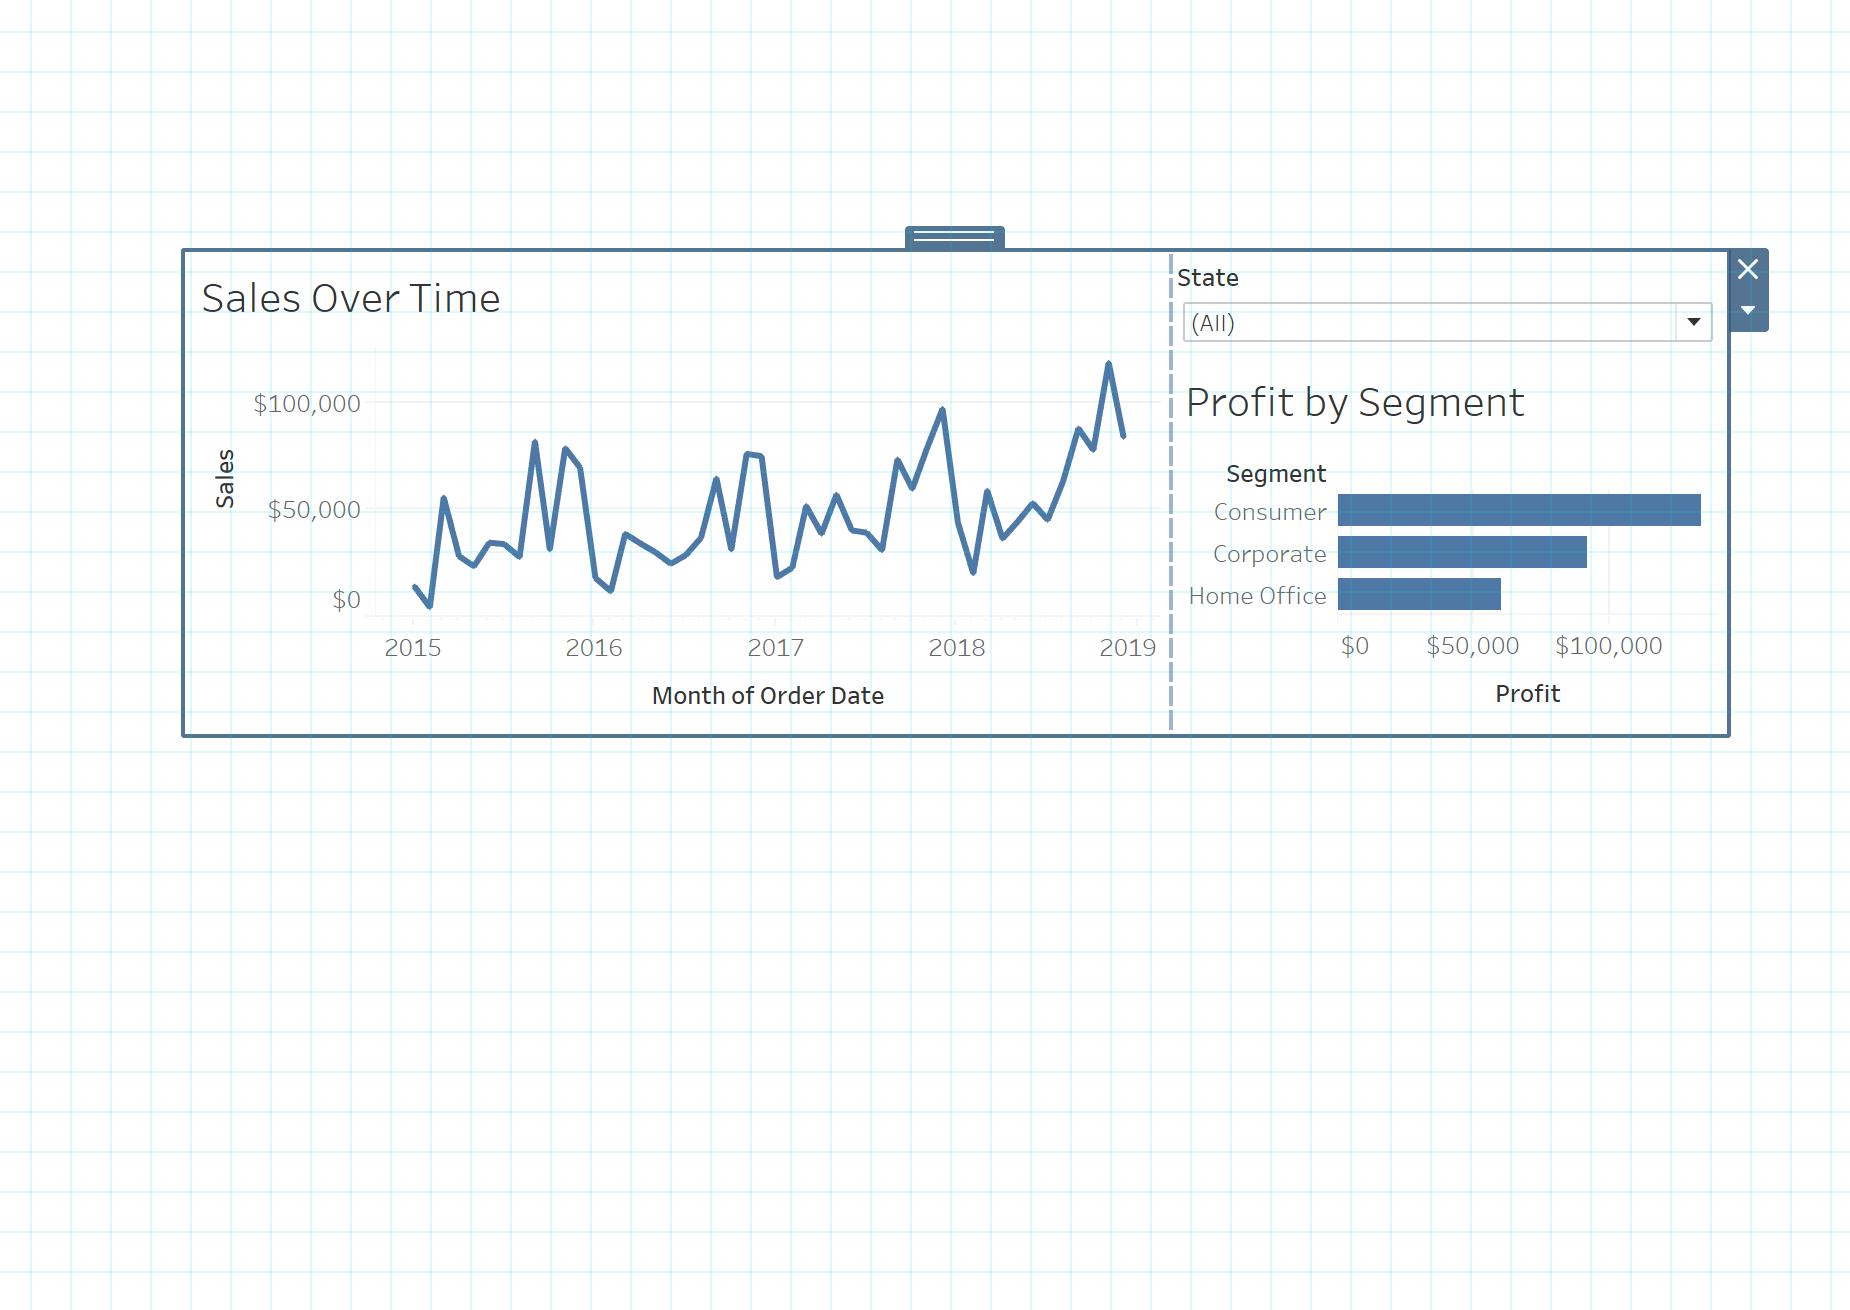
Floating container with dashboard grid enabled.