Alteryx is a leading platform for self – service data preparation, data blending and advanced data analytics, enabling non-coders to perform advanced analytics seamlessly. The working environment is user friendly and the tools are intently named and coloured according to function.
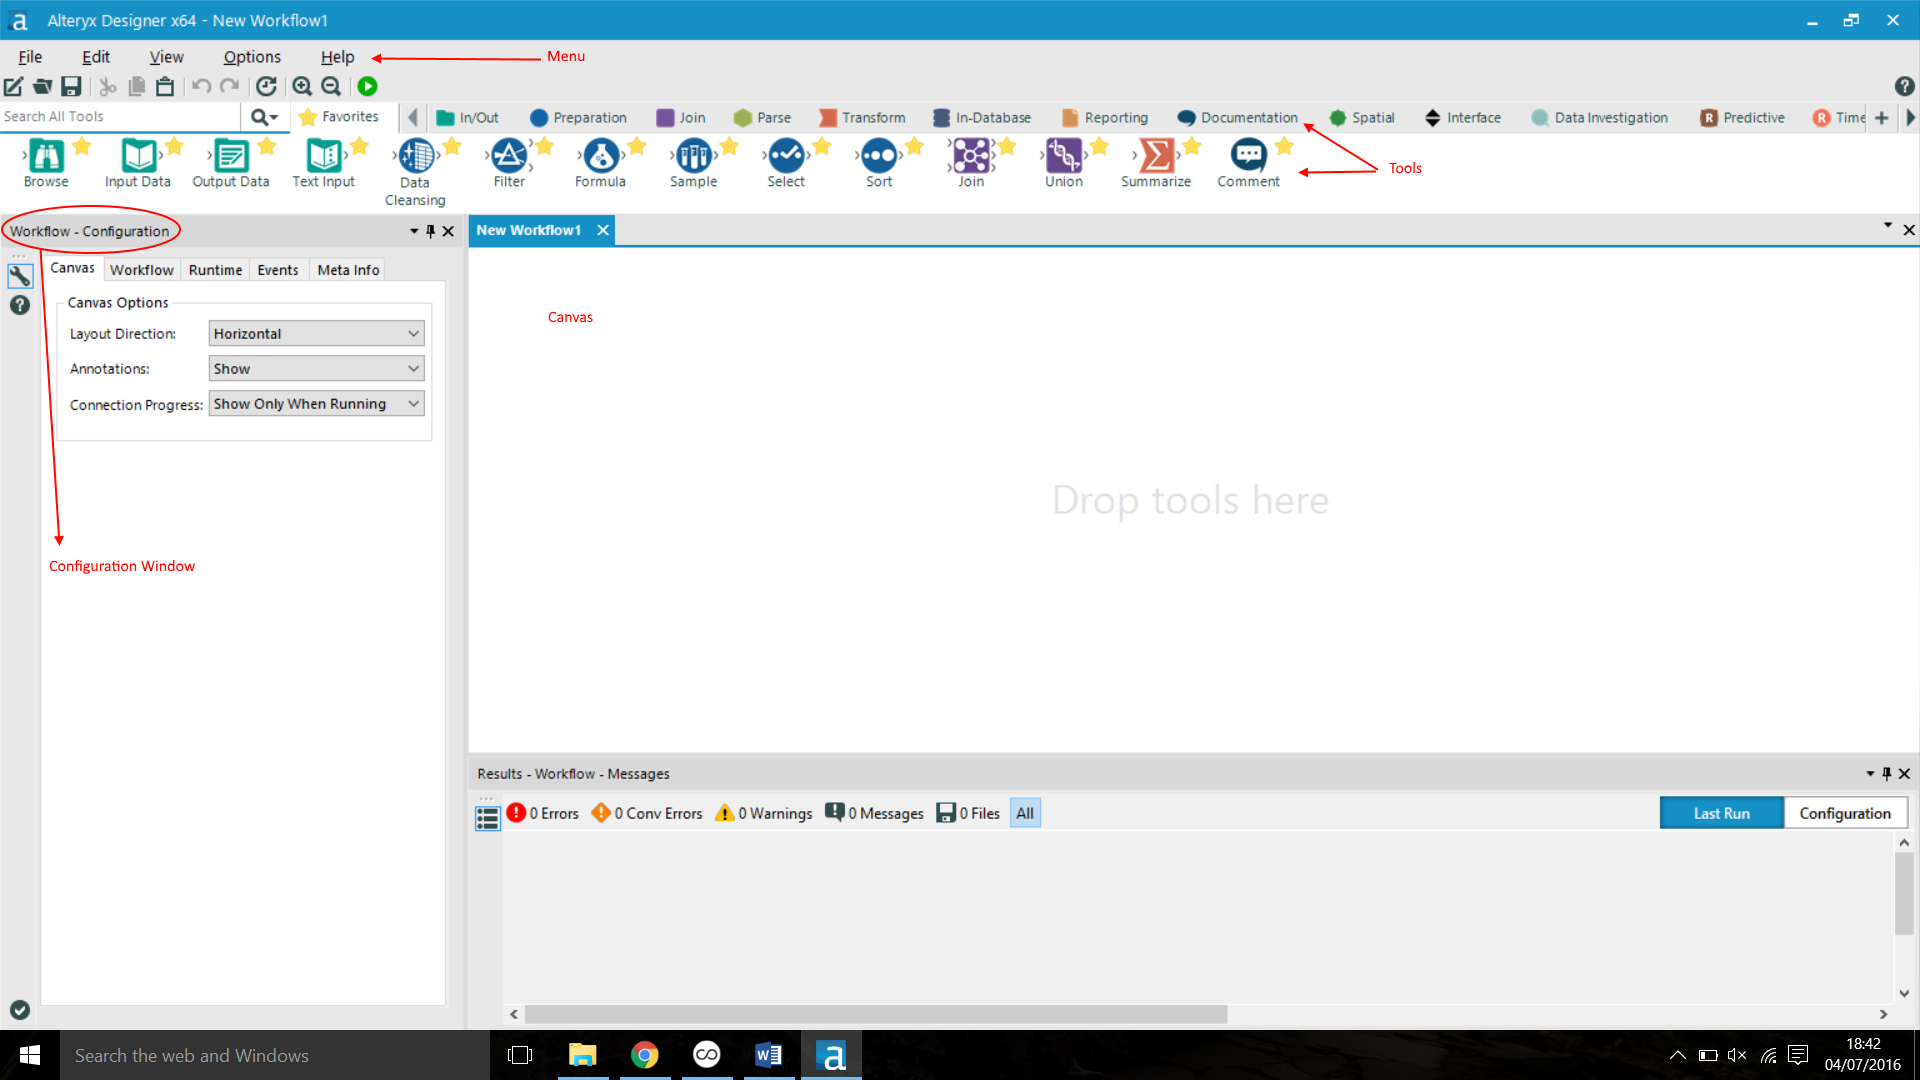
Its working environment is composed by:
File Menu – Common tools can be accessed through the menu bar, the tool bar. It works as a standard ‘Windows menu bar’
Tool Palette – displays the image and name for all of the tools, which are organized into tool categories. These tools can be clicked and dragged from the palette to the canvas in order to build a workflow (group of tools connected by their anchors, to transform your data).
Properties Window – it adapts dynamically to selections within the workflow. It offers options related to configuring the specifications for each tool brought into the workflow, or to the workflow itself when no tool is selected
Workflow window or canvas – ‘our drawing table’ where we drag and drop tools that will constitute our future workflow.
Overview Window – provides a smaller representation of the workflow, which allows for panning around in the workflow canvas.
Output Window – logs the status of the workflow by reporting messages from each tool. It shows when a workflow started running, when it finished, and other important information such as errors, warnings, inputs, and outputs.
How to start?
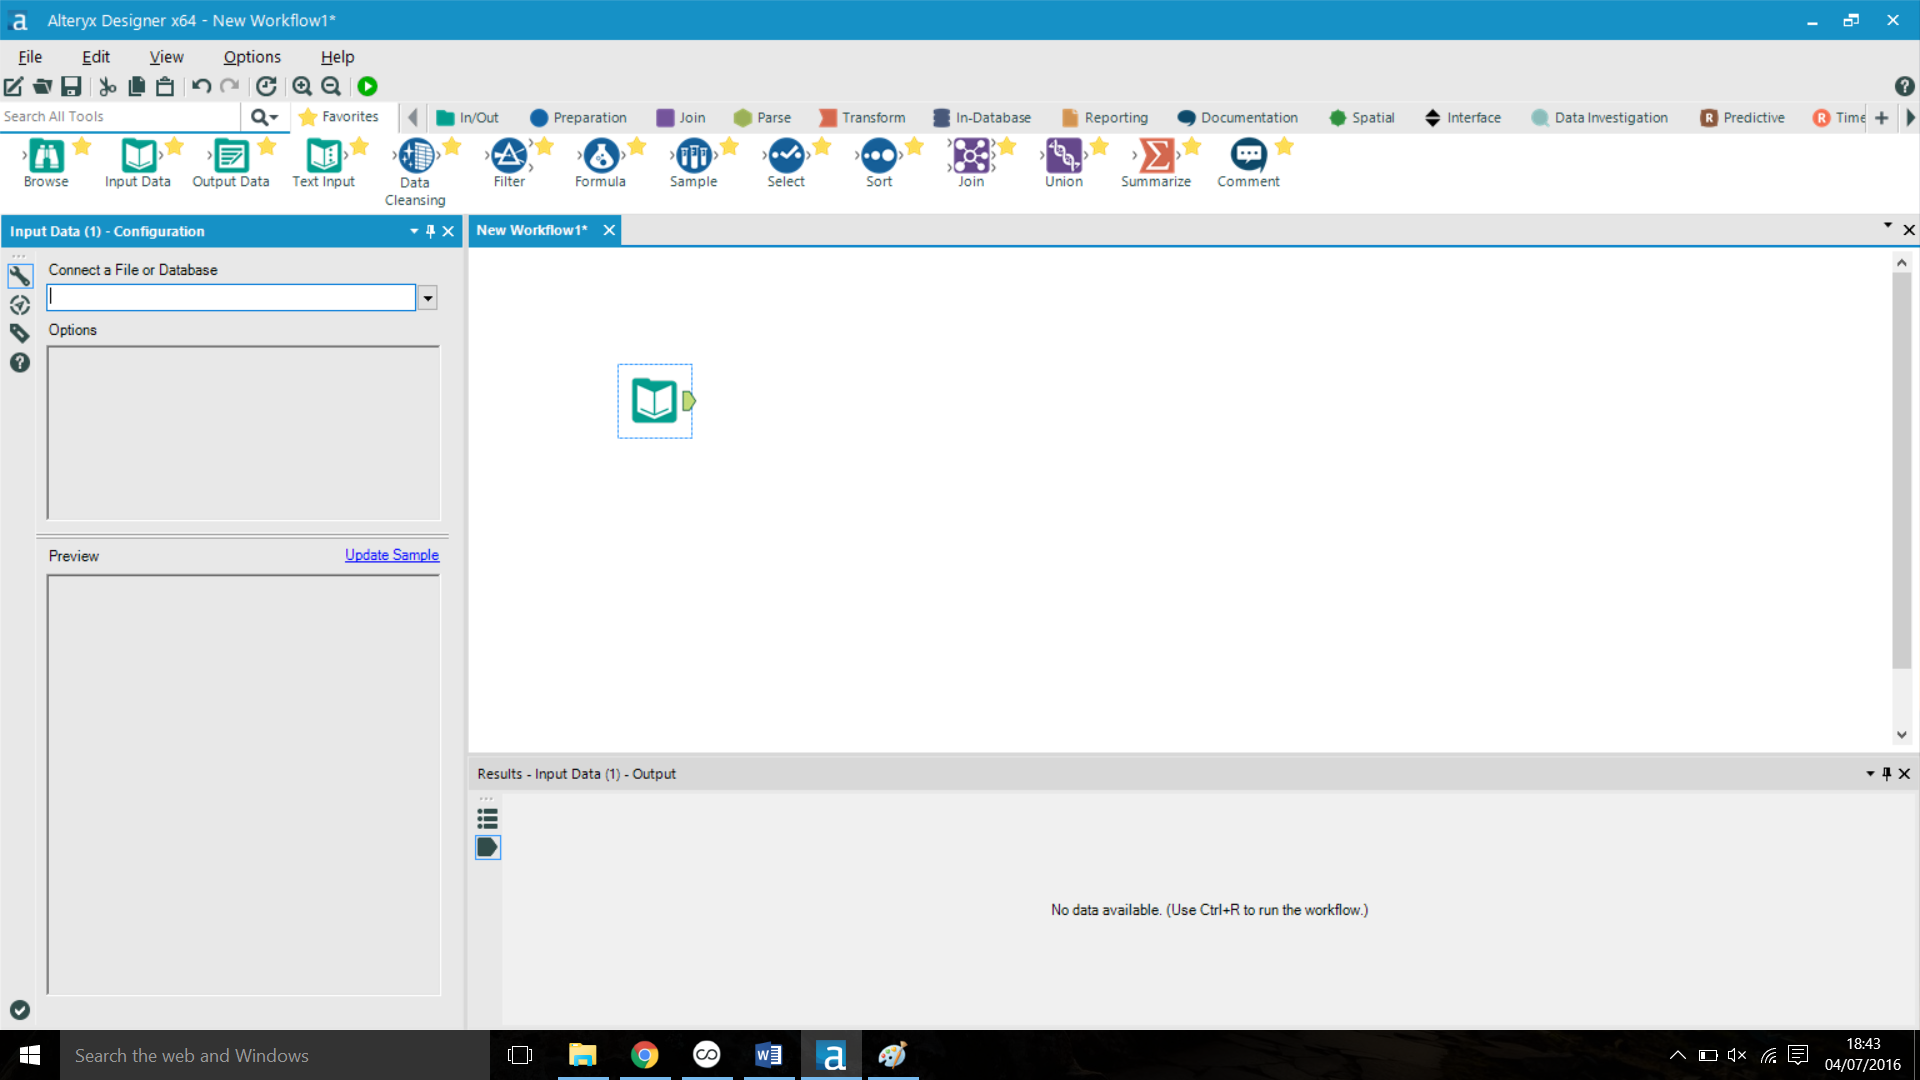
- When you open Alteryx, an empty canvas will appear and you can start your workflow by dragging and dropping your input data tool. Once you do this, you need to go to the configuration window and connect to your file, working on your workflow from here.
How do you then add or remove tools from the workflow?
Adding/Removing tools in an Alteryx Workflow:
- Click on any tool from the Tool Palette and drag it into the workflow canvas.
- You can also right-click on the workflow to access a menu that allows you to insert tools. Select the tool to view its properties and specify its role in the workflow.
- To remove a tool from your workflow, select the tool and then hit the delete key.
Did you know?
- To start a new workflow:
Go to File> New Workflow or just select ![]()
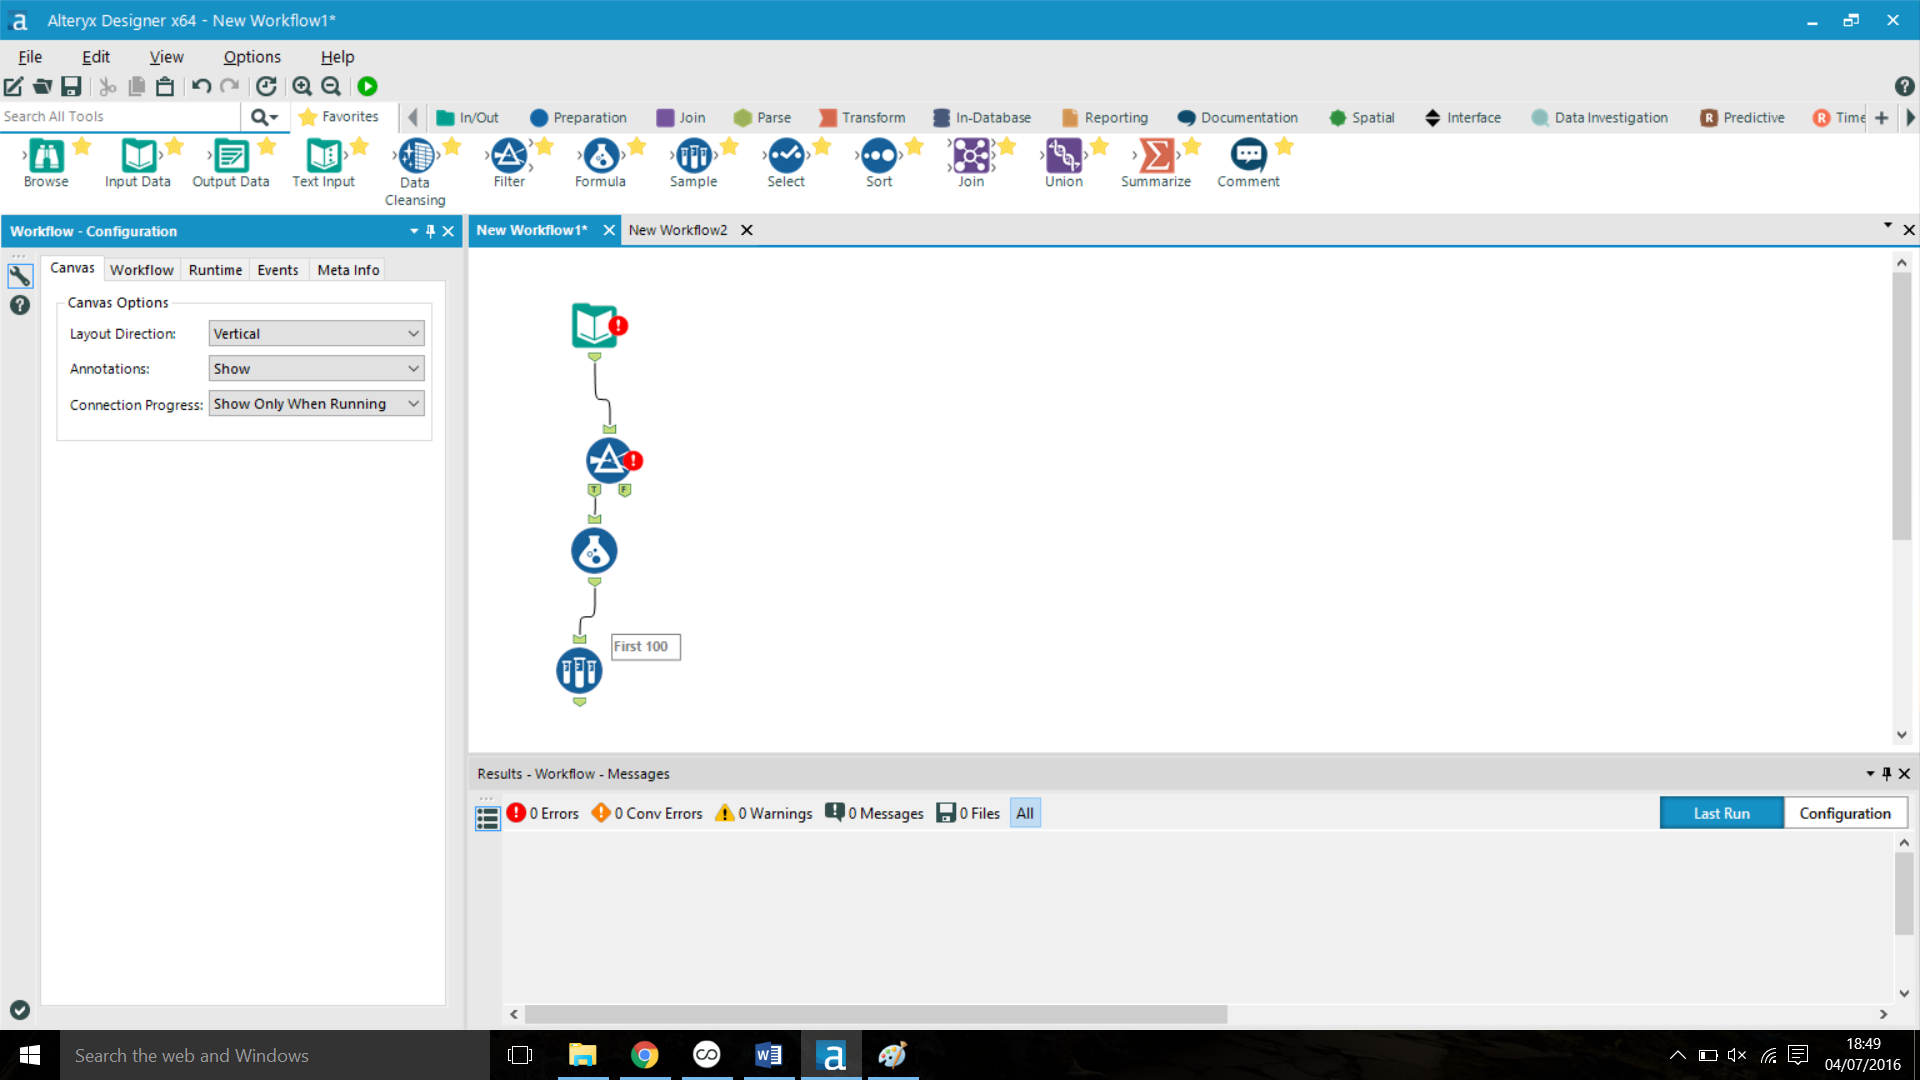
2. When working in more than one worksheet, they will appear as tabs above your canvas. Contrarily to Excel, when you save your work the different worksheets will be saved as different works and not as the same file with different tabs (as it happens in Excel).
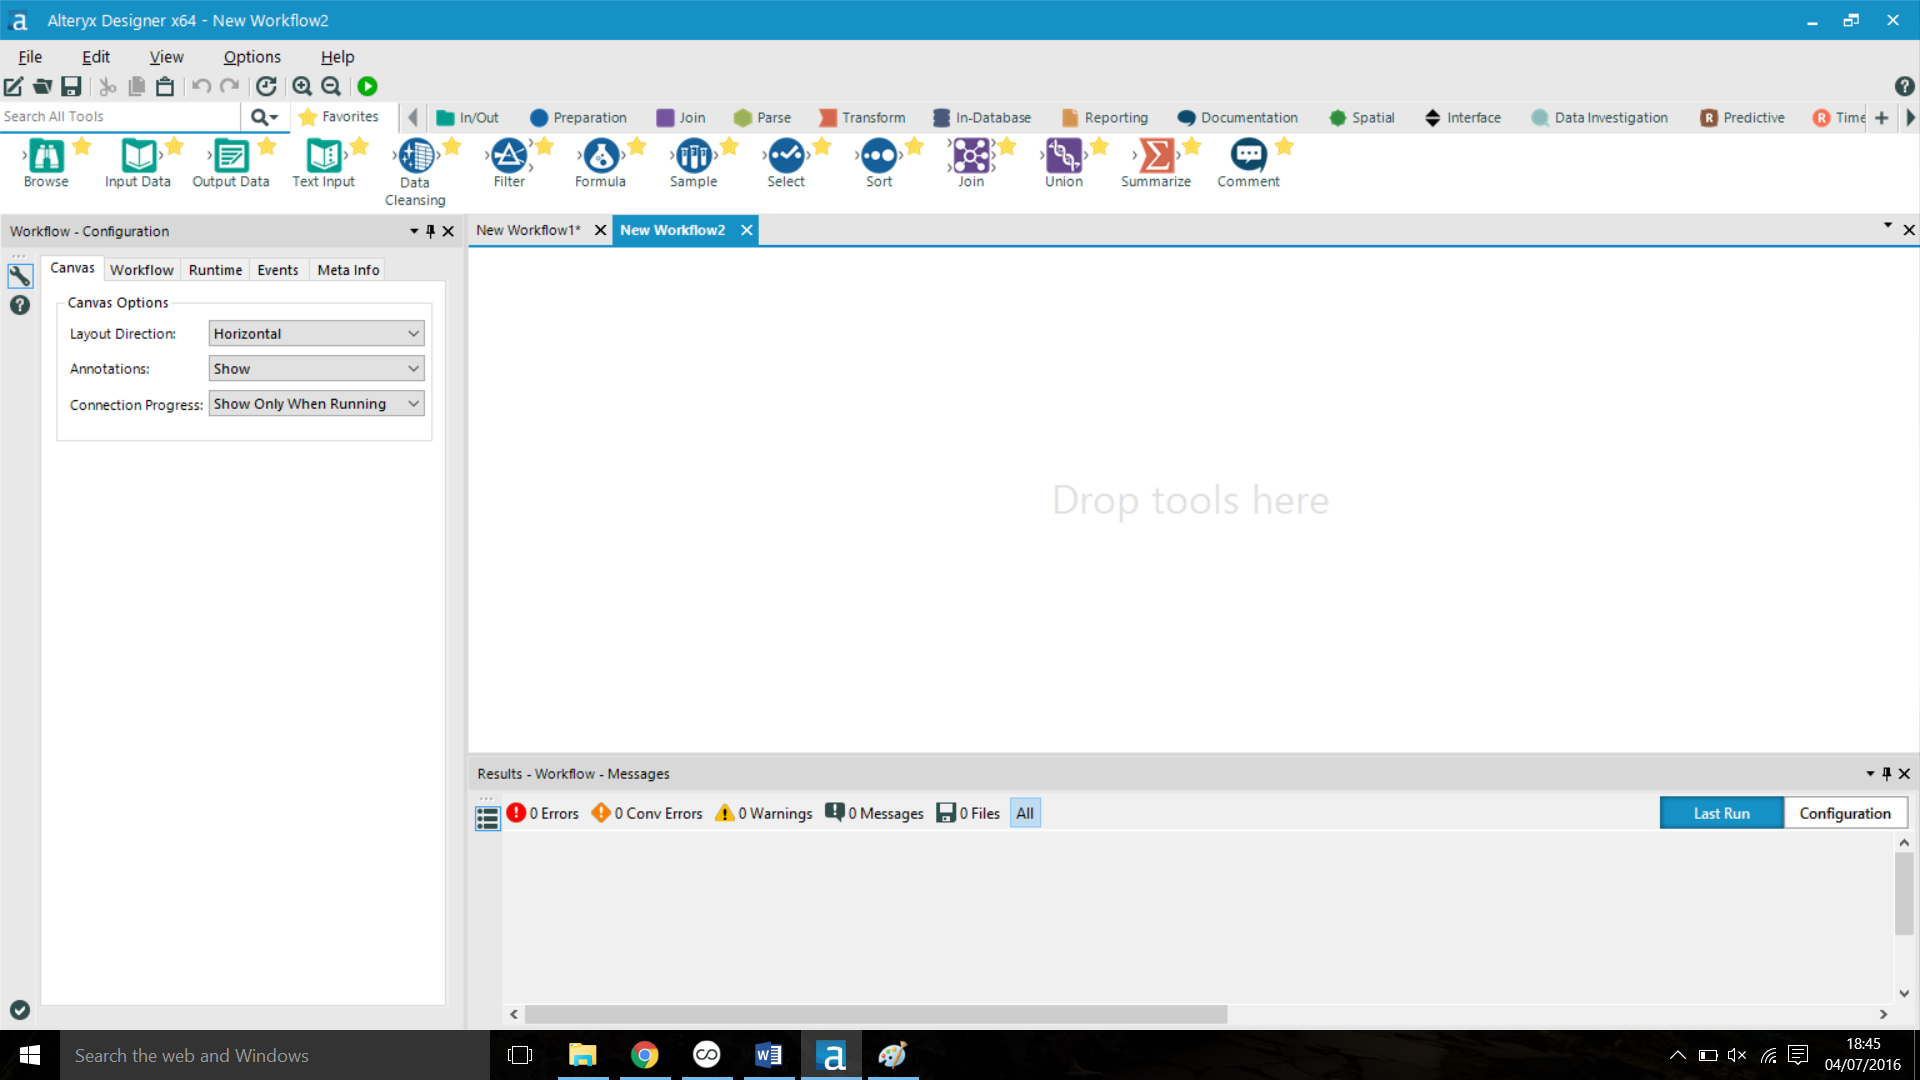
3. You can change the Layout of your canvas, so that your workflows can be vertical or horizontal. To do that:
- click anywhere on your canvas and go to the Configuration Window, under the canvas options, select your Layout Direction layout option as horizontal or vertical.
To set either as default direction, go to tools on the menu bar. User Settings>Edit User Settings> Document. Here you can specify default settings: layout Direction, zoom levels, container colours and canvas/grids colours.
Handy tips to know:
Alternative ways to add a tool to your canvas:
- Drag and drop
- Right click anywhere on the canvas and select the tool from the drop down menu
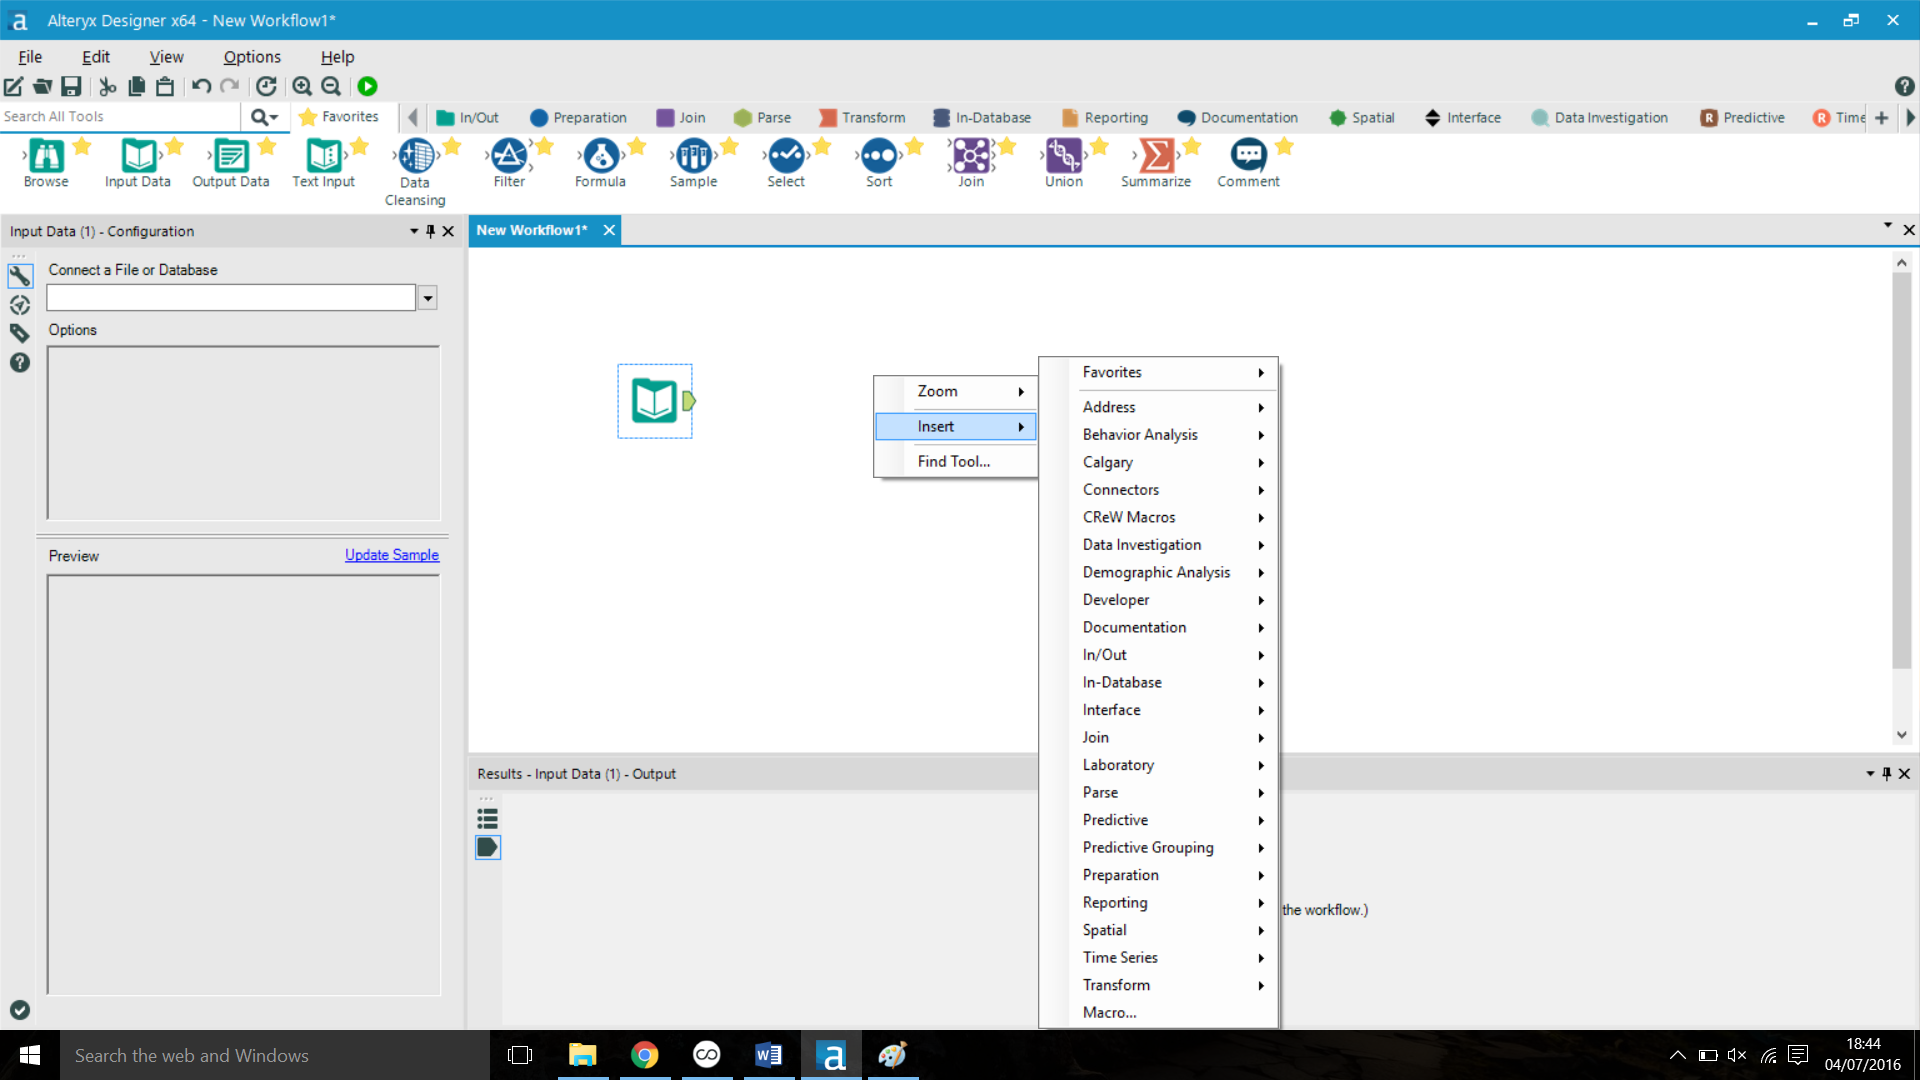
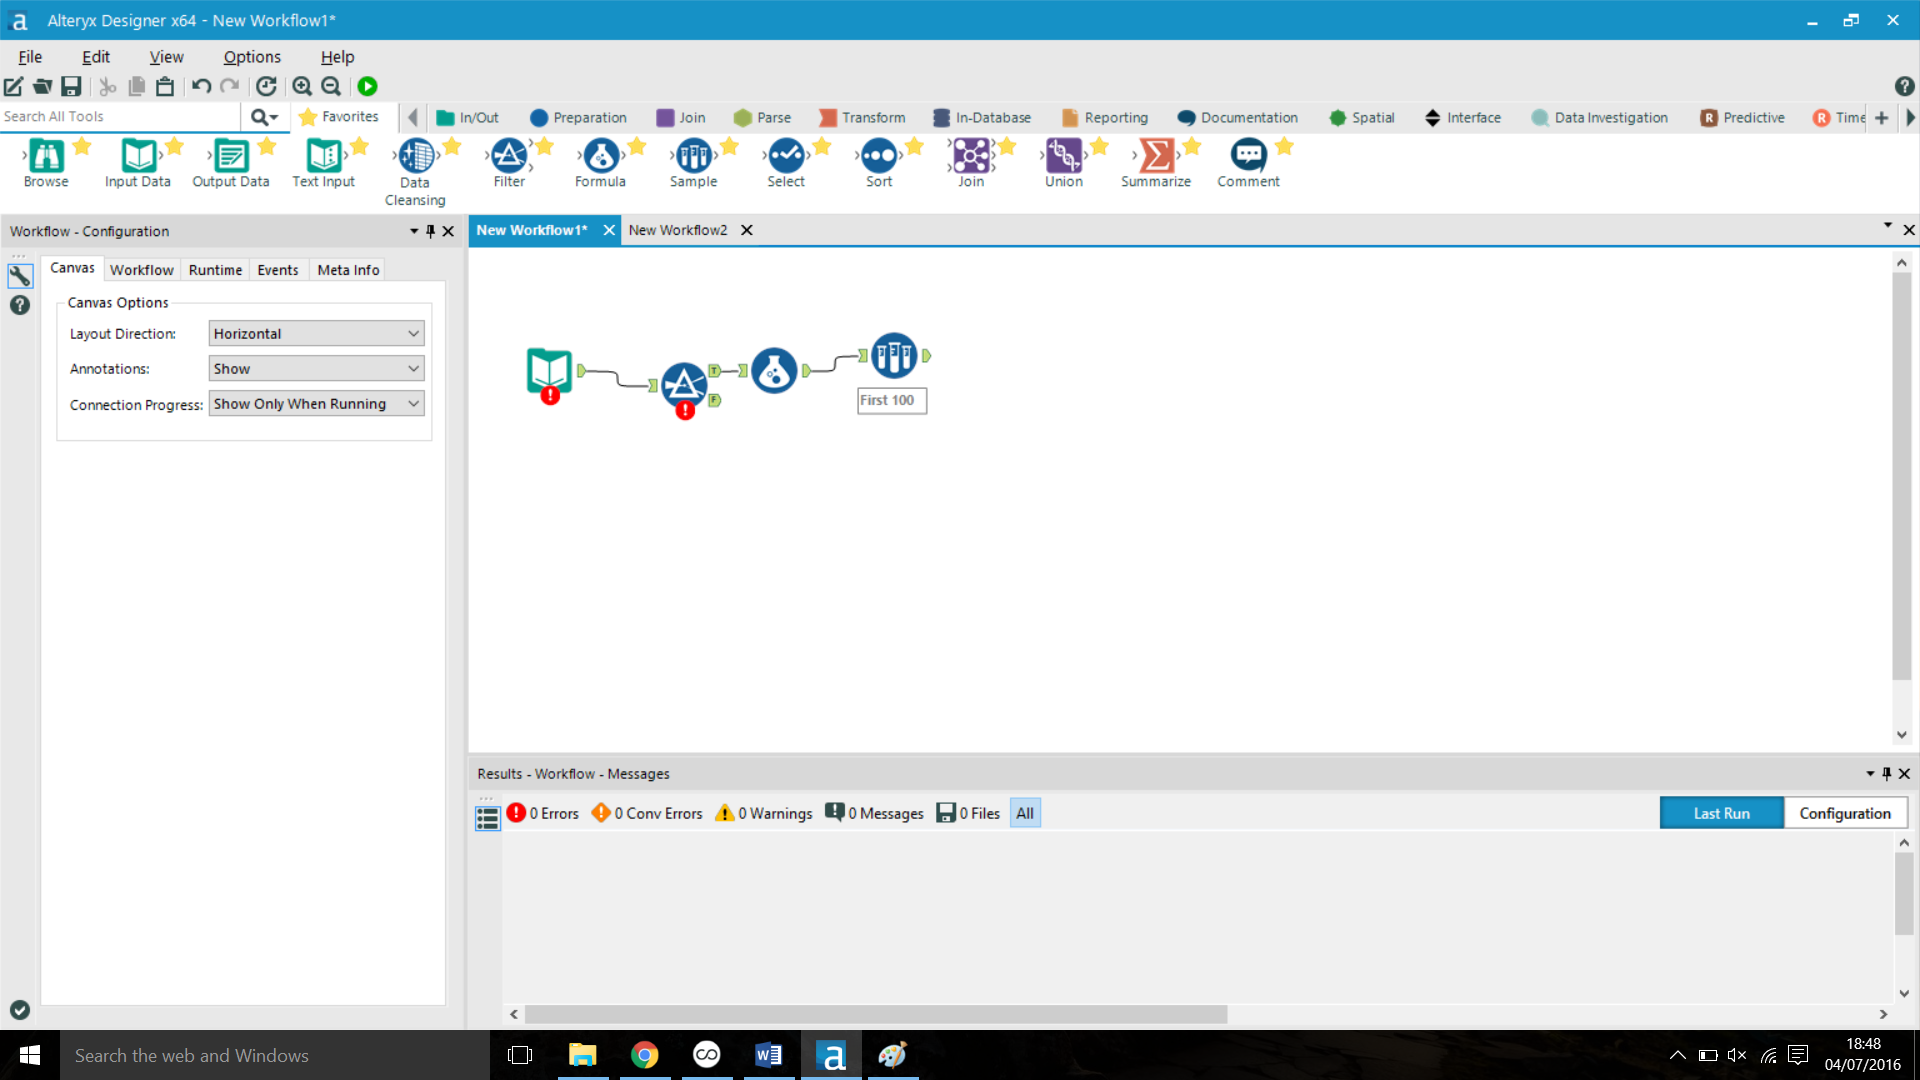
- When you already have a tool in your workflow and you want to add the next tool, right click on the last tool you have and from the dropdown menu and select insert after. This is particularly helpful if you have a long workflow.

I hope this blog post was helpful to you and please keep tuned in, as more blogs will follow.